Note: please refer to Tech Specs for more details of differences of the 3 modes.
Part 1. Bypass Activation Lock Screen
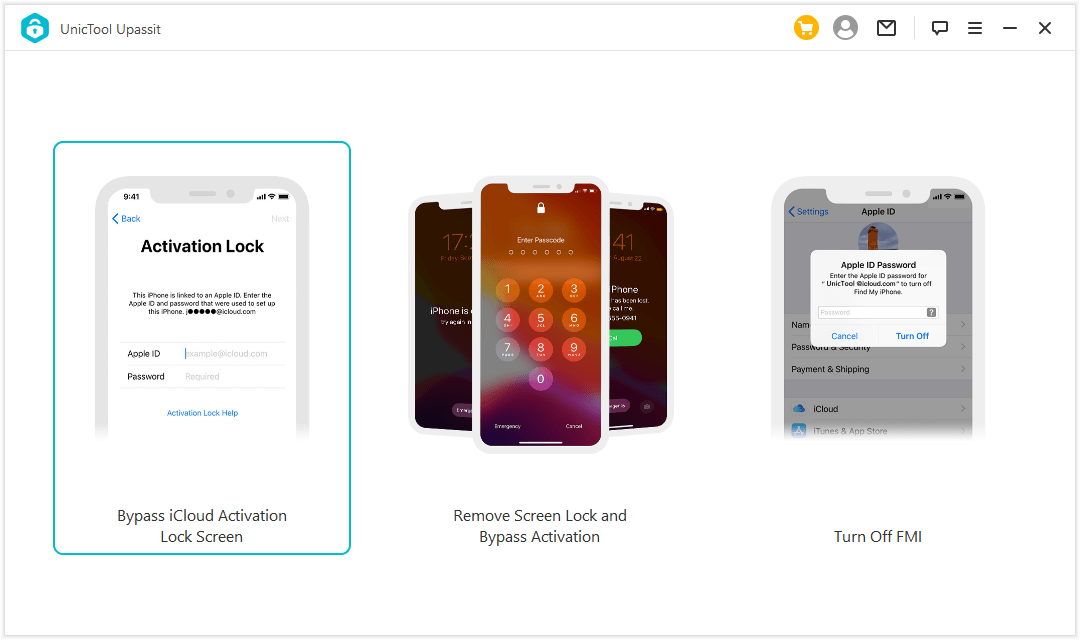
1Choose "Bypass iCloud Activation Lock Screen" Mode
Launch Upassit on your computer, and select the mode "Bypass iCloud Activation Lock Screen" to start.
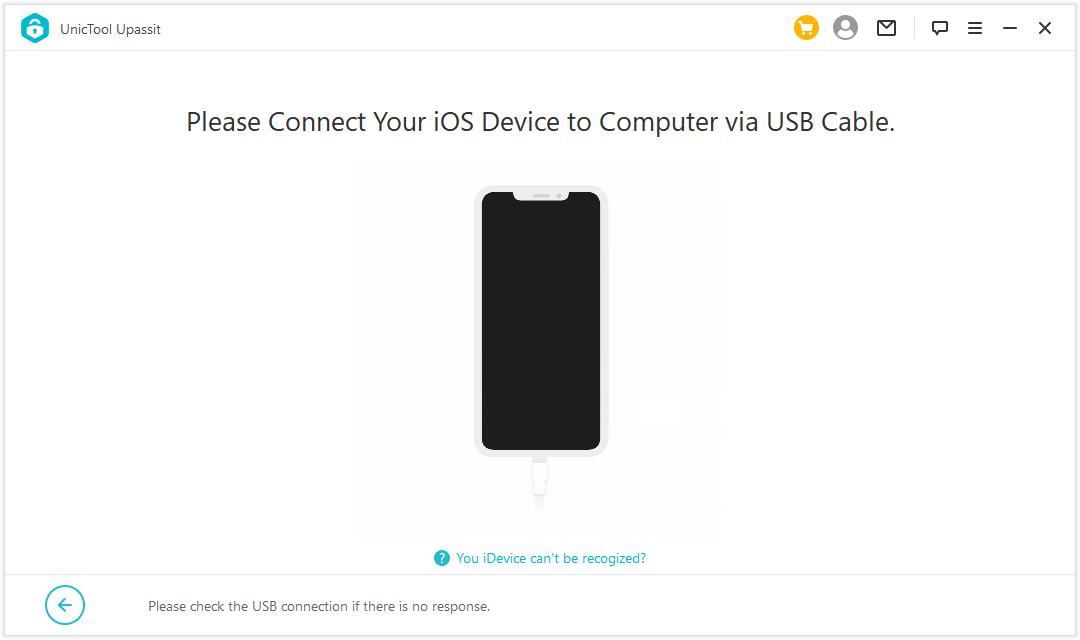
Connect your device to a computer via USB.
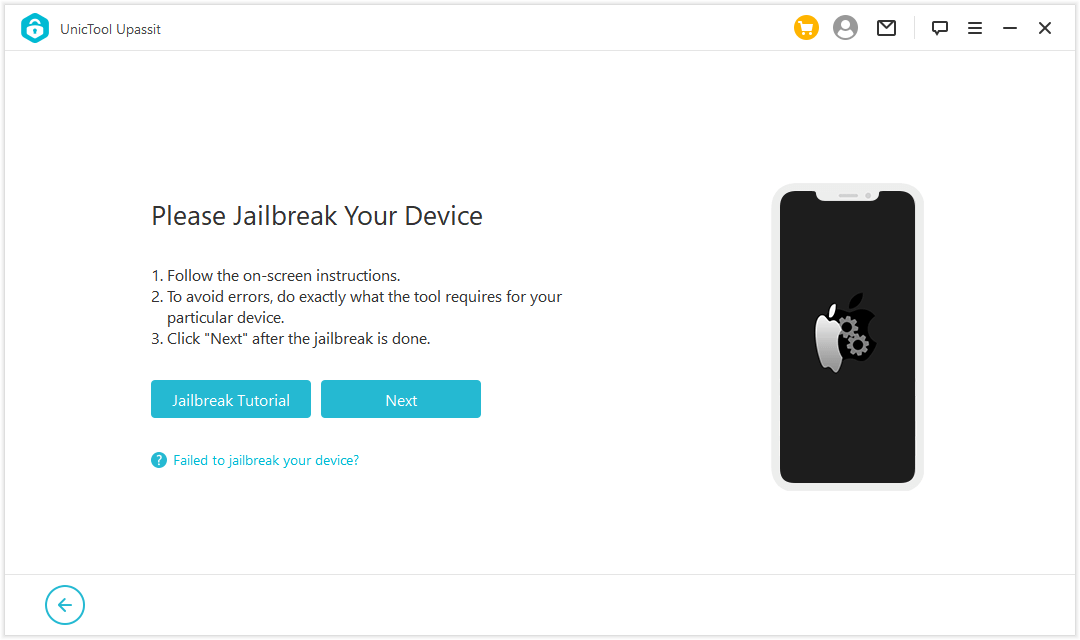
2Let Upassit Jailbreak Your Device
Jailbreaking your iDevice is an important step to bypass Activation Lock and it's very simple with the help of Upassit. Just follow the guide and let Upassit do the job.
If you're using a Mac, go to Jailbreak Solution for Mac.
If you're using a Windows PC, go to Jailbreak Solution for Windows.
· Jailbreak Solution for Mac
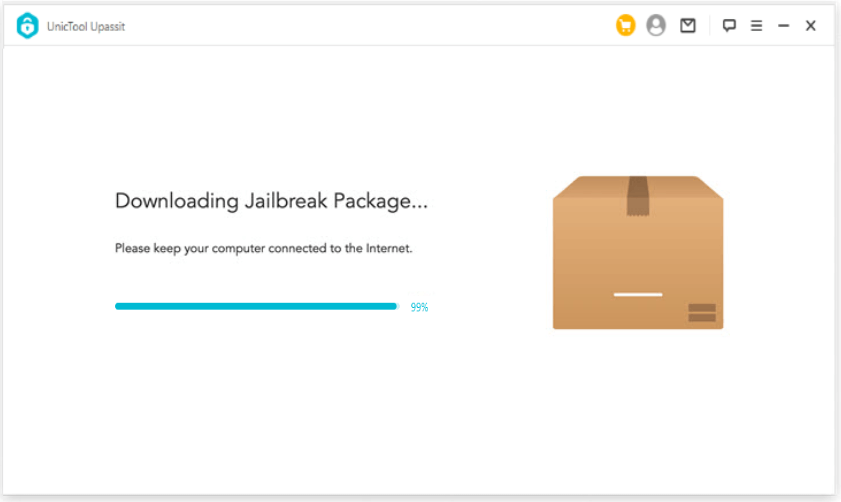
Upassit is downloading relevant jailbreak package on your computer. Once it's done, click "Start Jailbreak".
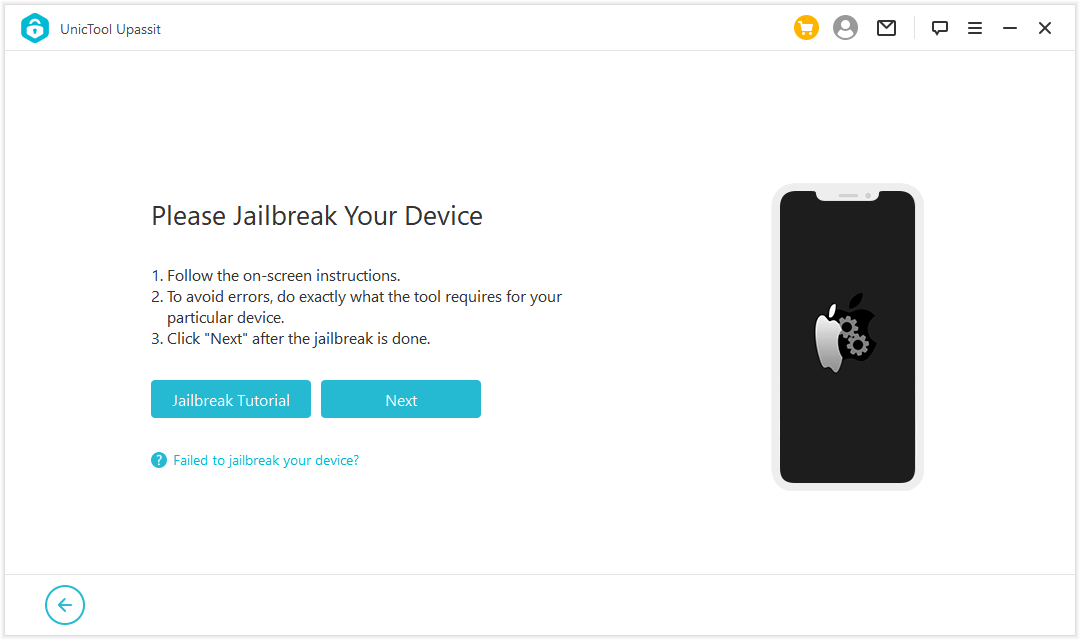
Follow the on-screen instructions to boot your device into DFU Mode. Then Upassit will proceed with the jailbreak method. When the process is completed, click "Next" to proceed to Step 3.
· Jailbreak Solution for Windows
Windows jailbreak method requires the help of a third-party software Checkra1n. Follow the complete guide here to jailbreak the iOS device on a Windows computer. After you complete the jailbreak process, click "Finished Jailbreak" to continue to Step 3.
3Bypass Activation Lock
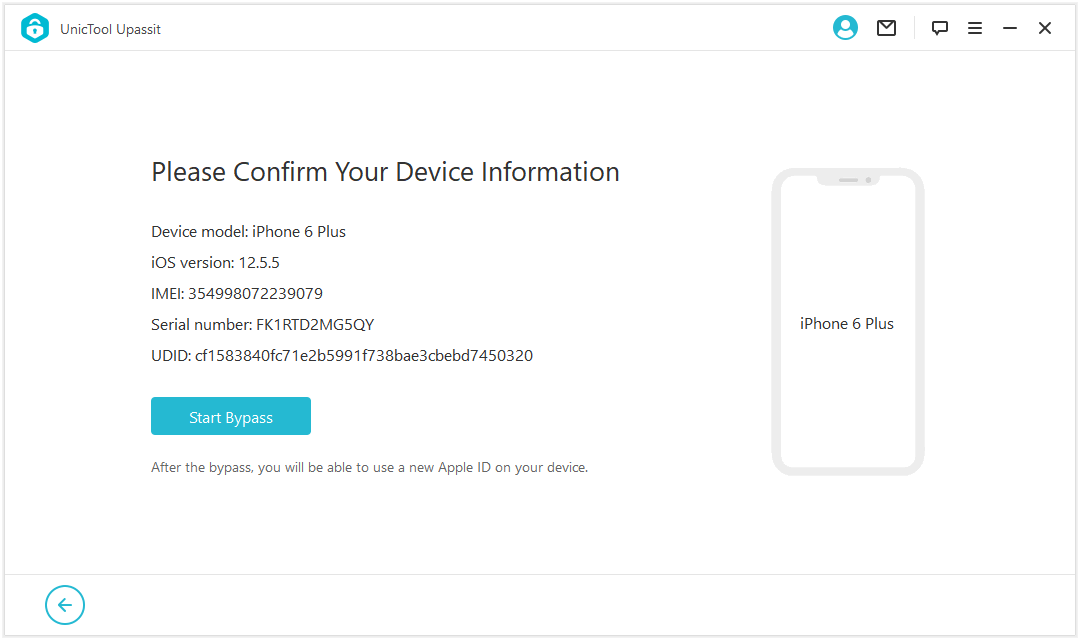
Upassit will display the detailed information about your iOS device on screen. Confirm the information and click "Start Bypass". It only takes a few seconds for Upassit to bypass Activation Lock on your device.
Part 2. Remove Screen Lock & Bypass Activation
1Getting Started
Launch Upassit on your computer, and select the mode "Remove Screen Lock and Bypass Activation" to start.
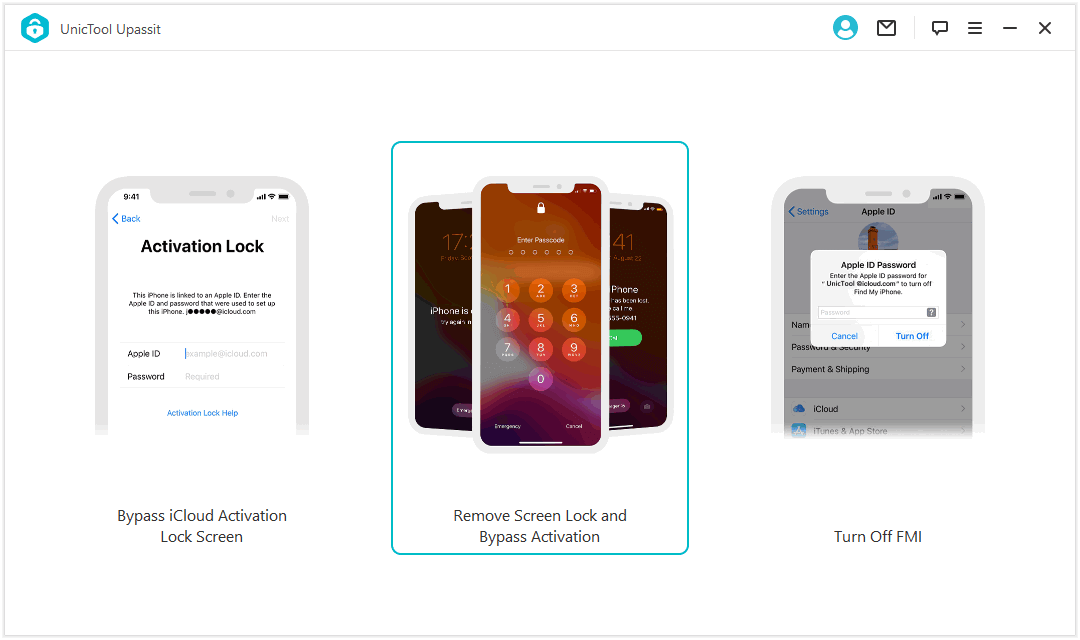
Connect your iPhone/iPad/iPod touch to a computer using a USB cable.

Next, follow the on-screen guide to boot your device into Recovery Mode:
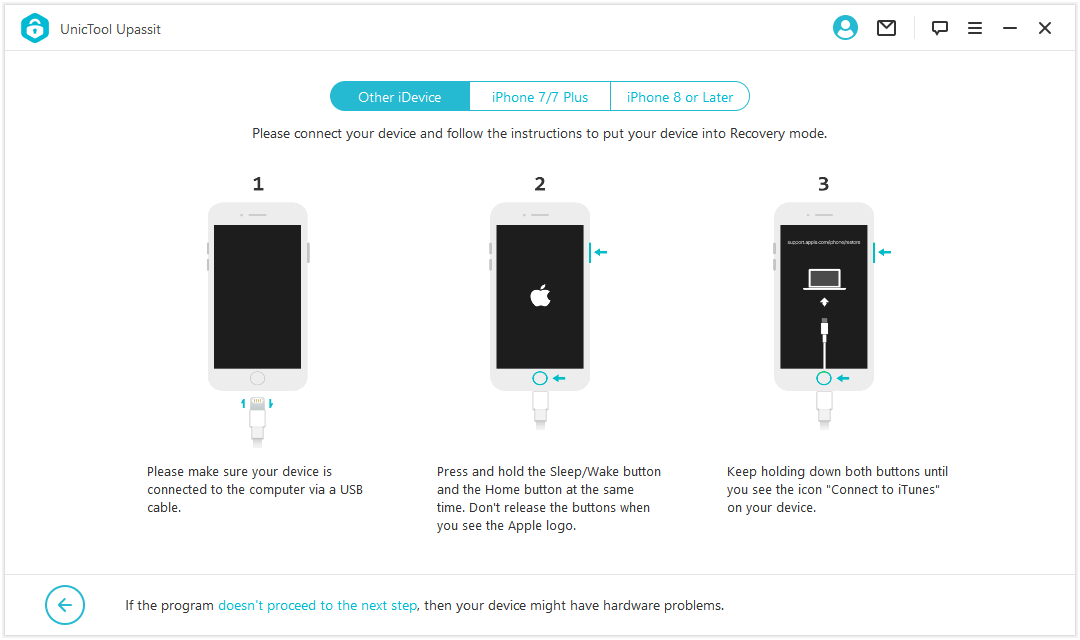
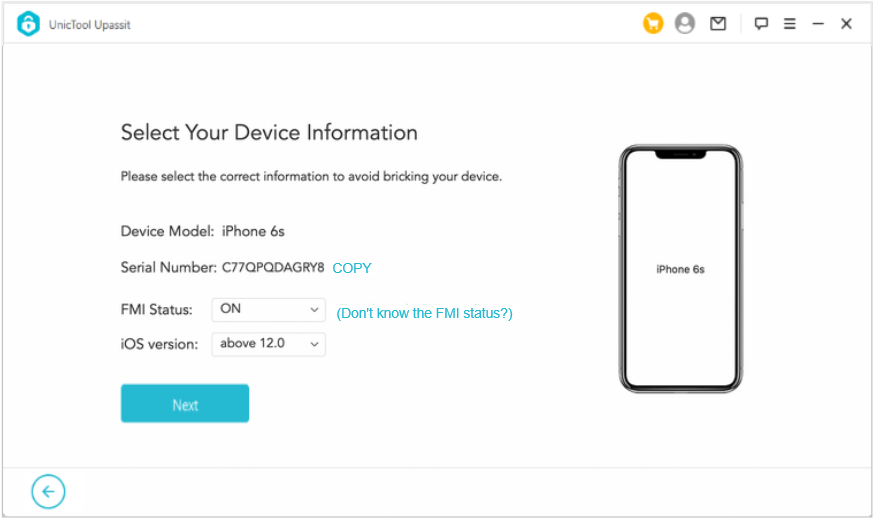
You'll then be asked to select the FMI status or your device — ON or OFF, and then click "Next" to proceed to Step 2. (If you don't know the FMI status, please refer to this FAQ about checking FMI status for help.)
2Jailbreak Your Device
Jailbreak the iOS device allows Upassit to assist you further to remove the screen lock and bypass the Activation Lock. Don't worry, just follow the instructions below and Upassit will do the heavy-lifting part.
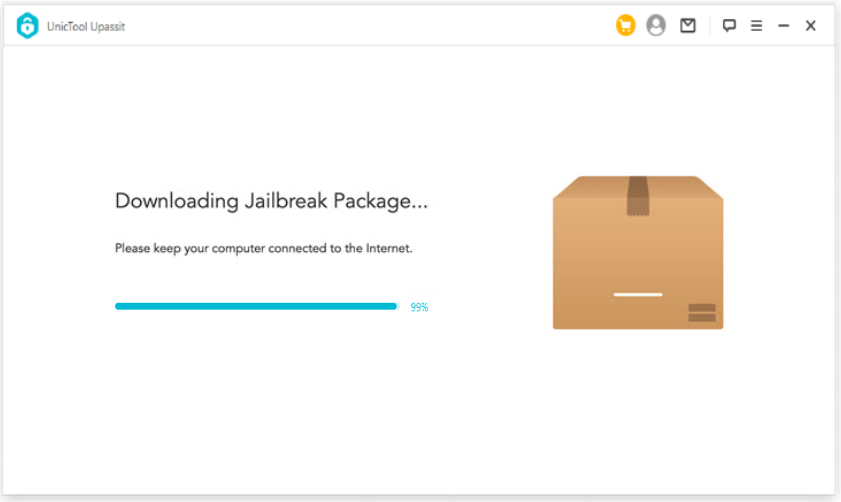
First, Upassit will download the jailbreak package for your iOS device. After the download is finished, click "Start Jailbreak".
Go through the terms of jailbreaking iOS device and check the box to agree the terms. Then click "Next" and Upassit will run the jailbreak program automatically.
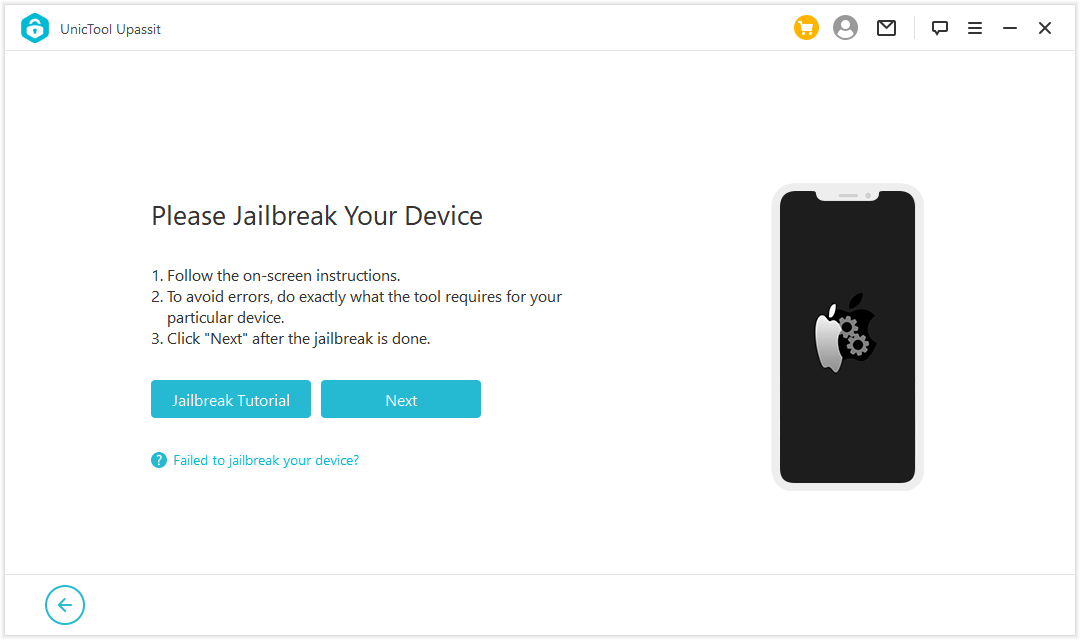
Before we proceed to the next steps, please be kindly noted that different methods apply to different iOS versions. Follow 1 from the following 2 methods to proceed:
Method 2: For iOS 13.0 and above device
· Method 1: For iOS 12 deivce
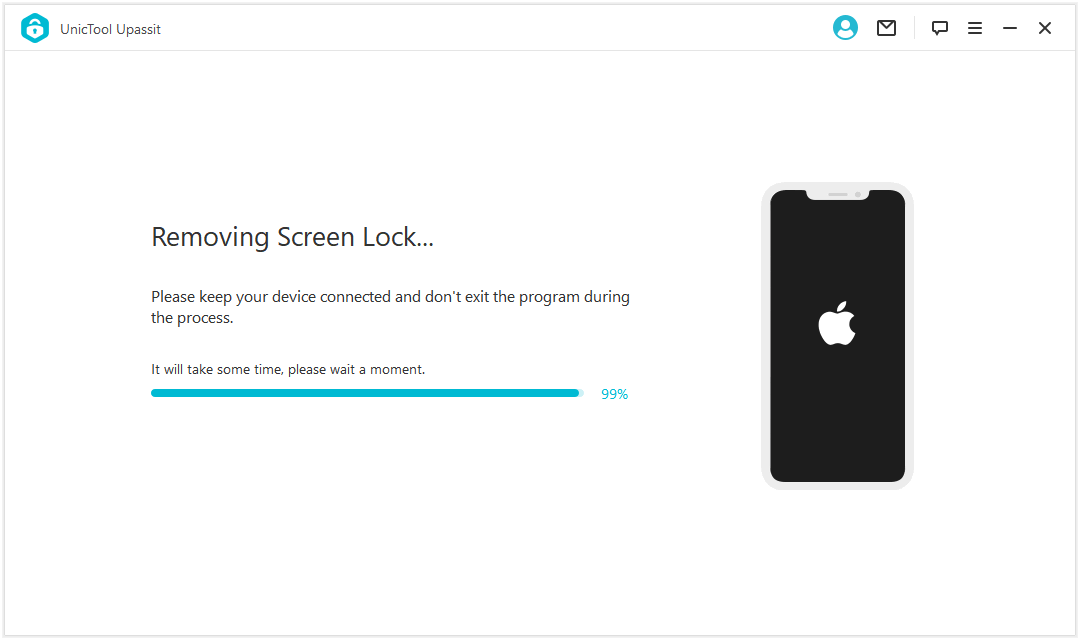
3Erase Your Device
Upassit will automatically process data on your iOS device. When it's done, click "Next" to let Upassit erase all content and settings on the device.
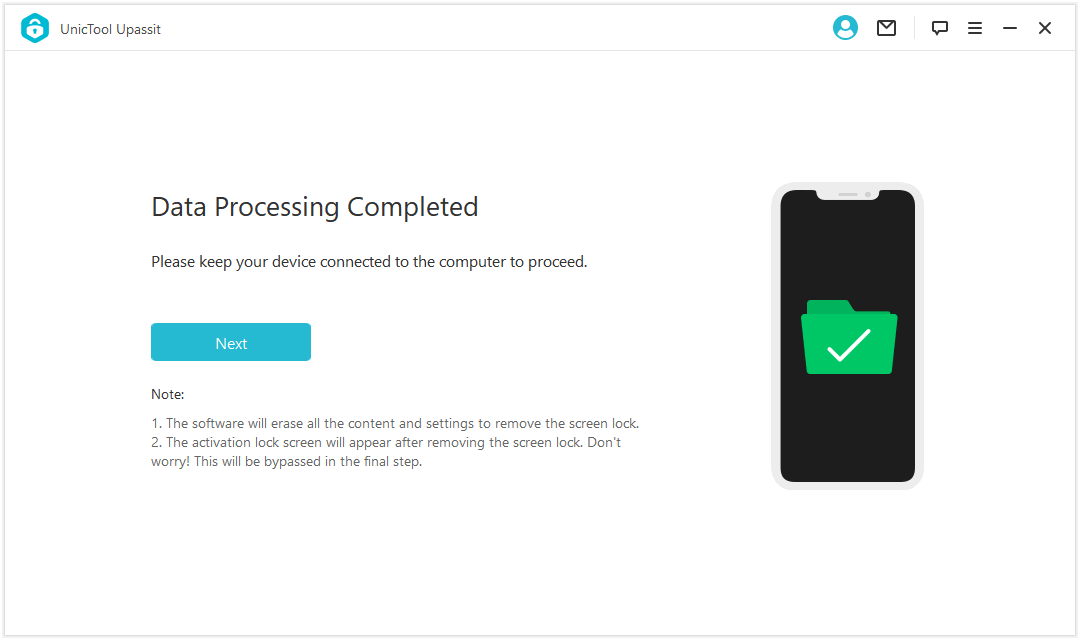
The Activation Lock will show up on your device now. No worries, just follow the guide and Upassit will bypass the Activation Lock right away.
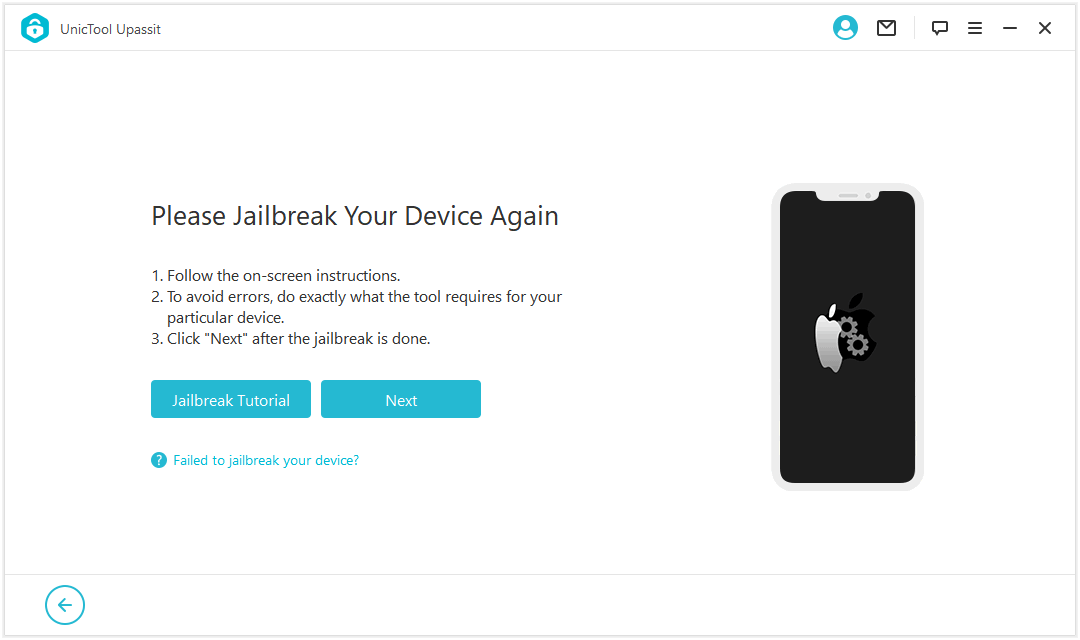
4Jailbreak Your Device Again
Follow the same procedure in Step 2 to jailbreak the device again. Then click "Next" to proceed.
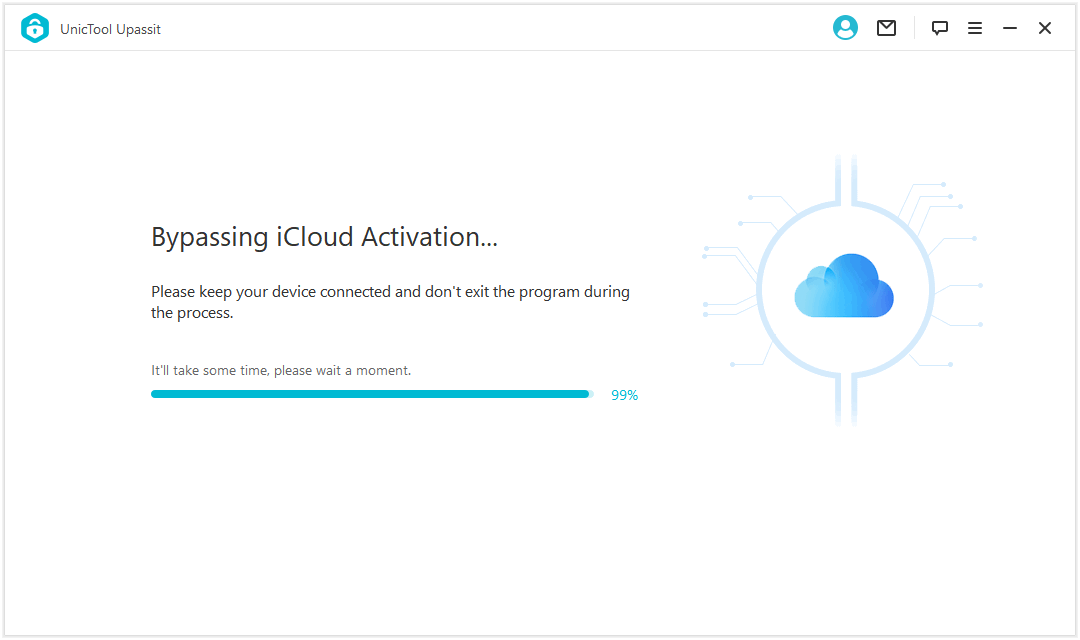
5Bypass iCloud Activation
Make sure to keep your device connected to the computer while Upassit is bypassing iCloud Activation for your device.
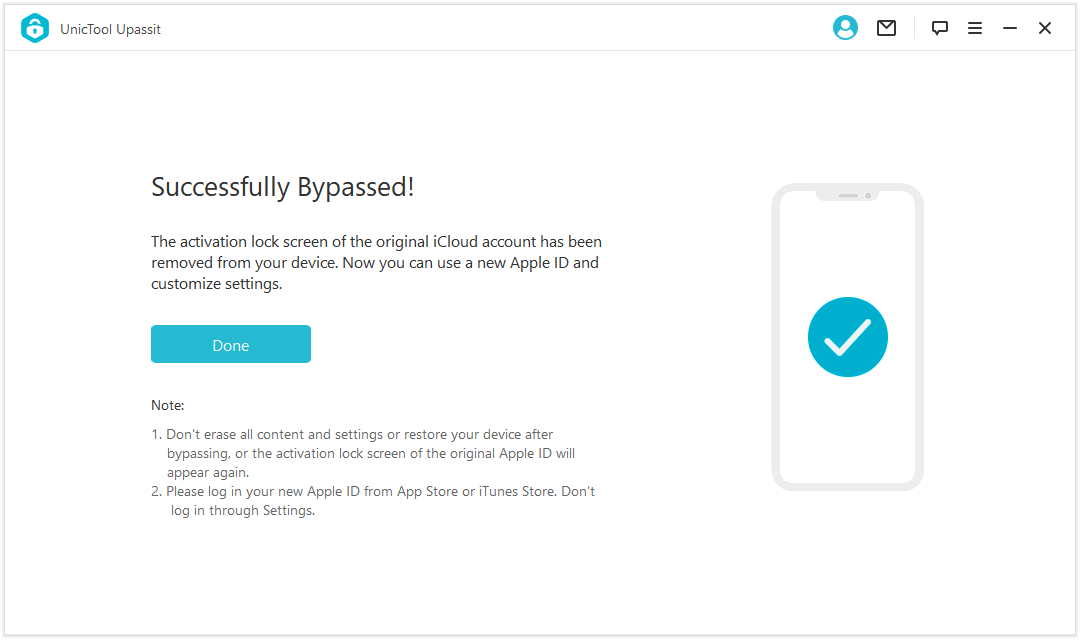
When the bypassing is done, your iOS device will be completely reset as a new device.
Note for iOS 12.x devices:
· After the bypassing iCloud Activation, please do not set screen locks for the device. Otherwise the Activation Lock will show up again the next time you reboot or restore the device.
· If the Activation Lock situation happens again after a restore, follow the instruction for the first mode "Bypass iCloud Activation Lock Screen" to fix it.
· Remember to log in your new Apple ID from App Store or iTunes Store. DO NOT log in via Settings.
· Method 2: For iOS 13.0 or above device
3Turn Off Find My Device
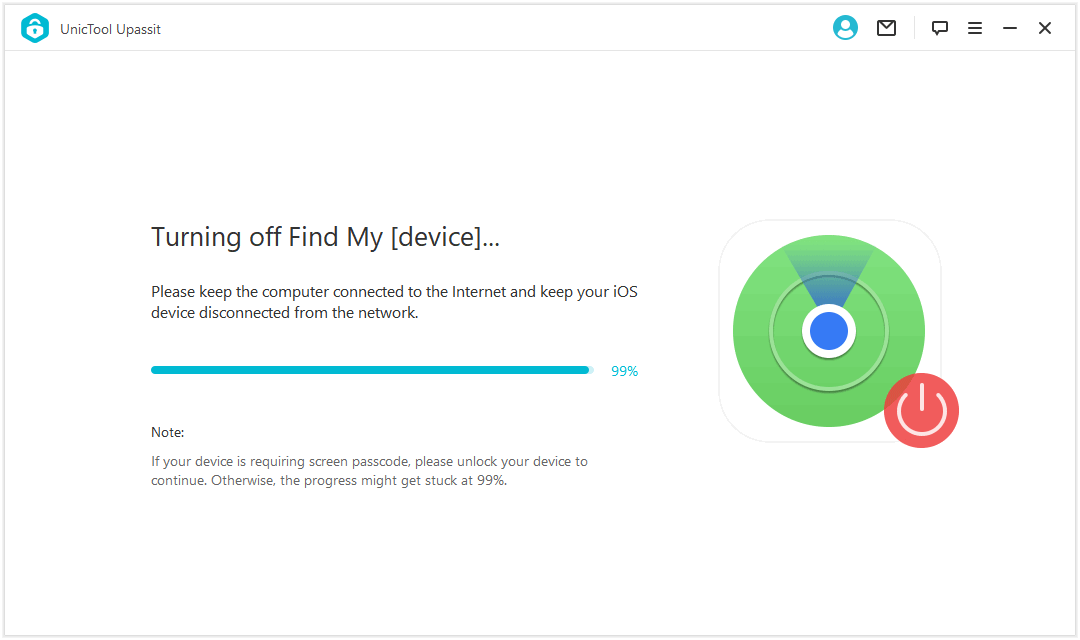
After jailbreaking your iOS device, Upassit will automatically turn off the Find My feature on your iOS 13.0 or above device.
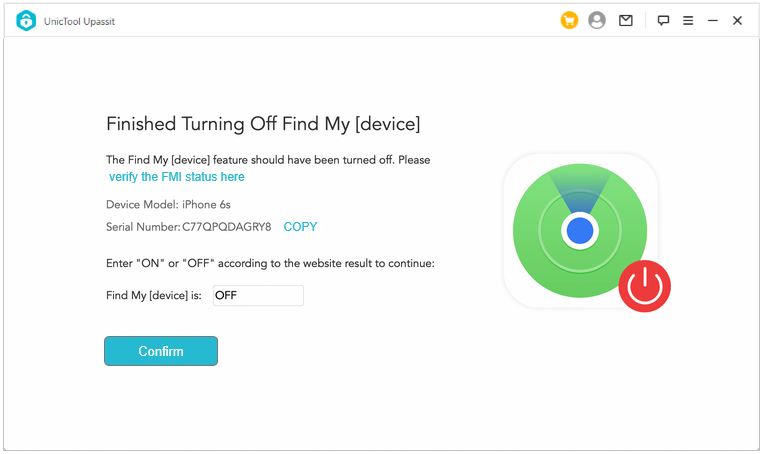
When the process is done, confirm your FMI status (ON / OFF) and click "Confirm".
4Erase Your Device
Upassit will now erase all the content and settings stored on your device. Please make sure to keep the process uninterrupted until it's finished.
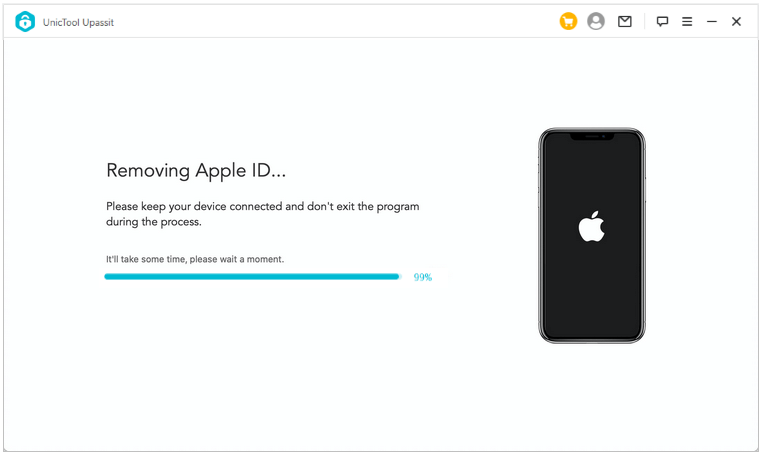
When the erasing process is done, your iOS device is set as good as new.
Part 3. Turn Off Find My [device]
Note
· If the Standard Repair fails to fix your device, it means the device suffers from a more severe issue, which you can fix with Deep Repair.
· This moode will not work on an unactivated iOS device (whether the Activation Lock has been bypassed or not).
1Connect Your Device to Upassit
Launch Upassit on your computer, and select the mode "Turn Off Find My [device]" to start.
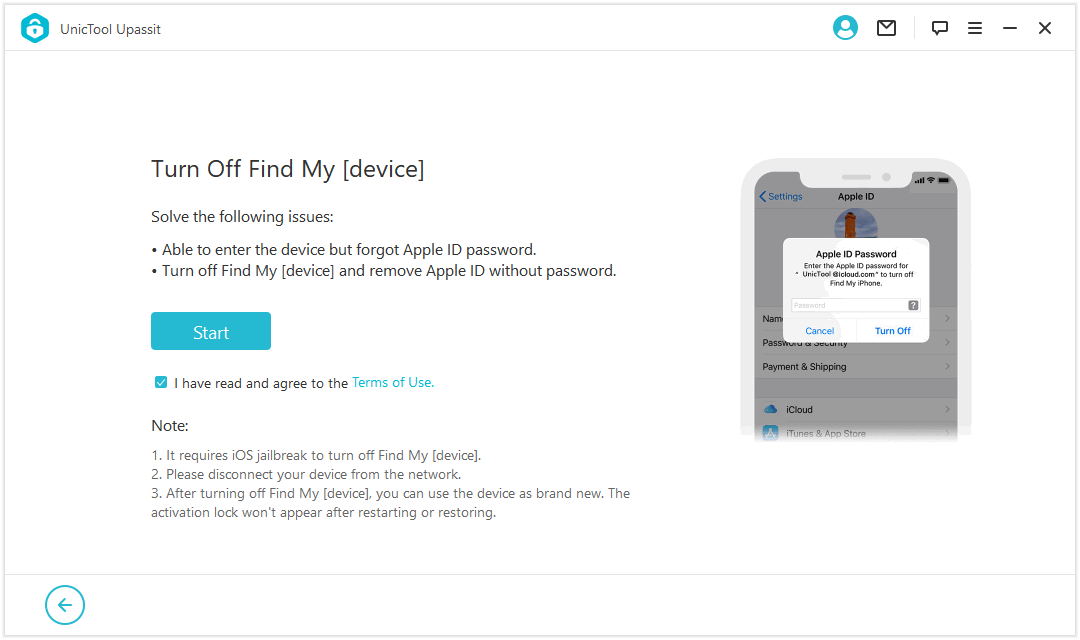
Connect your iPhone/iPad/iPod touch to a computer using a USB cable.

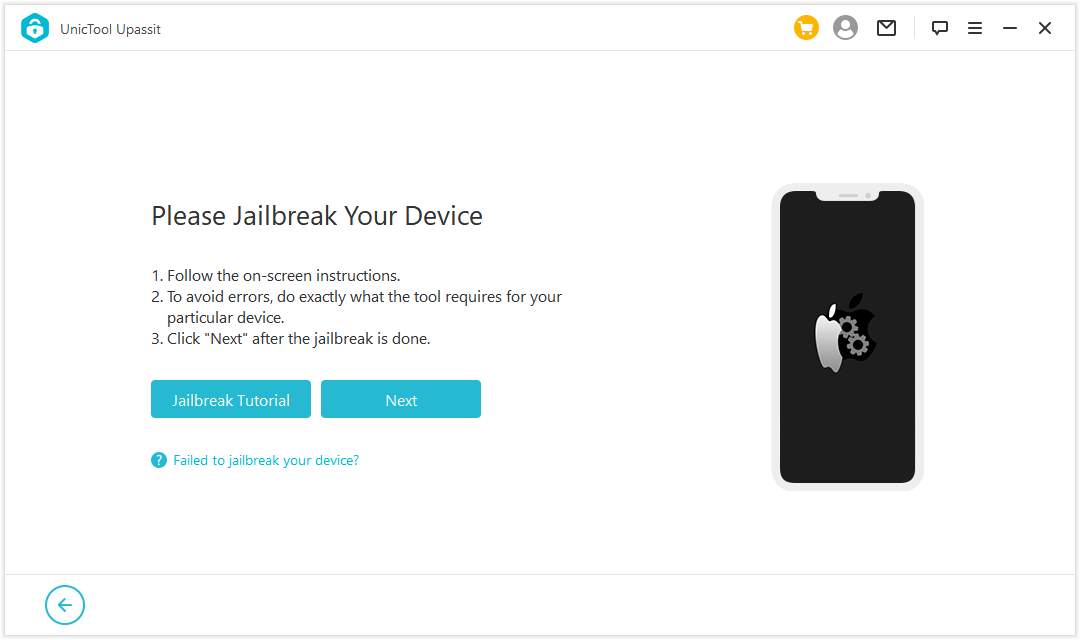
2Jailbreak Your Device
Jailbreaking your device is required to turn off Find My feature. Follow the on-screen instructions to complete the jailbreak process. Then click "Next" to process to the next steps.
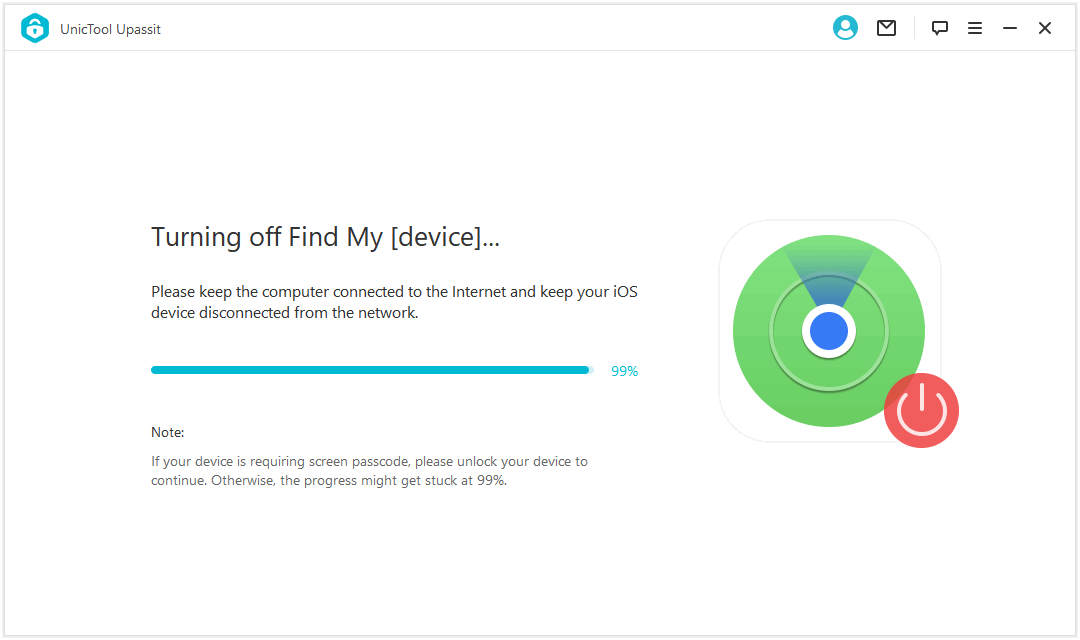
3Turn Off Find My [device]
Upassit will now automatically start the program to turn off Find My feature on your device.
Then, Upassit will inform you of the information of your device. Enter the FMI status (ON or OFF) and click "Confirm".
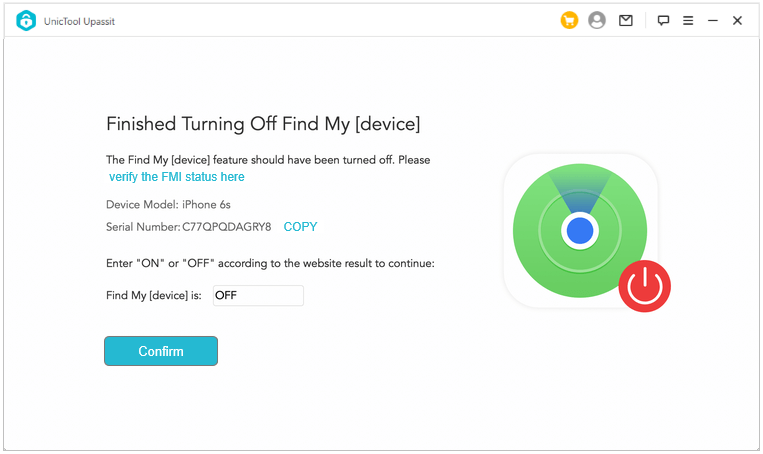
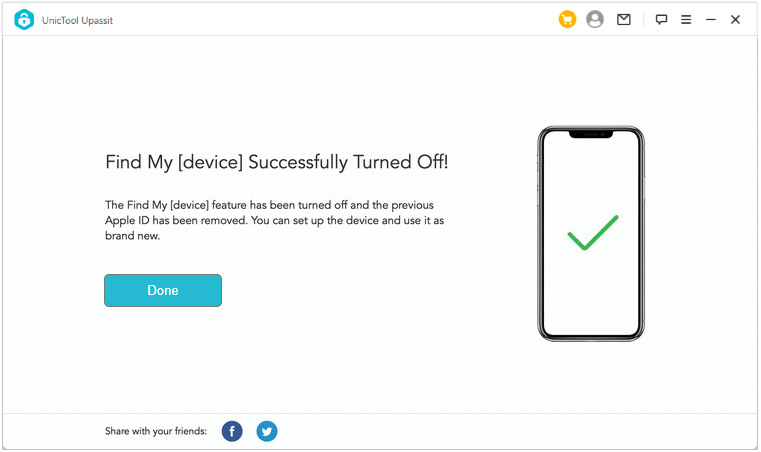
After a few seconds, the Find My feature will be turned off and the previous Apple ID associated with the device will be removed. You can now set up the iOS device as a brand new one.
Hi, is it helpful?
Absolutely!
Not really...
Thanks for your kind feedback!
Thanks for your kind feedback!