Part 1: Mode Selection
Mode 1 : General Mode (Default Mode)
Suitable for most location-based applications such as Google Maps, Facebook, WhatsApp, etc.
Steps to enable General Mode:
1.Go to "Settings" > "About phone" > "Software information" and tap "Build number" 7 times.
2.Go to "Developer options" > "Select mock location app" and choose "TailorGo".
After completing these steps, you can start modifying your location.
Mode 2 : Game Mode
Designed specifically for modifying the location in AR games such as Pokémon, Monster Hunter, Dragon Quest, etc.
Steps to enable Game Mode:
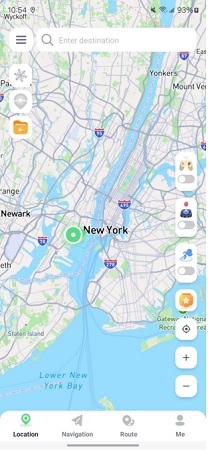
1.Open the game mode switch on the right sidebar of the main interface or select game mode from the side drawer.
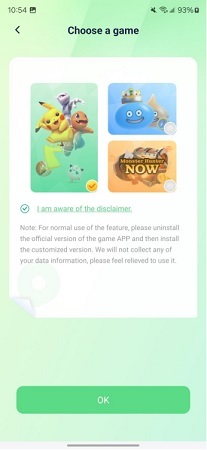
2.Enter the game selection page, choose the game you want to play, and click “OK”.
3.Follow the instructions to install the customized app. Modify the location to the desired destination before opening the game to avoid detection.
Note:In Game Mode, location modification only affects the specific game and does not impact other applications.
Part 2. Change Location with TailorGo Android App
1 Single Point Teleport (One-Click Location Change)
Step 1: Long press on the map or enter the location or coordinates in the top search bar to select a point.
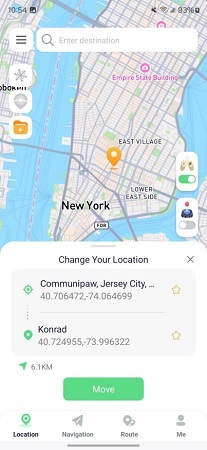
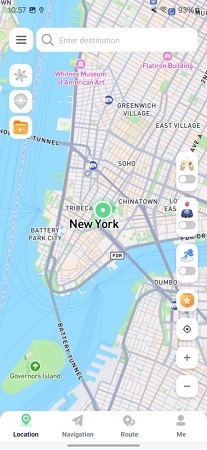
Step 2: After the panel appears, click the “Move” button to change the location to the destination.
2 Joystick (Best for Games)
Step 1: Open the joystick switch on the right sidebar to activate the joystick panel.
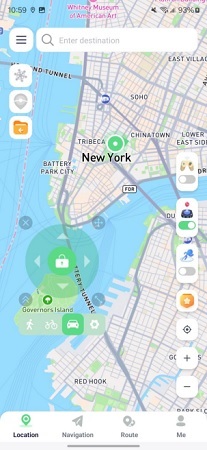
Step 2: Drag the central ball to move 360°. When the central ball is locked, dragging it to the edge of the joystick panel enables real-time movement. Click the center again to unlock and pause movement. Support select walking, cycling, driving speed, or customize the speed
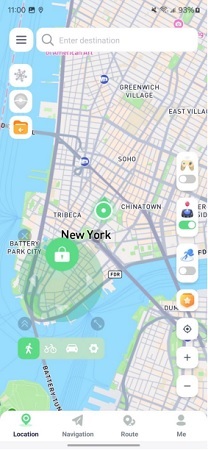
Note:It is recommended to use the joystick at walking speed when playing games for a more realistic experience.
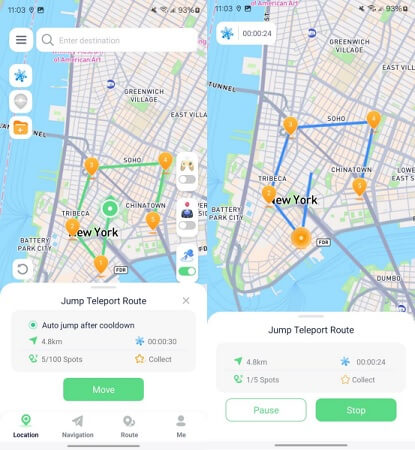
3 Jump Teleport Route (Plan Teleport Routes)
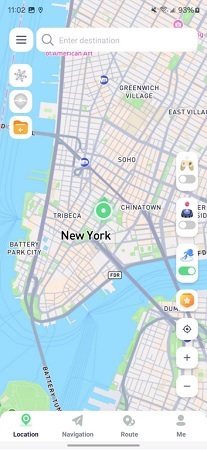
Step 1: Open the jump teleport route switch on the right sidebar and select multiple destinations on the map.
Step 2: Click the “Move” button to teleport to the next point. You can switch between the previous and next points freely.
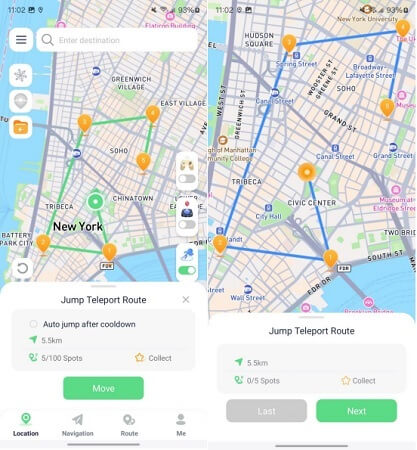
Step 3:Before starting the route, you can check “Auto jump after cooldown” to automatically jump to the next point after the cooldown timer finishes until the route is complete.
4 Two-Point Navigation Route (Simulate Real Travel)
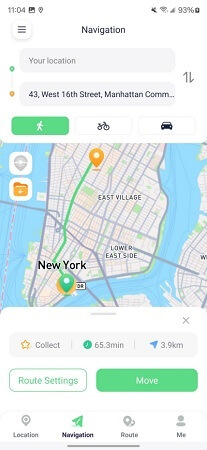
Step 1: Switch the bottom tab to "Navigation".
Step 2: Select the start and end points. Choose a travel speed (walking, cycling, or driving) to plan different routes based on the speed. Click the “Move” button to simulate the navigation route.
Step 3:You can adjust the speed using the speed bar during the simulation. Pause or end the route at any time.
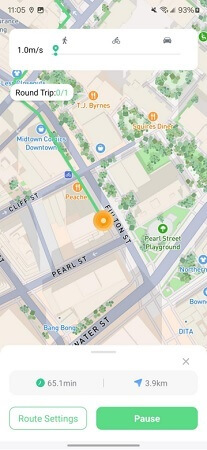
Step 4: You can adjust the speed using the speed bar during the simulation. Pause or end the route at any time.
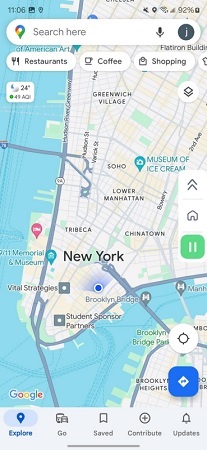
5 Multi-Point Route (Simulate Custom Routes)
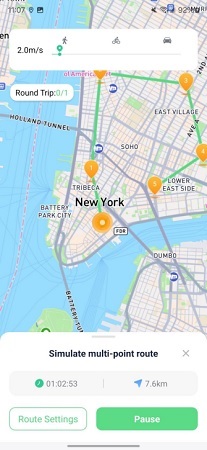
Step 1: Switch the bottom tab to "Route". Select multiple destinations to customize a multi-point route. Click the "Move" button to simulate the route.
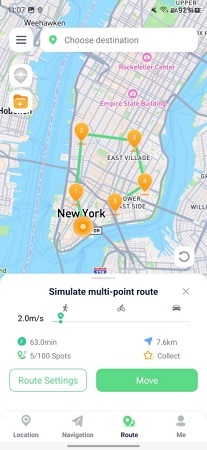
Step 2: Adjust the speed using the speed bar during the simulation. Pause or end the route at any time. Enable floating window permissions to control route pausing and resuming in the background.
Part 3. Special Features
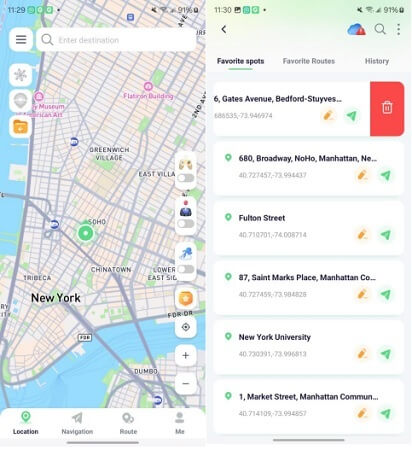
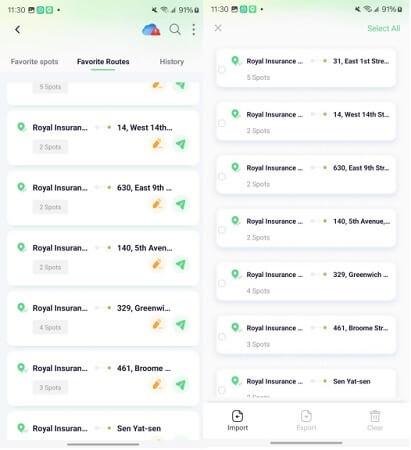
1 Favorites and History
Data Management: Click the favorites entry on the right sidebar to view favorite spots, routes and history. Support edit names, directly go to a spot, apply route, and delete data. Use the top search button to find desired data.
Hi, is it helpful?
Absolutely!
Not really...
Thanks for your kind feedback!