As TailorGo supports both iOS and Android devices, you can check the corresponding user guide:
TailorGo user guide for iOS devices TailorGo iOS App user guide TailorGo user guide for Android devicesPart 1. Get Connected
1Get Started
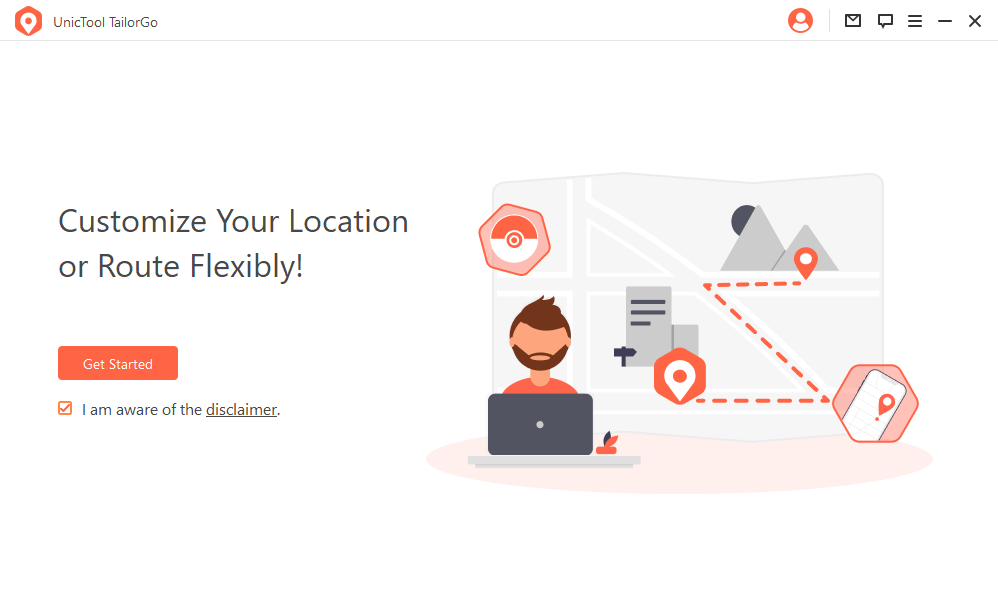
Download, install and launch TailorGo on your computer. Click "Get Started" to begin.
2Connect Your Device
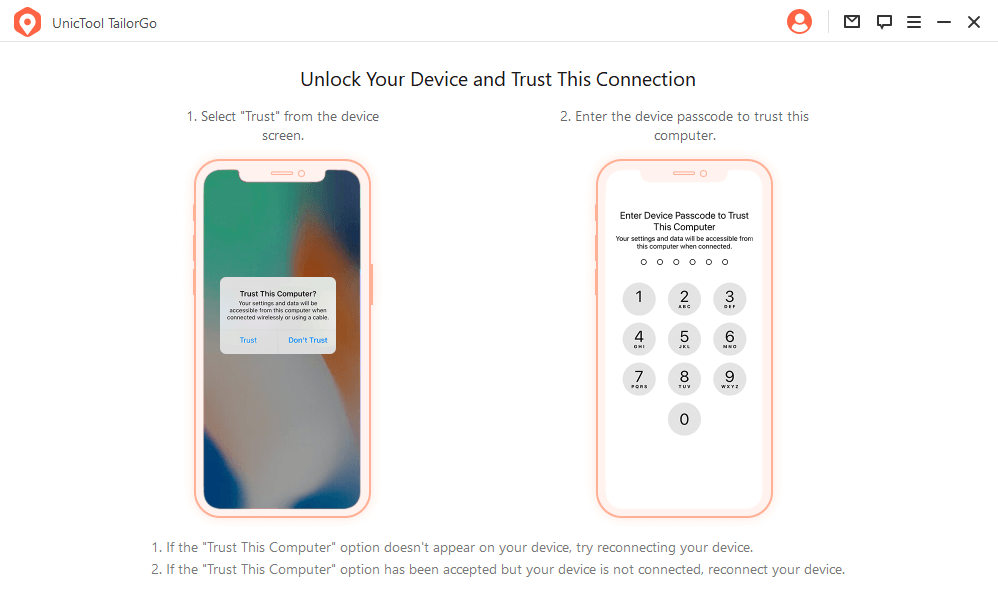
First Connection: Connect your iOS device to the computer and confirm trust of the computer. Enter the screen passcode when required.
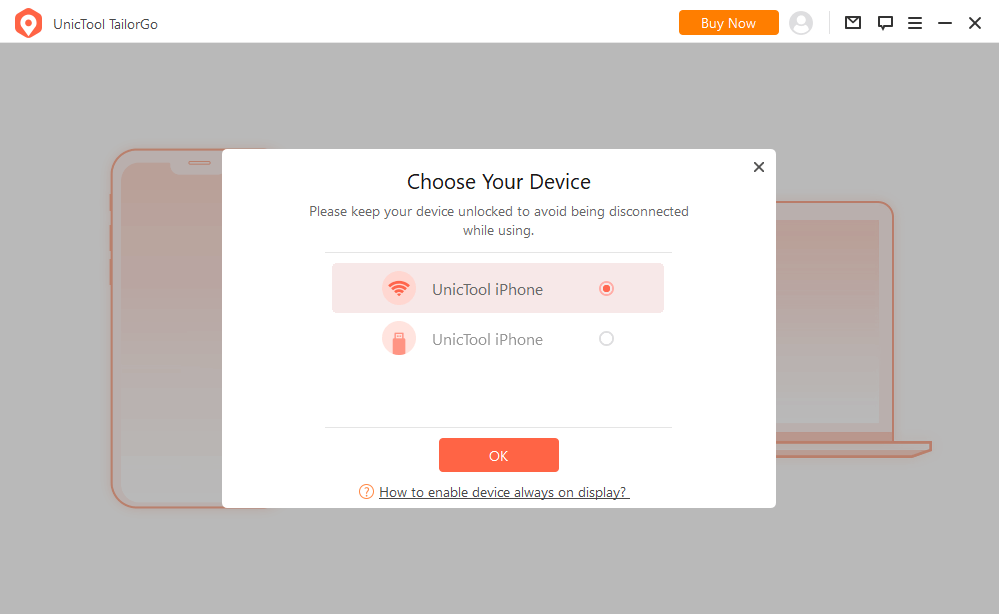
Second Connection: After successfully connecting your device to the computer via USB cable for the first time, you can directly choose to get your iOS device connected next time as long as it is under the same WiFi network as the computer.
Note:
- 1. The iOS device and the computer should be connected to the same WiFi.
- 2. Android devices are not supported for this feature.
- 3. Always keep your iPhone/iPad/iPod unlocked when connecting to WiFi. ( >> How to do that?)
3Load the Map
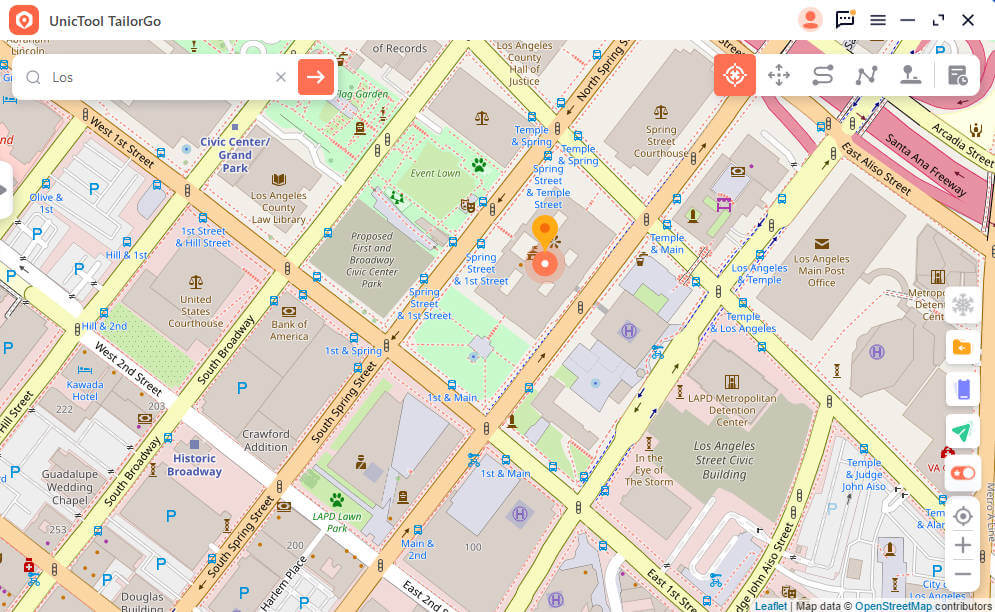
The map will be loaded and you can find your location on it.
Part 2. Change GPS Location - Teleport Mode
1Select A Target Destination
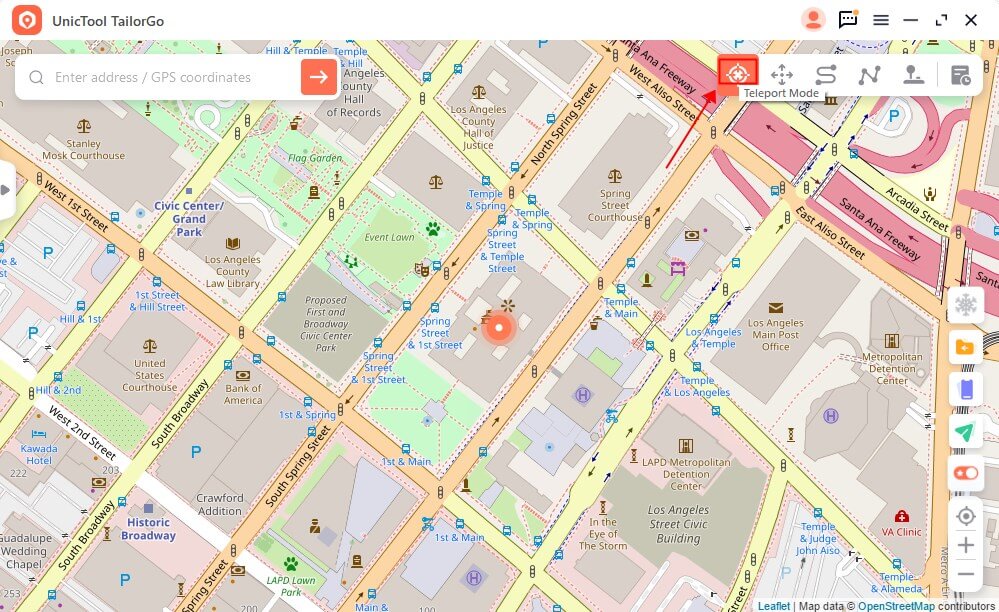
In the top right corner, select Teleport Mode. Zoom in or out on the map to select a destination you want to "go" to. You can also search a destination by its name or by entering the exact coordinates in the search box.
2Change GPS Location
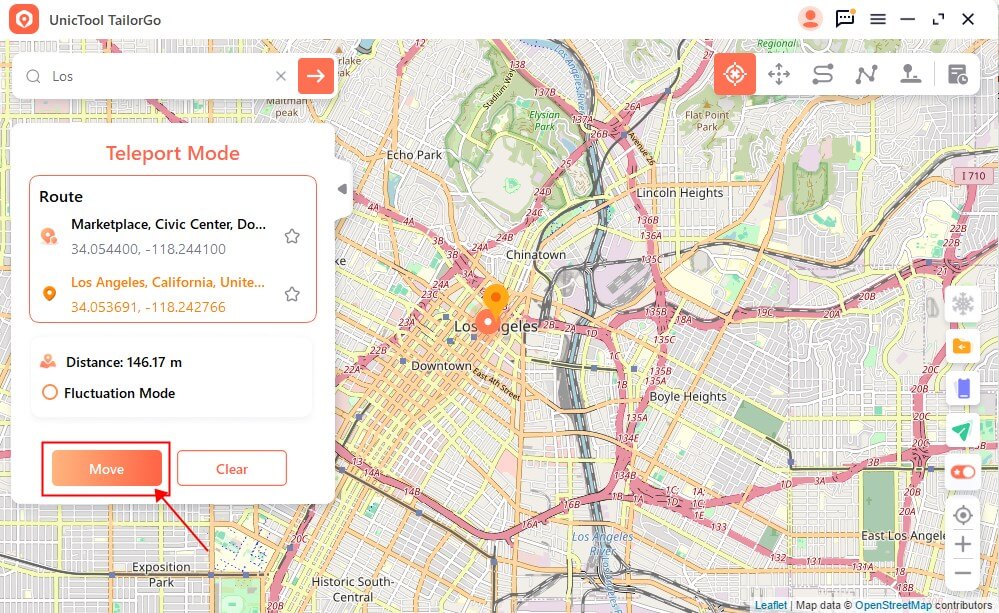
After you select a destination, a sidebar will pop up showing the destination information including the place name, coordinates, and the distance. Click "Move" to change the location and it will be done instantly.
When you complete the location modification, you will receive a completion reminder

Note:
- 1. After you move to the location you chose, all location-based applications on your device will then be changed to that location as well.
- 2. If you want to recover your location, just restart your iOS device.
Part 3. Simulate GPS Movement - Two-Spot Mode
1Choose Two-Spot Mode
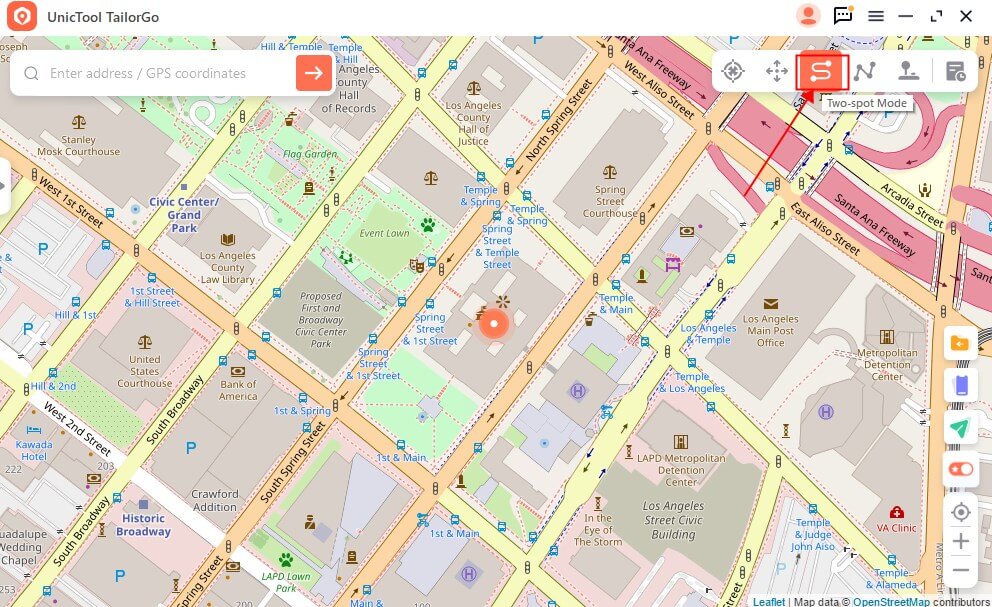
First select the Two-Spot Mode by clicking the icon in the upper right corner.
2Plan the Route and Start to Move
Choose a destination by pinpointing on the map or searching by its precise name or coordinates. Once done, the destination will show in the sidebar along with your current location. When everything is ready, click "Move" to start simulating movement.
You can then customize the number of moving times, the way you want to move, and the speed of movement.
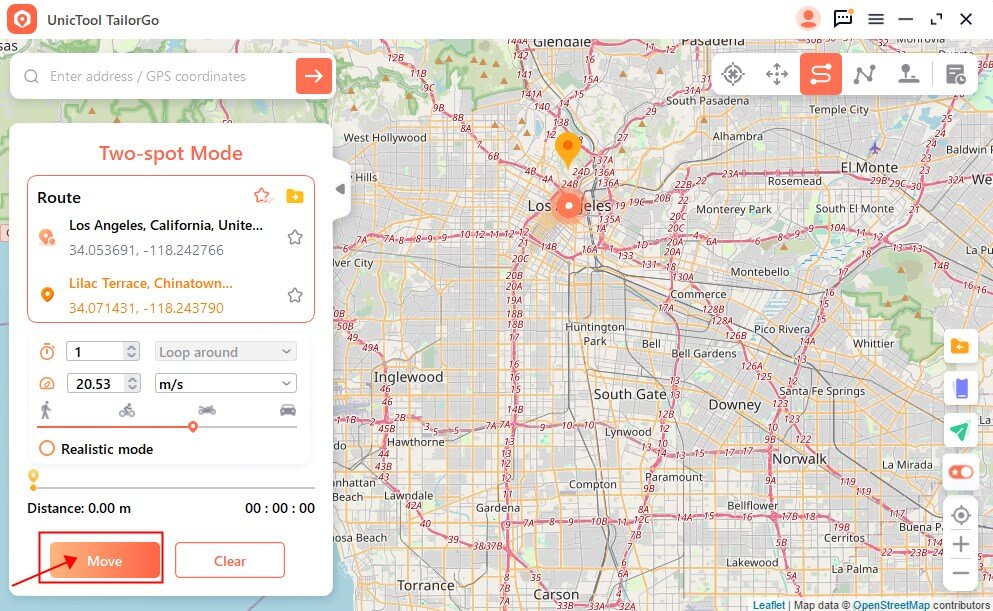
You can choose "Pause", "Stop". Then select the movement method; speed; mode according to your needs.

Then you can choose continue to change your location.

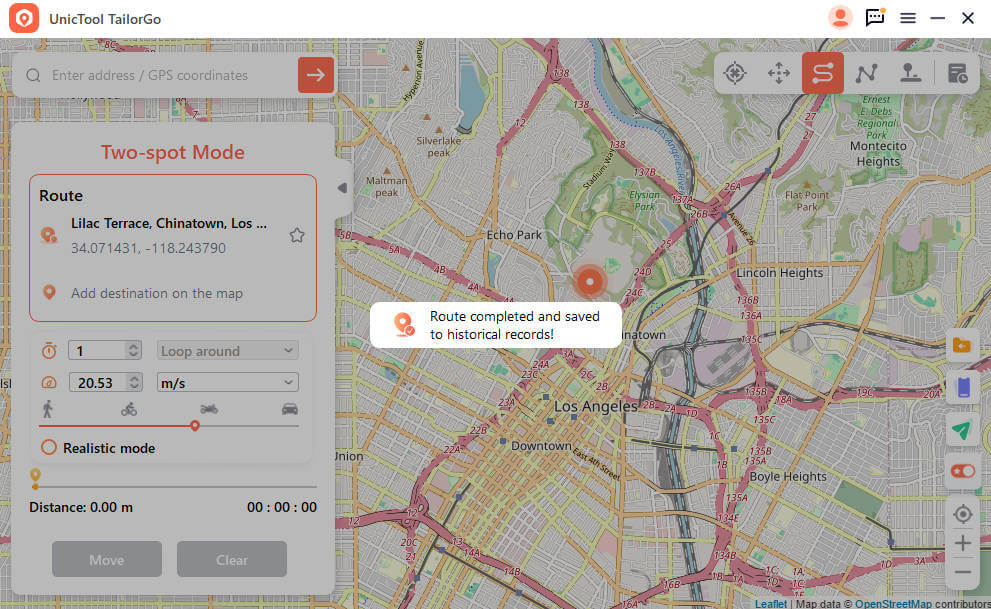
3Finish Moving
When it finishes, a notification saying "Completed!" will let you know.
Part 4. Simulate GPS Movement - Multi-Spot Mode
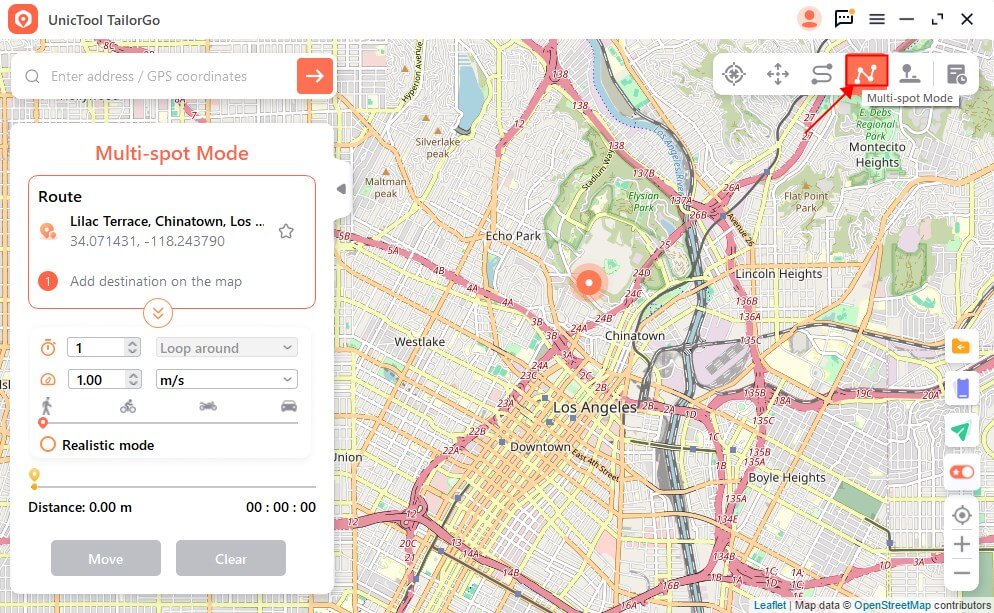
1Choose Multi-Spot Mode
Select Multi-Spot Mode in the upper right corner.
2Plan the Route and Start to Move
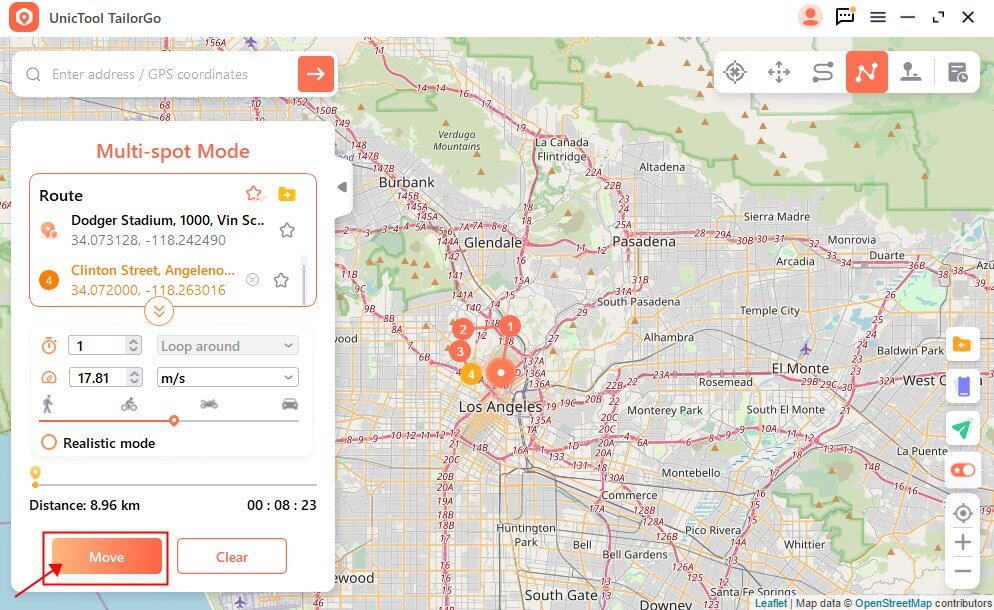
Pinpoint the spots you want to pass by on the map one by one directly. Or enter the names/coordinates to set the spots. To make the movement more natural, you'd better choose the spots along specific roads.
3Finish Moving
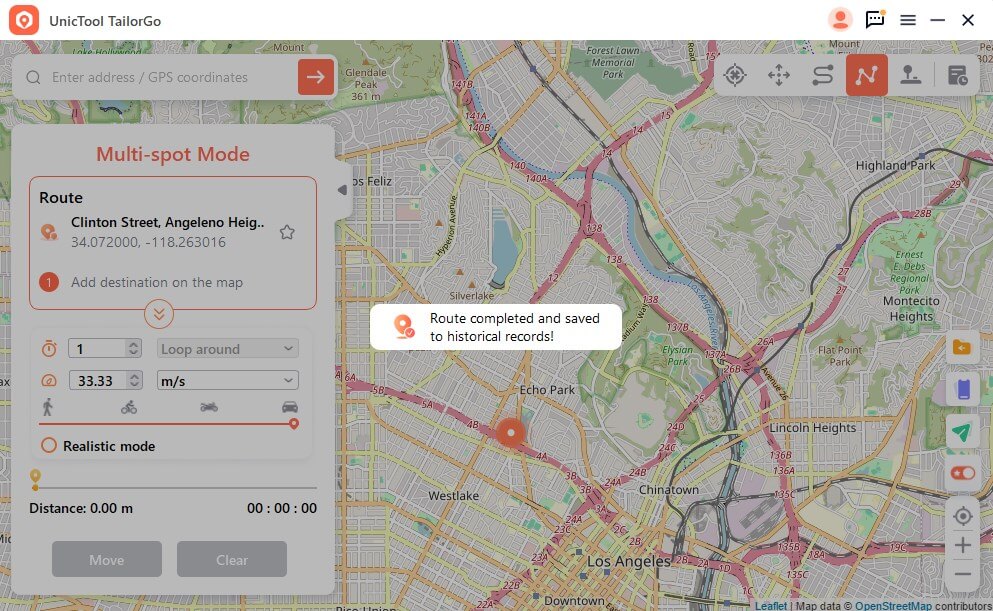
Click the "Move" button and TailorGo will simulate the movement. You'll get a notification when it finishes.
Part 5. Mock GPS Location - Joystick Mode
1Choose Joystick Mode
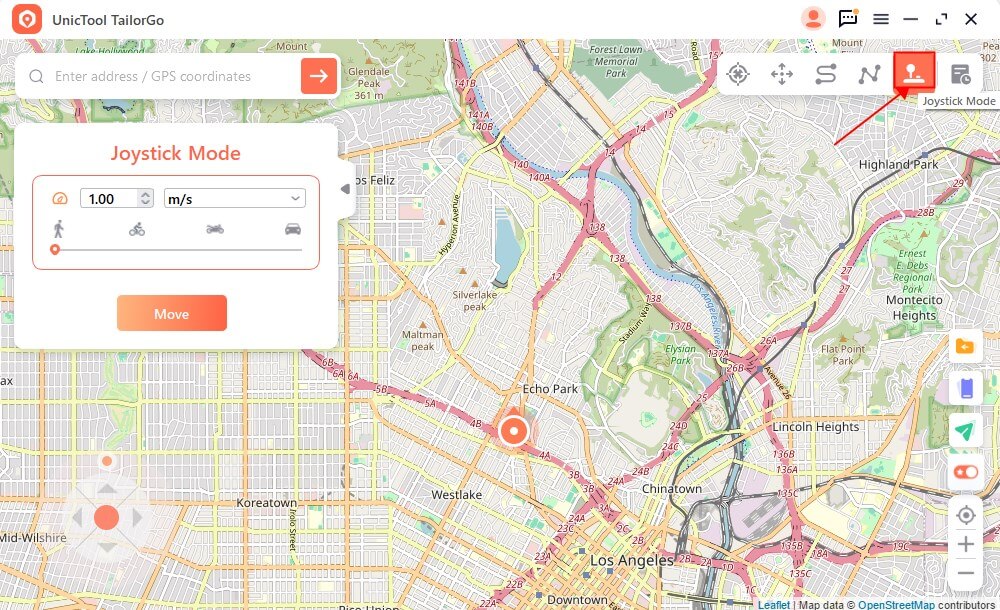
If you want to mock your GPS location with joystick, you can select Joystick Mode at the upper right corner (the 1st one). With just one click on the "Move" button, you can move automatically on the map.
2Set the Direction and Start to Move
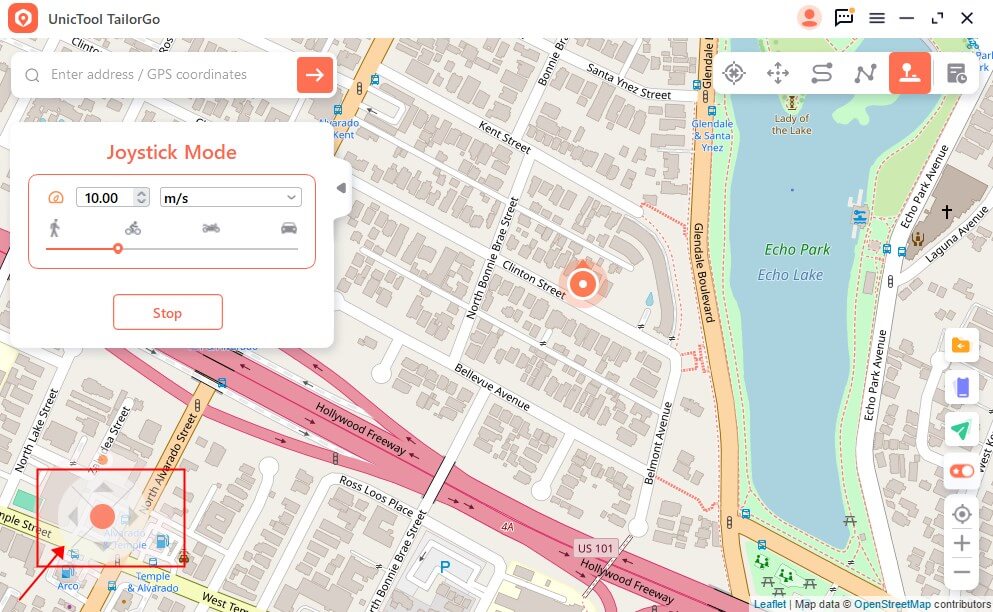
You can set 360-degree directions, and move forward or reverse by clicking "Move“ button.
What's more, you can change the directions in real-time marching. Or you can use keys W, A,S, D, or keys Up, Down, Left, Right to control GPS spot movement.
Part 6. Mock GPS Location - Jump Teleport Mode
1Choose Jump Teleport Mode
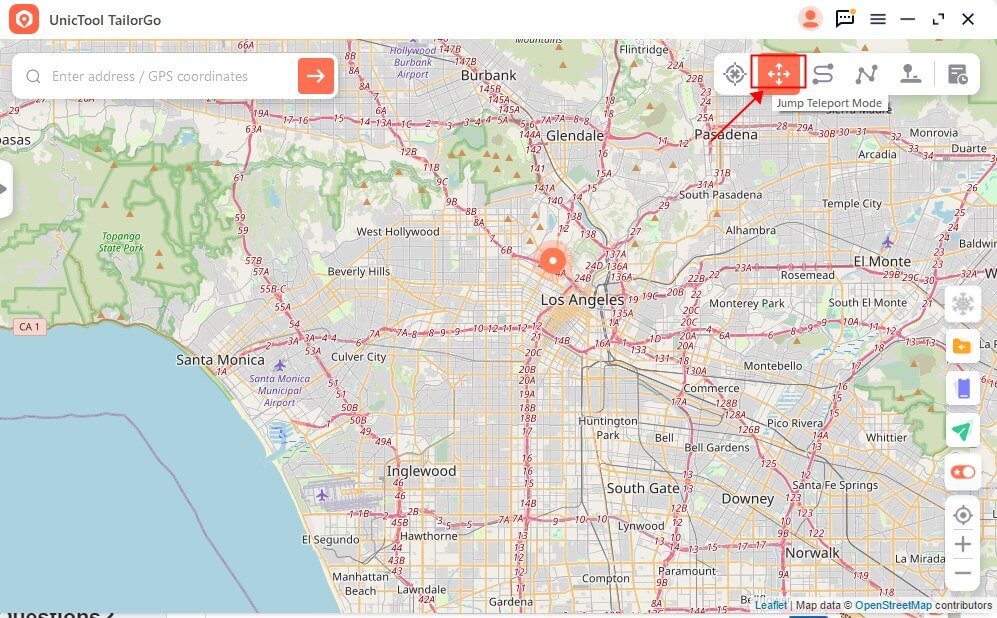
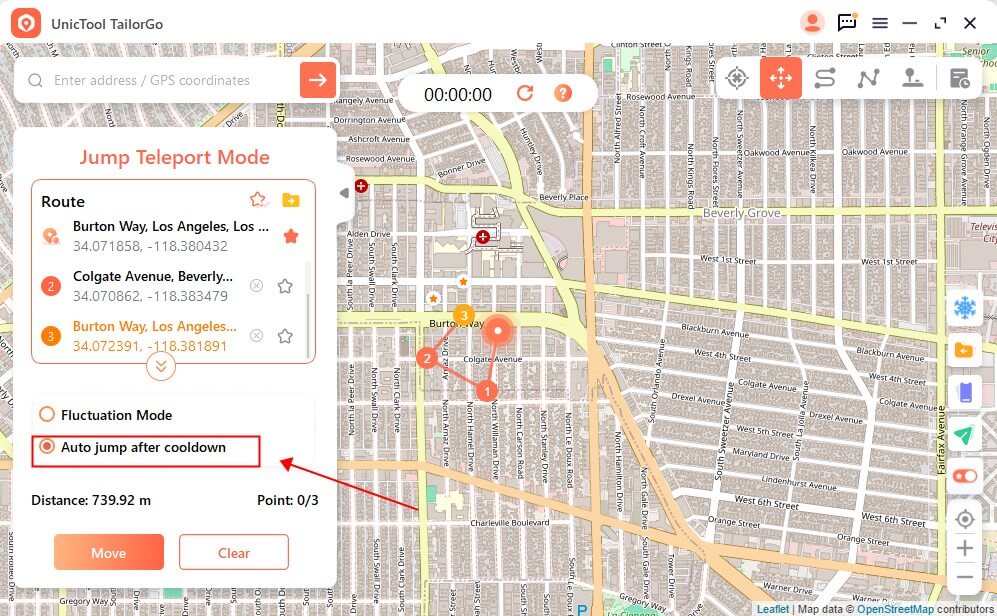
To customize your Jump Transmission route, select Jump Teleport Mode in the upper right corner.
2Plan the Route and Start to Move
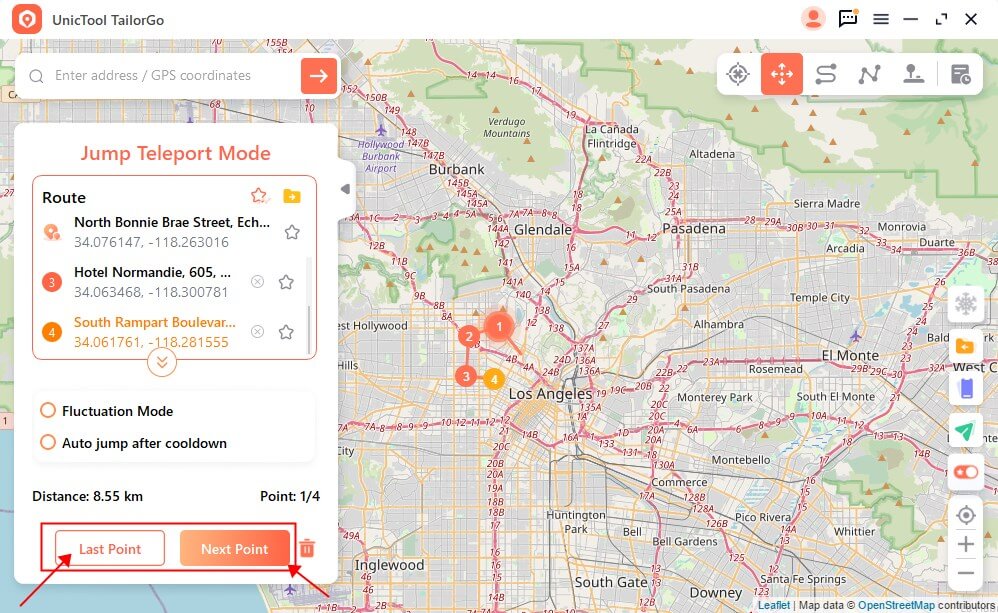
Set the map to the different jump points you want to go through. Alternatively, enter the address/GPS coordinates directly. When finished, click Move to jump to the next location.
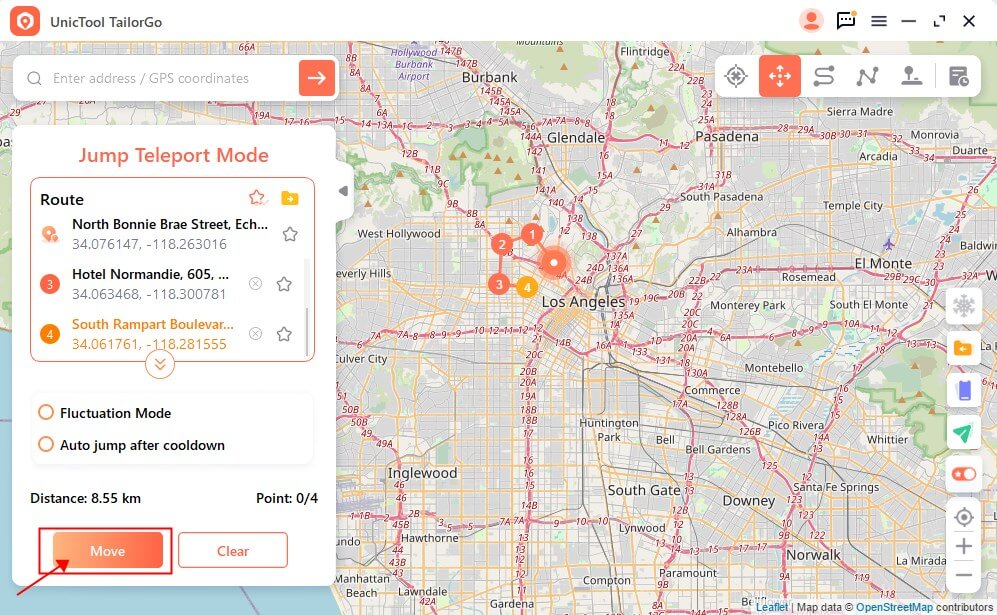
You can choose" Last Point" or " Next Point' to directly to location that you want to go.
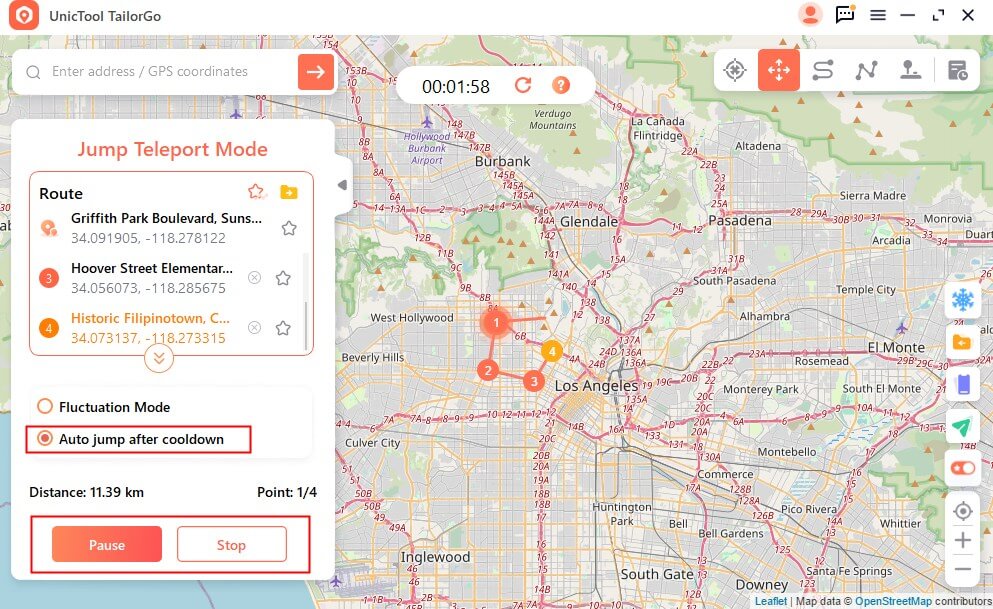
Besides, click "Pause" or "Stop" to end the route freely. You can also check for automatic jumps after cooling down. The route you check will automatically jump to the next point according to the cooling timer until it is completed.
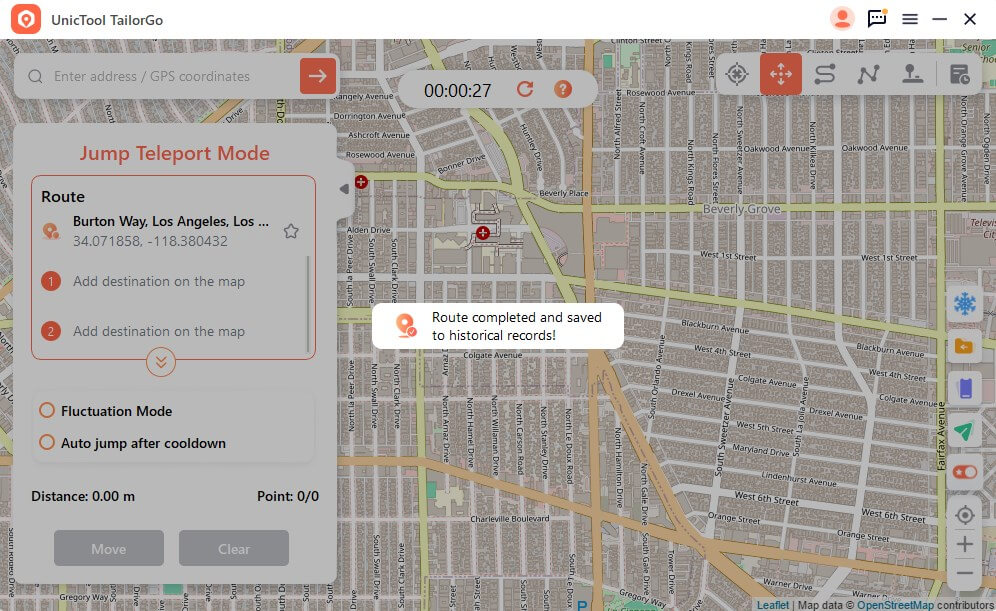
3Finish Moving
Click the "Move" button and TailorGo will simulate the movement. You'll get a notification when it finishes.
Part 7. Some Highlights of TailorGo
1Import/Export GPX File
By importing a GPX file, we can quickly exchange GPX position data.
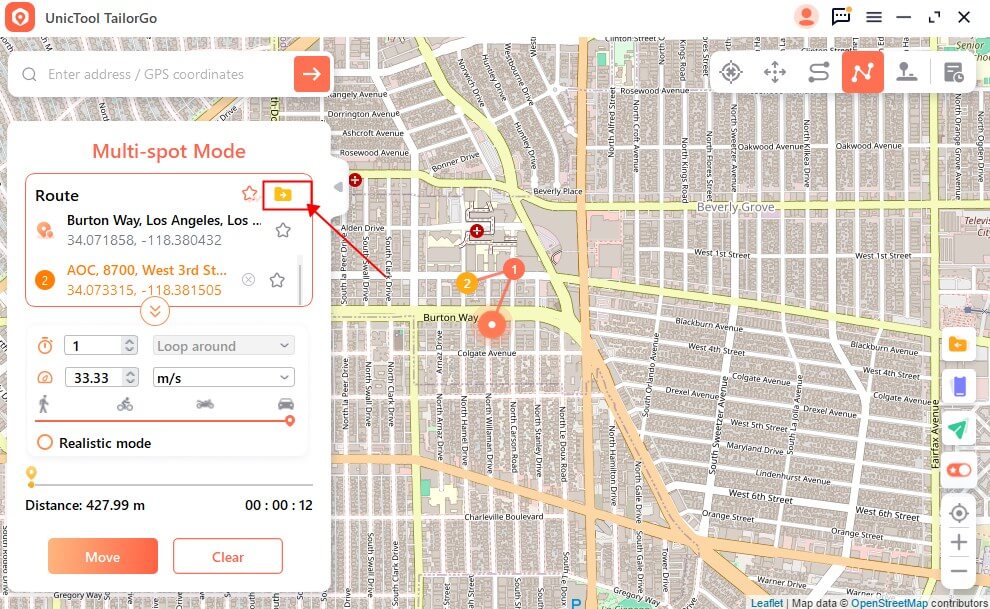
Importing a GPX file: If you have a GPX file provided by a friend or downloaded from the internet, you can import it into TailorGo. On the main screen, click on the first option in the bottom right corner, the "Import" option.
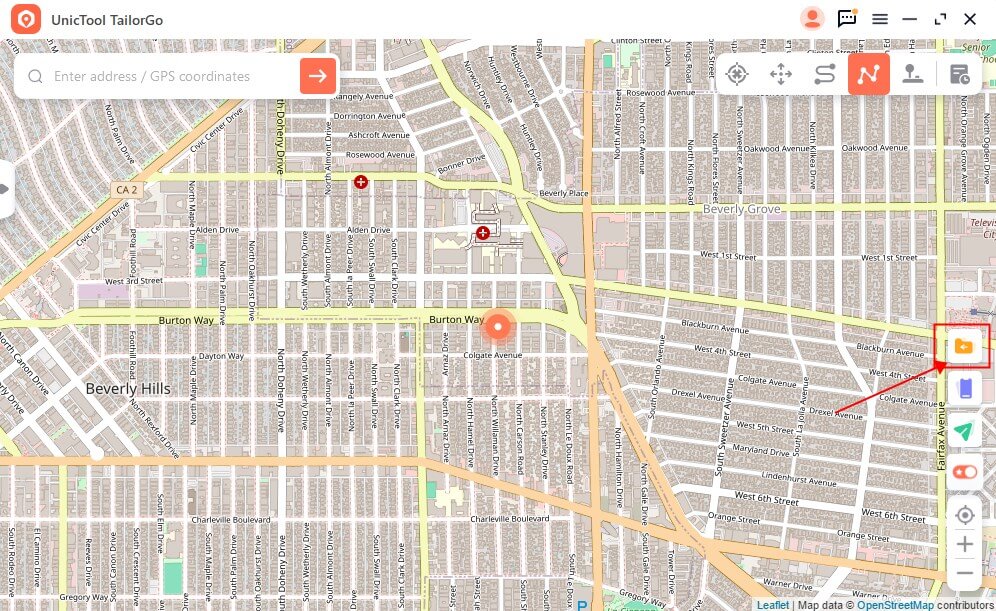
Exporting a GPX file: After using Two-point Mode or Multi-point Mode, you will see an "Export" button on the icon in the upper right corner. Click the Export button to save the route as a GPX file.
2Circle Route
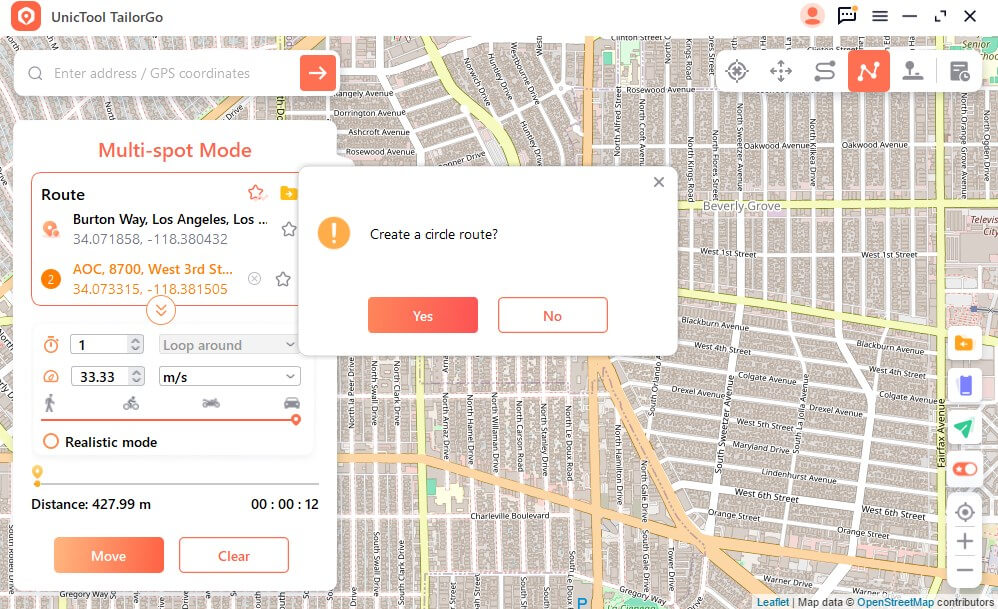
In Multipoint Mode, TailorGo asks if you want to create a loop when the start and end points are nearby. Selecting Yes aligns the start and end points; selecting No keeps the end point at its exact location.
3Realistic Mode
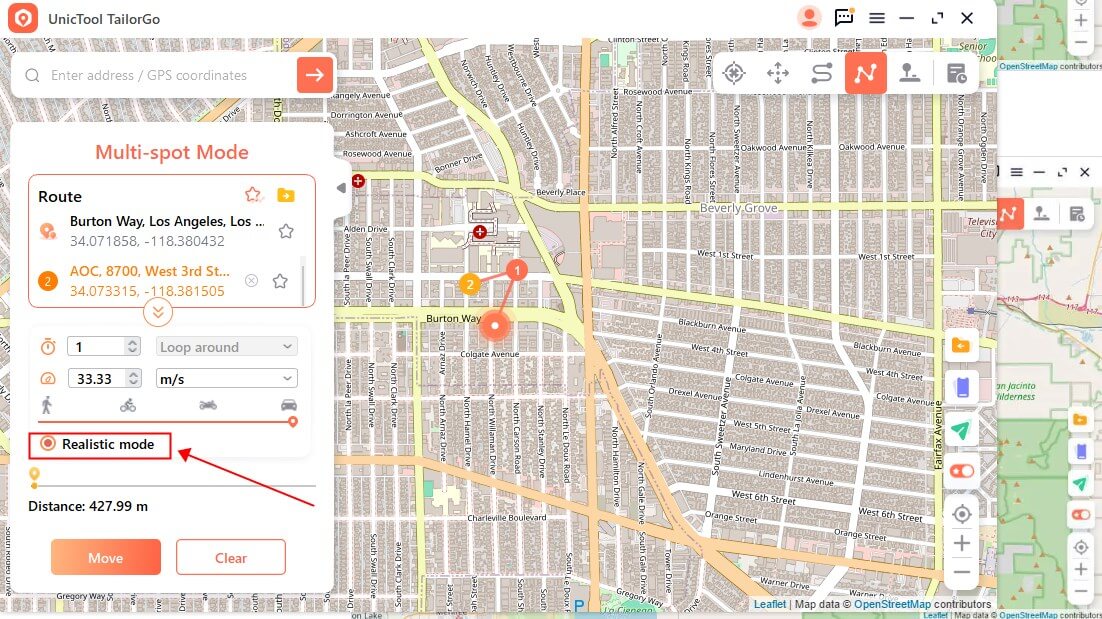
In real mode, movement speed will fluctuate randomly between the upper and lower 30% of the selected speed range. The speed changes every 5 seconds.
4Fluctuation Mode
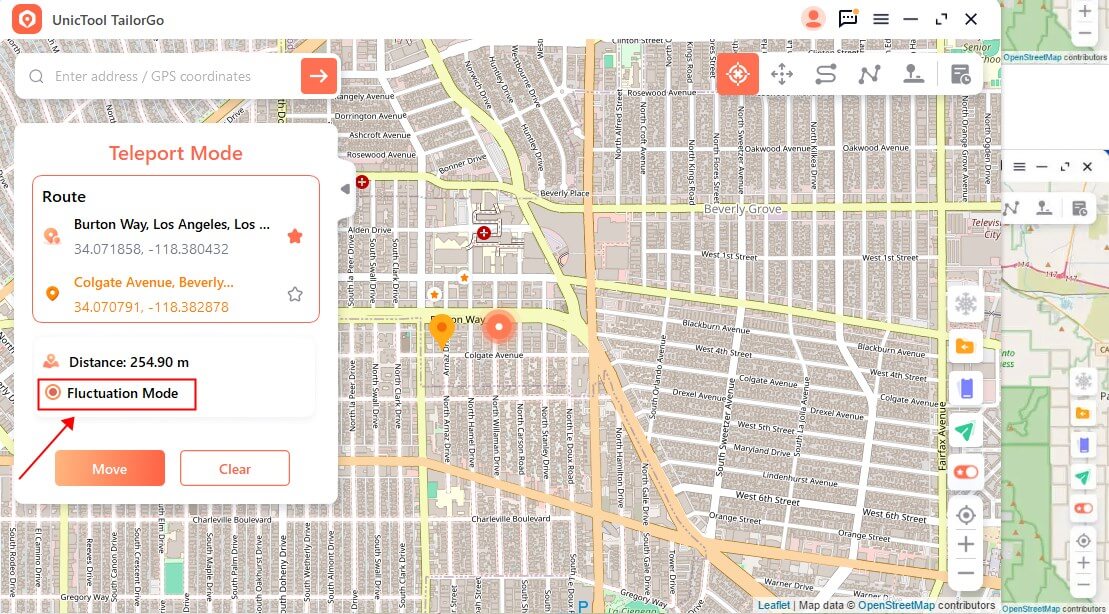
In Teleport Mode, you can select the fluctuation mode. When checked, the virtual position will fluctuate back and forth within a few meters.
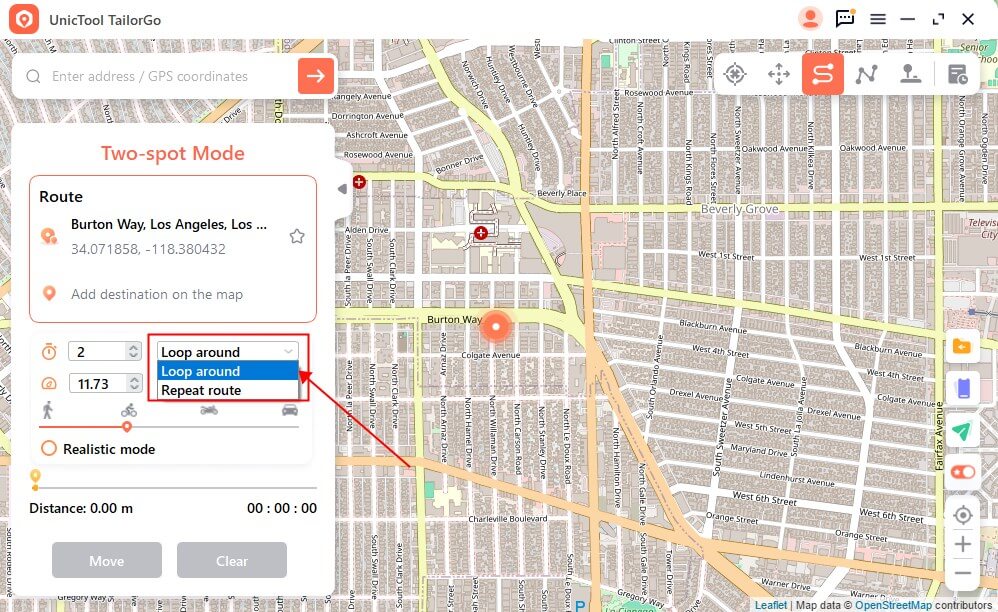
5 Returns or Loops
When the number of times is greater than 1, the user has the option of returning to the original route (from the start to the end and back) or looping in the form of repeating the route (from the start to the end, and then from the start to the end).
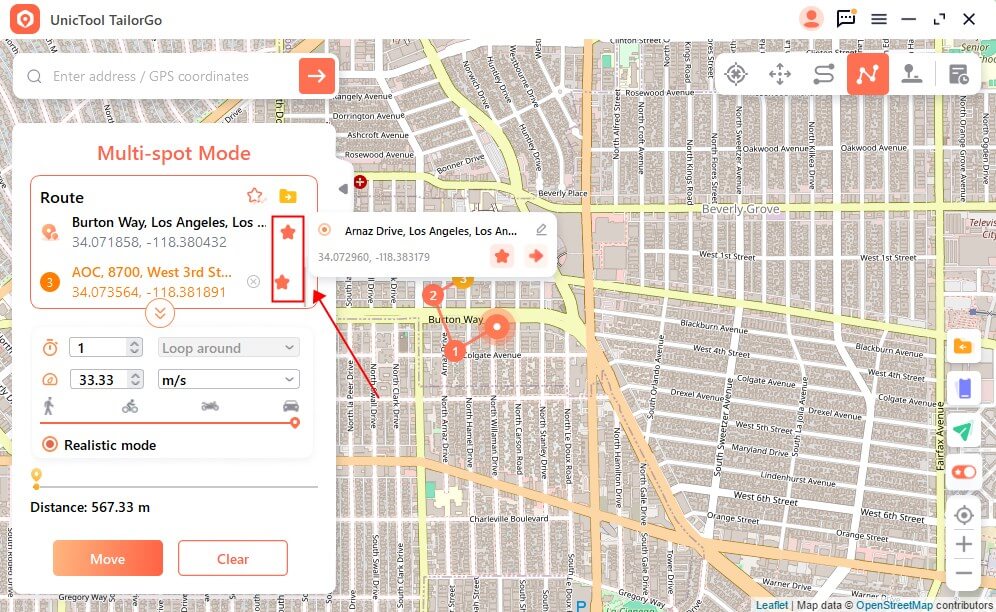
6Collect Route
You can click on the "star" icon to collect your planned multi-point or two-point routes. This feature allows you to keep the start and end points of your route and save time and tags.
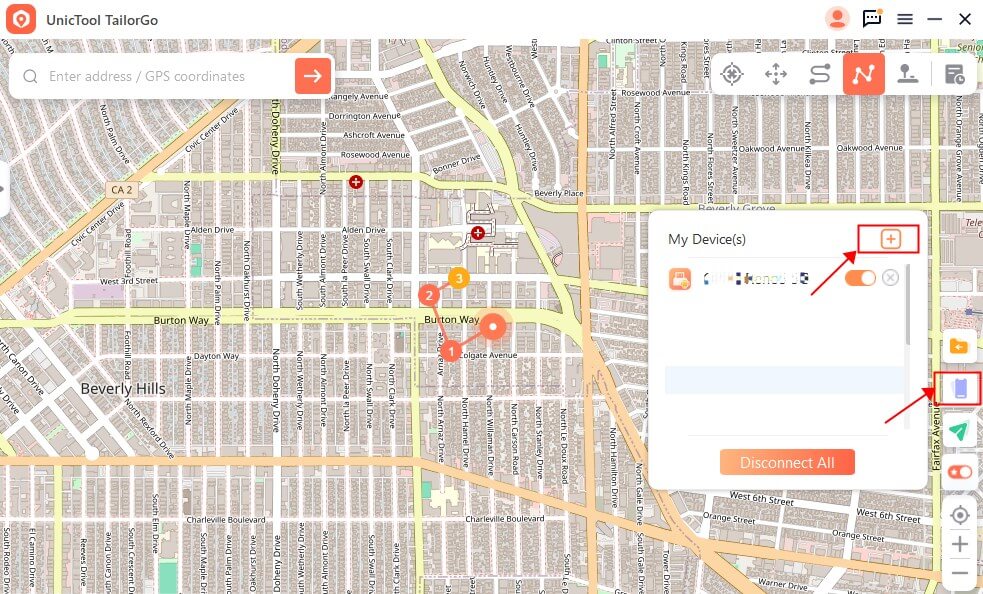
7Supports 5 iOS & Android Devices
TailorGoGo supports connecting up to 5 devices at the same time to change GPS location, including iOS and Android devices. Once you trust the computer, you can turn off any device or all of them at any time by selecting Disconnect All.
8 Cooling Timer Function
When you use Instant Mode, you can open the cooldown button in the lower right corner of the interface, and a cooldown timer will appear.
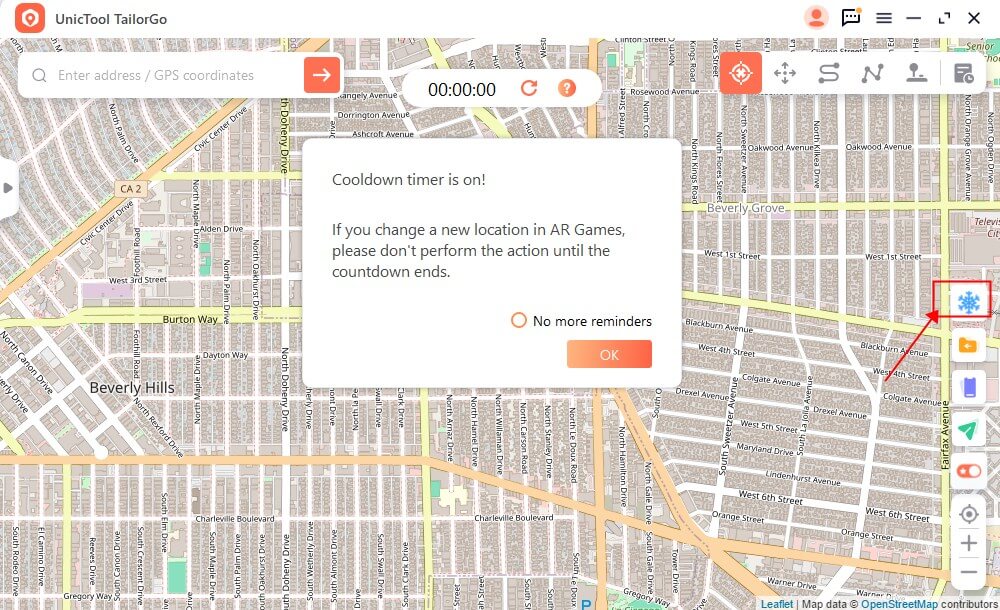
When you select the desired location and tap to move, the timer will calculate the corresponding cooldown time based on the distance. It is recommended that you do not perform any other operations until the countdown timer is over to avoid being soft-banned by AR games such as Pokemon GO.
9Map Collection - Pokemon GO PokéStop & Gym
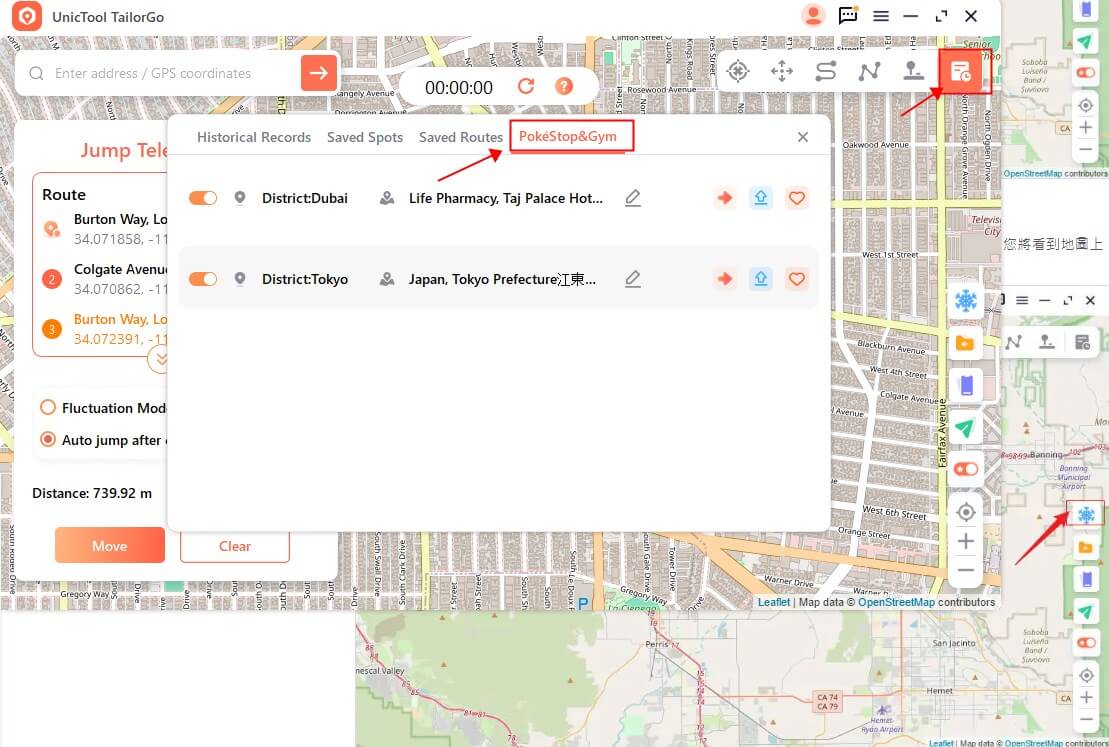
For Pokemon Go players, under PokéStop and Gym, select a specific location provided in the list and click Go Here, and you will see all the PokéStop and Gym marked on the map. You can either teleport directly or simulate your movements to collect items in PokéStops or fight in it.
Hi, is it helpful?
Absolutely!
Not really...
Thanks for your kind feedback!