If you're looking to safeguard your important messages by exporting them to a PDF file, you're not alone. Many iPhone users have been wondering how to do this. Fortunately, we've got you covered with our comprehensive guide on how to export text messages from iphone to pdf. Keep your messages safe and secure - read on to learn how.

Part 1.Is Exporting iMessages to PDF Possible?
Part 2. How to Export iMessages to PDF via Apple's Pages App
Part 1.Is Exporting iMessages to PDF Possible?
YES.
The good news is that exporting your iMessages to PDF files and transferring them to your computer is possible, and you don't even need a third-party tool to do it. You can do it right from your messages app using Apple's own Pages app or any other text editor. Now that you know it's possible, let's dive into how to export iMessage conversations to PDF. We'll provide step-by-step instructions to ensure a seamless and easy process.
Part 2.How to Export iMessages to PDF via Apple's Pages App
No need for third-party tools to export iMessages to PDF. To begin, download Apple's Pages app by opening the App Store and searching for "Pages." Once downloaded, follow these simple steps:
- 1Open the Messages app and select the conversation containing the messages you want to export.
- 2Choose the messages you want to export and copy them.Open the Pages app and create a new document.
- 3Paste the messages you copied earlier into the new document.
- 4Export the document as a PDF file.
- 5With the PDF file now on your phone, you can easily transfer it to your computer.
Exporting iMessages to PDF is a quick and simple process, and by following these easy steps, you can easily safeguard your important messages in a PDF file.
Part 3.Using iCloud to Sync Messages from iPhone to Mac
If you're a Mac user, syncing your iPhone text messages to your computer wirelessly is a convenient option. The best part is that new messages will automatically sync in real-time. However, be cautious because if you delete messages from your Mac, they will also be removed from your iPhone.
Here's what you need to do:
- 1Open the Settings app on your iPhone and select your Apple ID.
- 2Go to iCloud > See All > Messages.
- 3Ensure the toggle for Messages is turned ON.
- 4On your Mac, open the Messages app.
- 5Open Settings from the top menu.
- 6Select the iMessage tab.
- 7Make sure the checkbox for “Enables Messages in Cloud” is turned ON. If it's already ON, we recommend turning it OFF and then ON again.
Wait for a few minutes, and all your iPhone messages should start appearing on your Mac in the Messages app.
Part 4.How to Retrieve Deleted Messages on iPhone?
Sometimes you may running out of storage space on your iPhone and delete messages without backup. So, you will need a third-party software to view your deleted messages. One of the most reliable and easy-to-use applications is iFindit. Itis an effective data recovery tool designed for iOS devices. You could recoverall your lost data with it, including your iMessage history.
- Supports 18+ Data Types: It could recover various types of lost data, including notes, photos, videos, WhatsApp data ,Safari History and so on.
- Without Backup: It could recover your lost call history iPhone or other lost data directly from iOS devices without any backup.
- Preview Before Recovery: Once it completes the scan, you can preview the recoverable data before downloading it.
- Strong Compatibility: It supports almost all iOS devices (iPhone, iPad, iPod) and is compatible with almost all iOS versions (including iOS 16).
- Fast and Deep Scanning: It scans your iPhone thoroughly and quickly and offers a high recovery rate.
- User-Friendly: It offers an intuitive click-based user interface that requires no technical skills to use the tool.

Secure Download
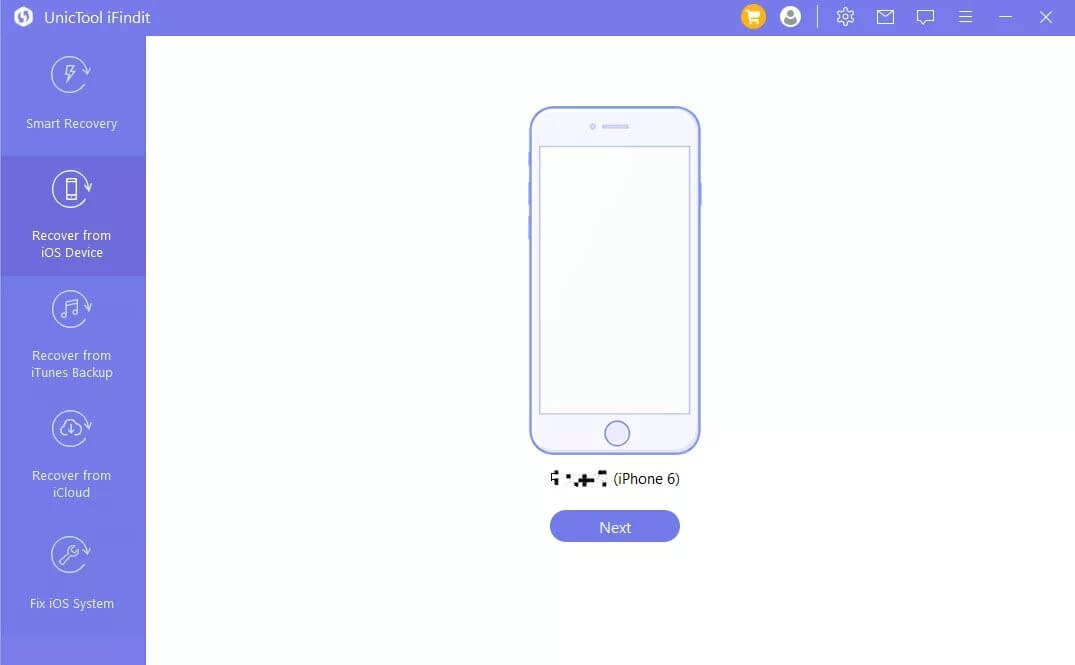
- 1Download and install the iFindit software on your computer. Click the "Recover from iOS Device" option, then connect your iPhone or iPad to the computer. After your iPhone is detected by iFindit, click on the Next button.
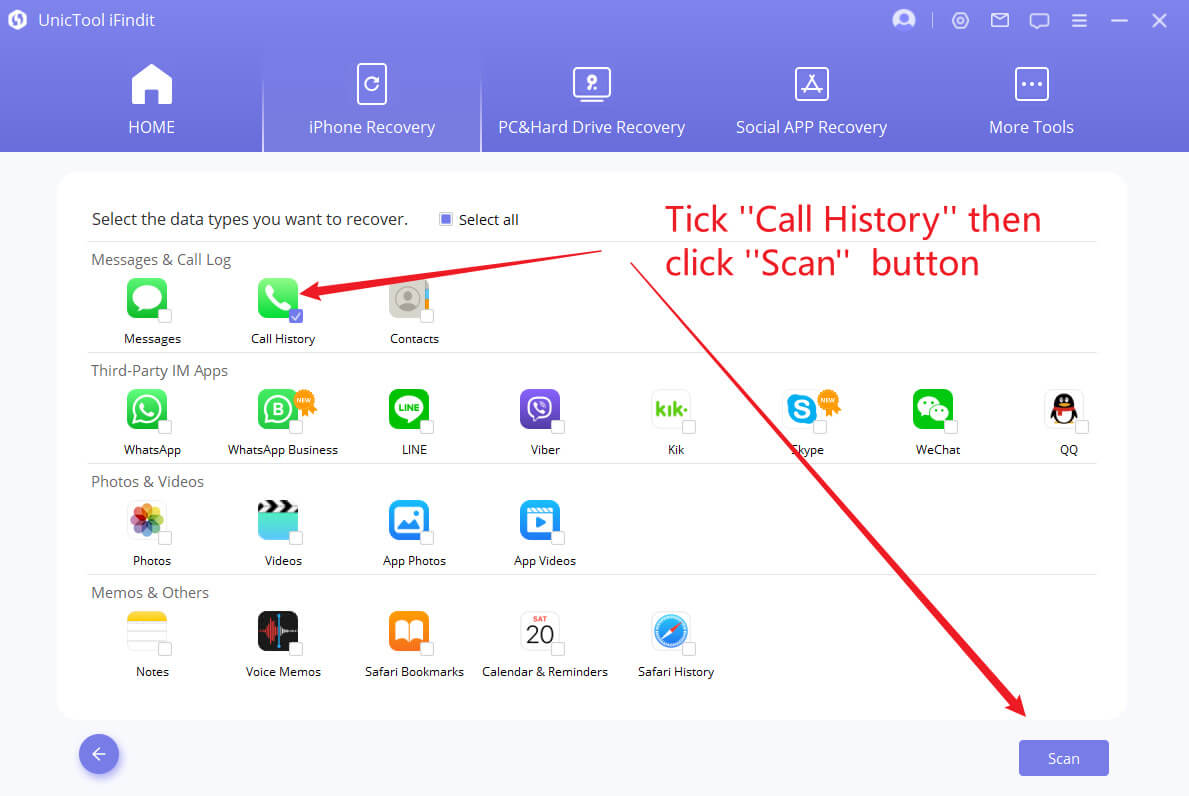
- 2 Untick any other checkboxes except for the one next to "Messages." Then click "Scan."
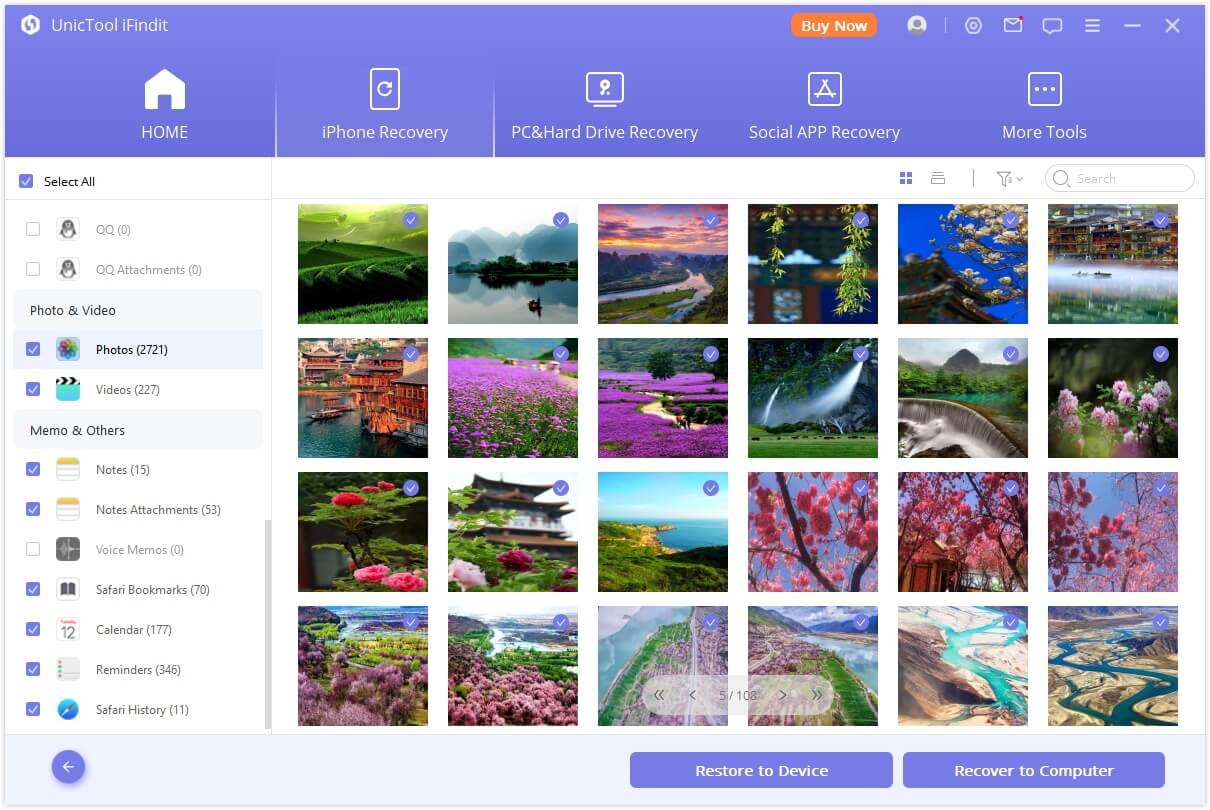
- 3 The tool will begin scanning. Be patient until the scanning is complete. In the next step, you can preview and select the date you would like to recover. Click "Recover" once you're done.


Conclusion
Now that you know how to save iMessages as PDF, there is an even better solution to this problem. You can directly export your messages to your PC using iFindit, without even having to export iMessages to PDF.Try it out today!(use iFindit).
Secure Download
