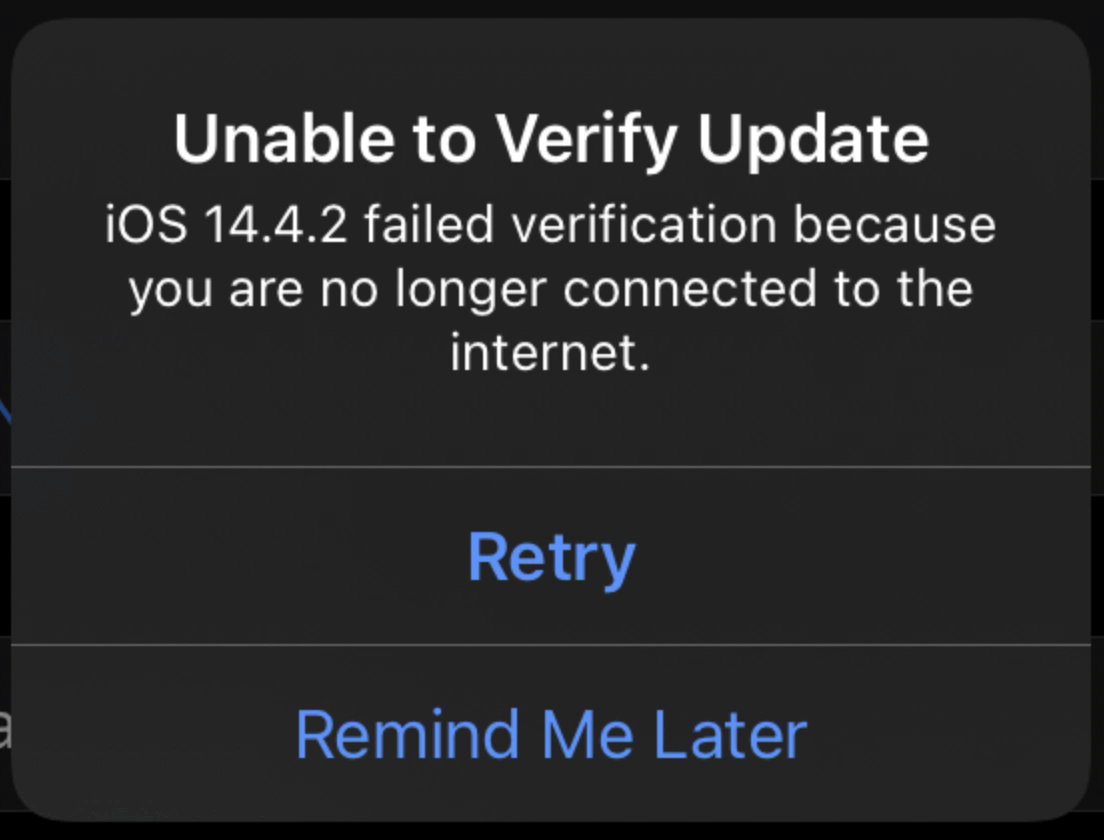
A common problem most iPhone users face when trying to upgrade their iOS is the “Unable to Verify Update, and iOS 17/16/15/14 failed verification because you are no longer connected to the internet,” even though they are connected to a network. This, therefore, leaves many iPhone users wondering what could be wrong.
If you're also facing something similar, take a minute to read this article on how to resolve the issue. Our repair expert has worked closely to provide the necessary information on how to stop your iPhone from showing "Unable to Verify Update, iOS 17/16/15/14 failed verification because you are no longer connected to the internet.” I’m sure you might not have to explore all the options before you fix the problem.
Part 1. Why Is iOS 17/16/15/14 Not Verifying?
Part 2. How to Solve the Problem of iOS 17/16/15/14 Failed Verification?
Part 1. Why Is iOS 17/16/15/14 Not Verifying?
It could be that your iPhone is not compatible with the version or that your internet connection is not strong enough. You also need to check if your phone has enough free memory for the Update. Besides those common causes, the system issues as well as hardware glitches can sometimes contribute to this failed verification, too.
Repair system issues effortlessly with UnicTool's specialized tools. Whether it's fixing errors, resolving crashes, or optimizing performance, UnicTool Umendit ensures a smooth and reliable solution for a wide range of system problems. Trust in Umendit to restore your device to its optimal state with ease.
Secure Download
Secure Download
Part 2. How to Solve the Problem of iOS 17/16/15/14 Failed Verification
1. Use the All-in-One iOS Repair Tool Umendit
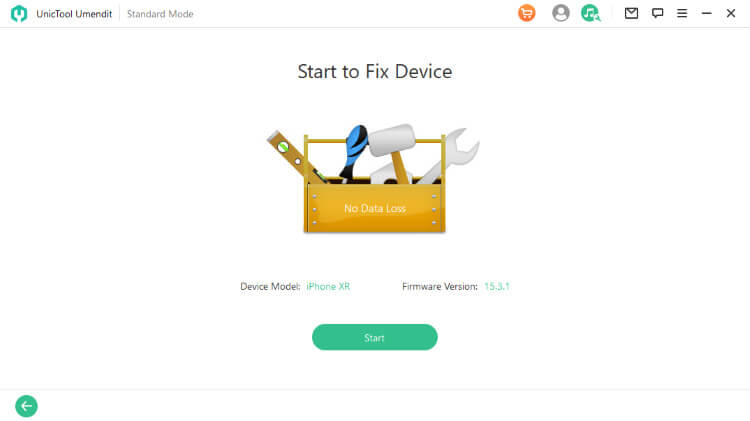
Umendit is the best iPhone repair tool you can download at your disposal. The Standard Repair mode of it is used to resolve the most frequently occurring issues without data loss, like black screen of death, the error message “Unable to Verify Update, and iOS 16/15/14 failed verification because you are no longer connected to the internet”, boot loop issue. You will find it super easy to use. On the failed verification because you are no longer connected to the internet issue, Umendit can not only solve the hidden system issues, but also update your iOS version at the same time.
 Secure Download
 Secure Download
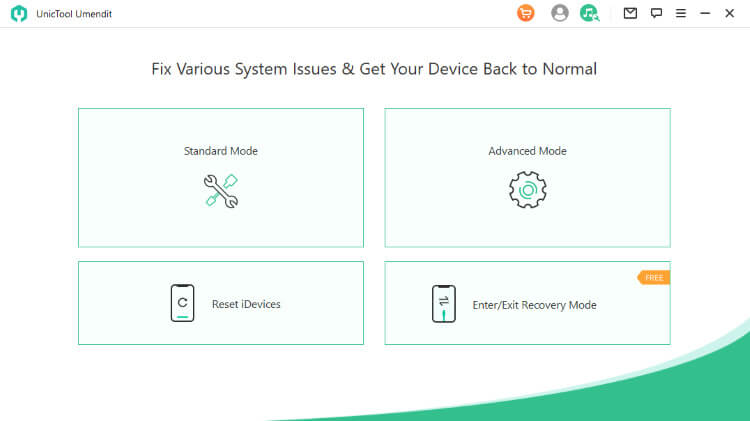
- 1 Download, Install and launch Umendit on your computer. Then, select Standard Repair on the main interface.
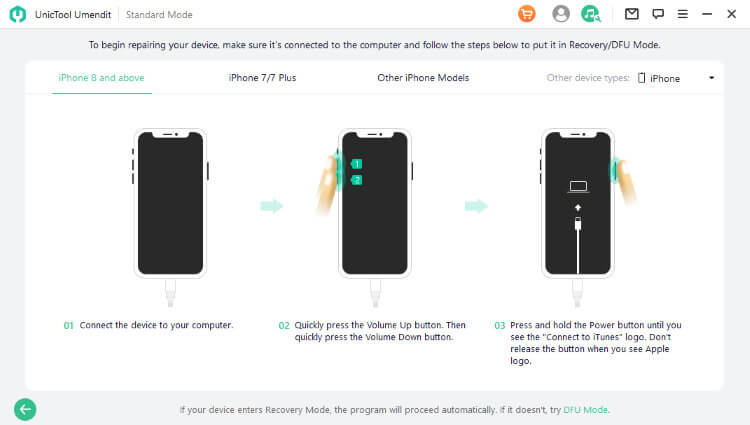
Connect your device to the computer. Once the device is detected, it takes you to the firmware downloading interface. Else, you need to follow the instructions given to put your iPhone into DFU/recovery mode.
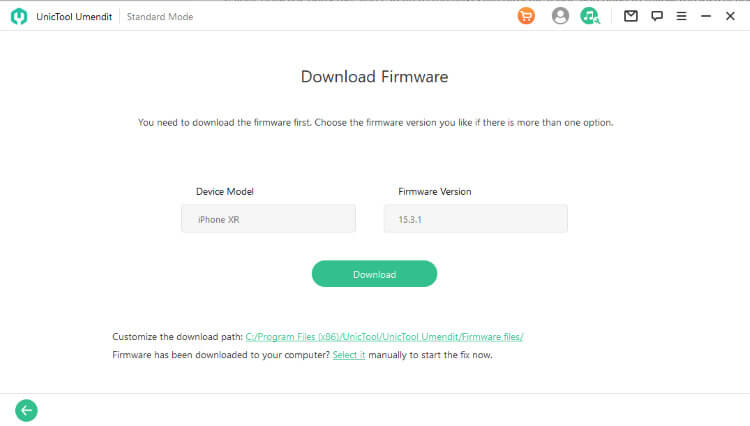
- 2Download Firmware. At this stage, Umendit will automatically provide all the suitable firmware for your device. So choose the one you want and click Next. (In this step, you can choose the version which you intended to update to.)
- 3 Start to fix. After downloading the firmware, click the Start button on the screen, then wait for several minutes.
2. Check the Apple System Status
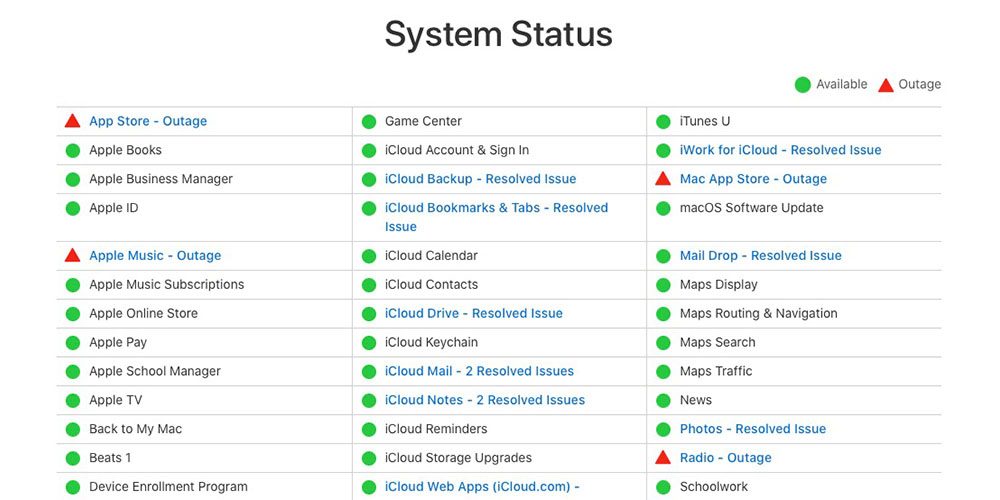
Get help with over-the-air apple system status. Checking the Apple system status will help you realize whether Apple servers are down or having issues. It’s advised that you do this first, so you can be sure that the outage is from Apple’s end and not yours. If it’s from Apple, you don’t need to do anything but wait for Apple to fix it. If it's an apple issue, you're likely to get this message:
Multiple iCloud Services: Some users were affected. New and recently changed content may not have updated across devices for iCloud Drive, Backup, iCloud Notes, and Photos.
If you didn’t get any message like this, you might have to start troubleshooting from your end.
3. Reset Network Settings
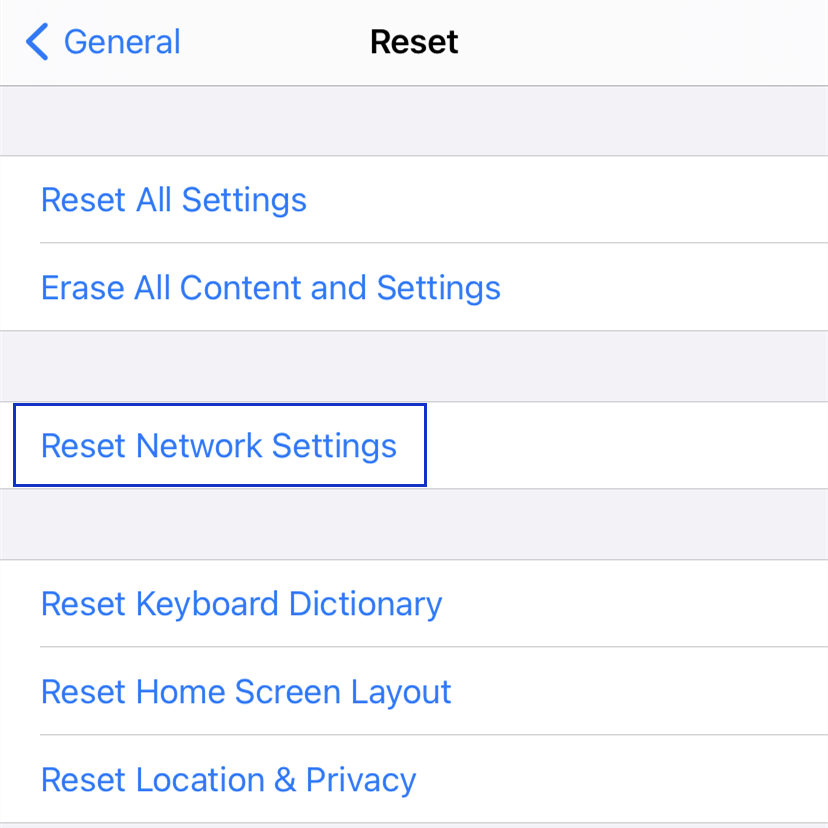
If you still get the failed verification status, you might need to reset your network settings, bearing in mind that you will lose all of your network settings like VPN password, Wi-Fi password, Bluetooth connections, etc. To do this,
- Go over to Settings > General > Reset > Reset Network Settings.
You will then be required to enter your passcode to confirm the action.
4. Force Quit the Settings and Try Again
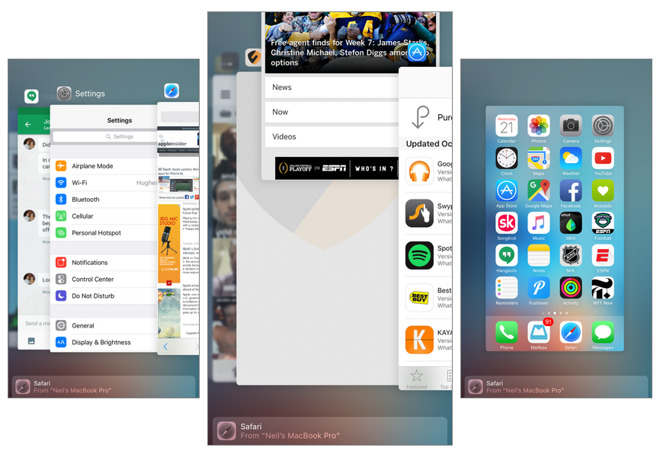
The Settings app sometimes does not perform well as expected and might be responsible for the failed verification update. Force quitting the Settings app is the best option at such times.
- For iPhone with a Home button, Double-tap the Home Button to bring up the fast app switcher. Then select the Settings app and swipe up and off the screen. This gives the app a new start.
- For iPhone without a Home button, swipe from the bottom of the iPhone’s display towards the center of the screen. Then select the Settings app and swipe up and off the screen.
5. Delete the Update File and Try Again
Here is another method to try if you're still getting the failed verification message when trying to update your iOS. The Update file itself might be the problem. To delete the Update file,
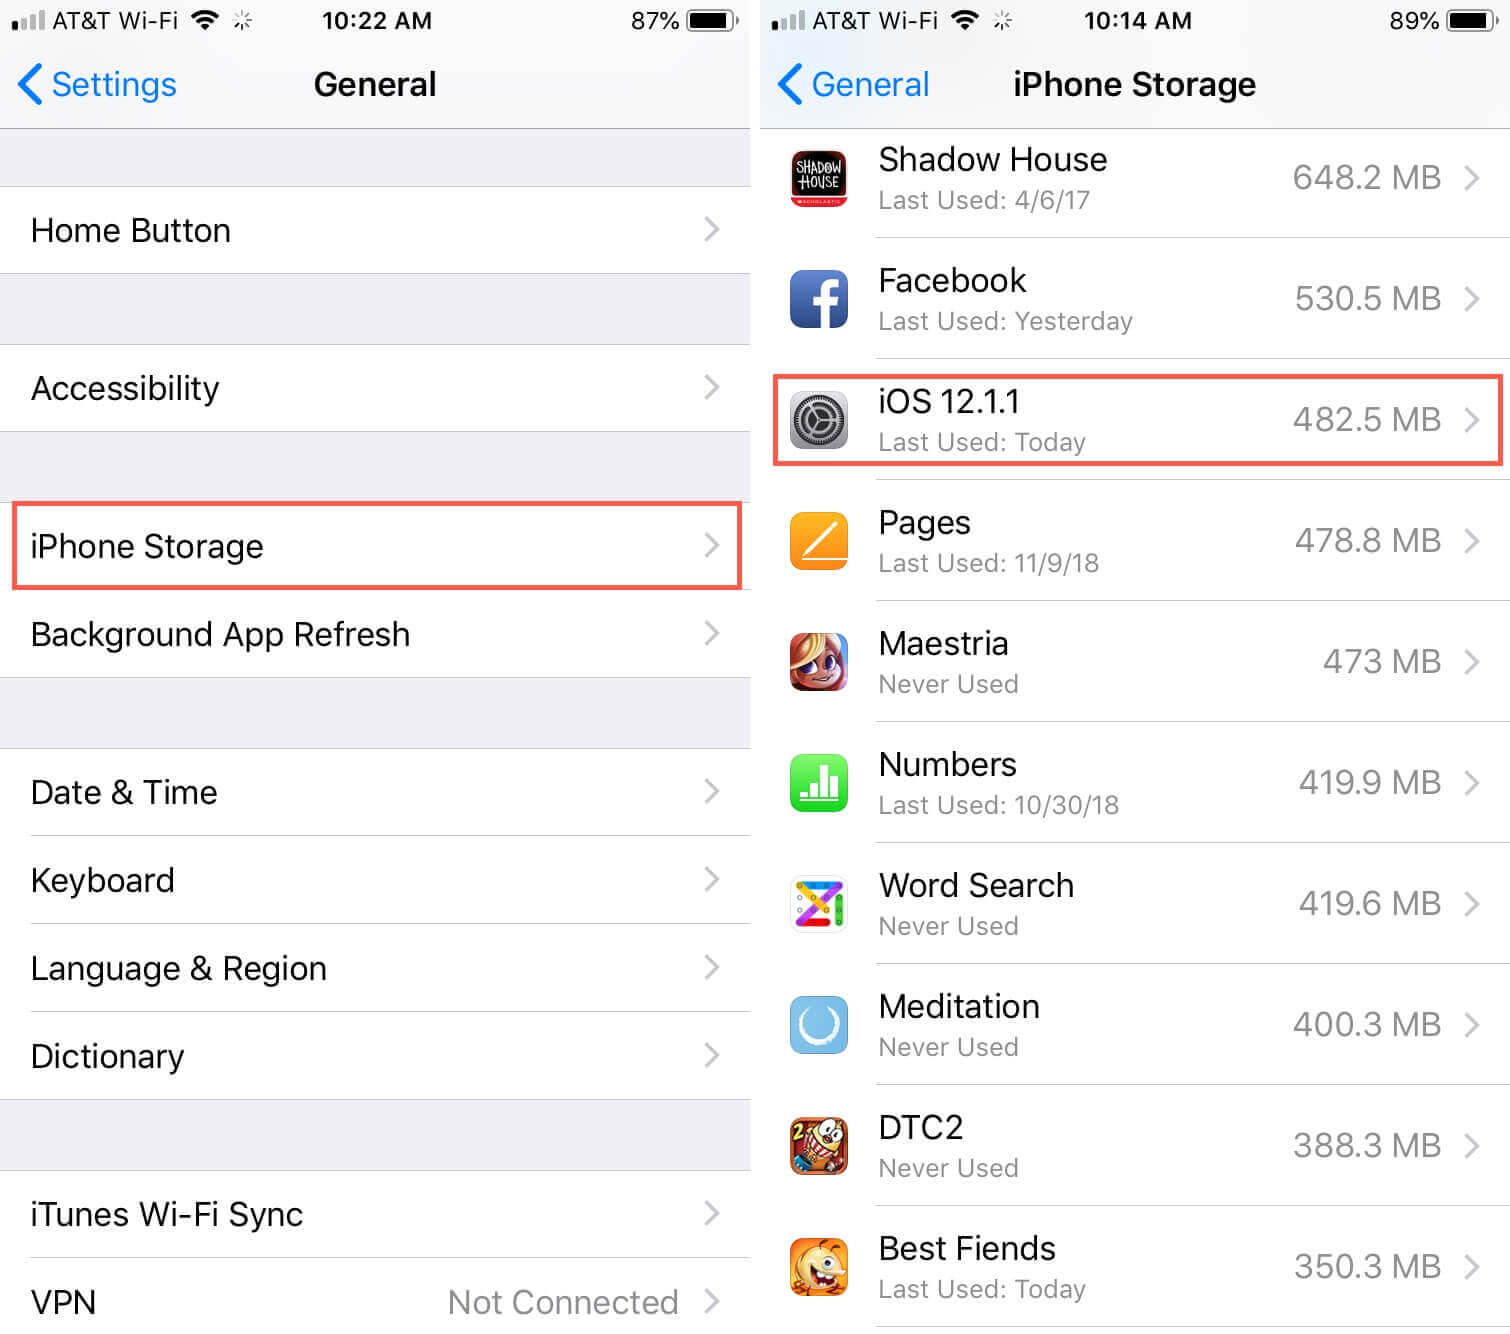
- Go over to Settings > General > Storage & iCloud Usage > Manage Storage.
- Tap the iOS software version available on the app list, in this case, iOS 16/15/14. Select Delete Update in the next window.
Then you can repeat the update procedure to try again.
6. Force Restart the iPhone
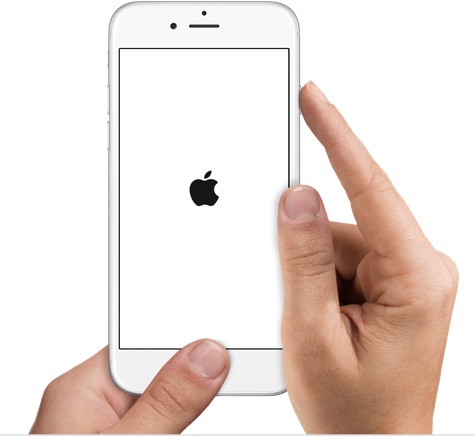
A force restart is recommended for all problems an iPhone user faces, including the iPhone keeps disconnecting from WiFi issue. It should always be one of the first points of call when faced with any challenge. In trying to solve the failed verification message, therefore, force restart is also an option. The method of force restarting iPhones varies with versions.
- For iPhone 6 and older versions, press and hold the Home button and the Sleep/Wake button at the right side simultaneously and keep holding for at least 10 seconds until the Apple logo appears.
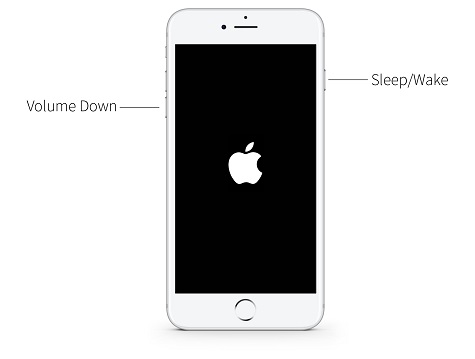
- For iPhone 7 and 7 Plus, press and hold the Sleep/Wake button and the Volume Down button at the same time until the Apple logo appears to force restart iPhone7
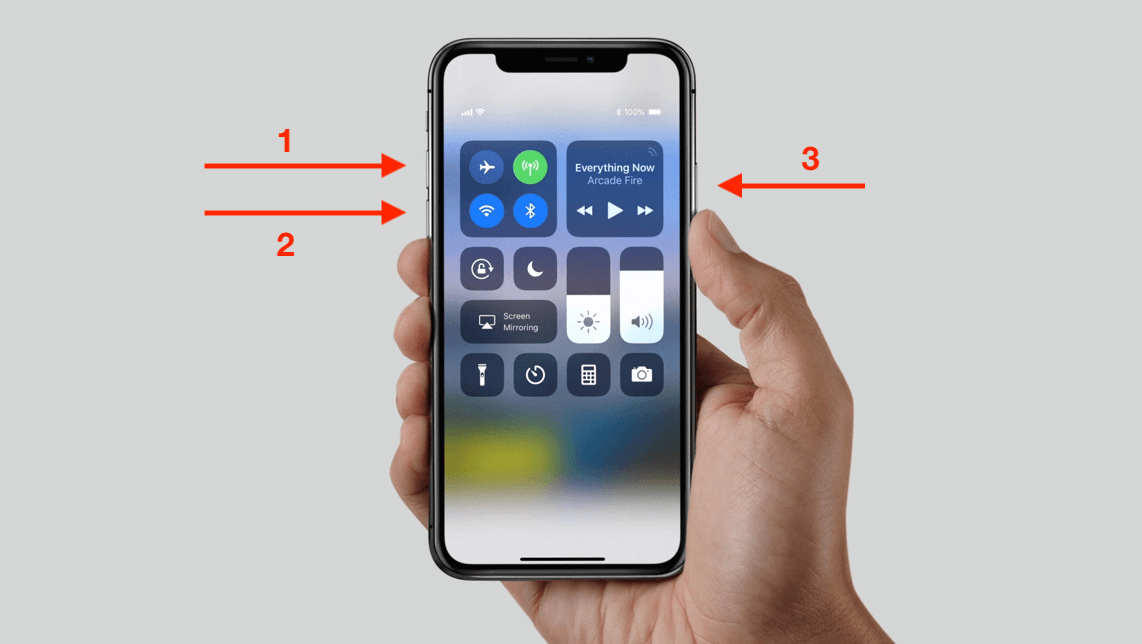
- For iPhone 8 and later versions, quickly press and release both the Volume Up and Volume Down buttons one after another, then press and hold the Power/Side button until the Apple logo appears.
7. Update the iOS via iTunes/Finder
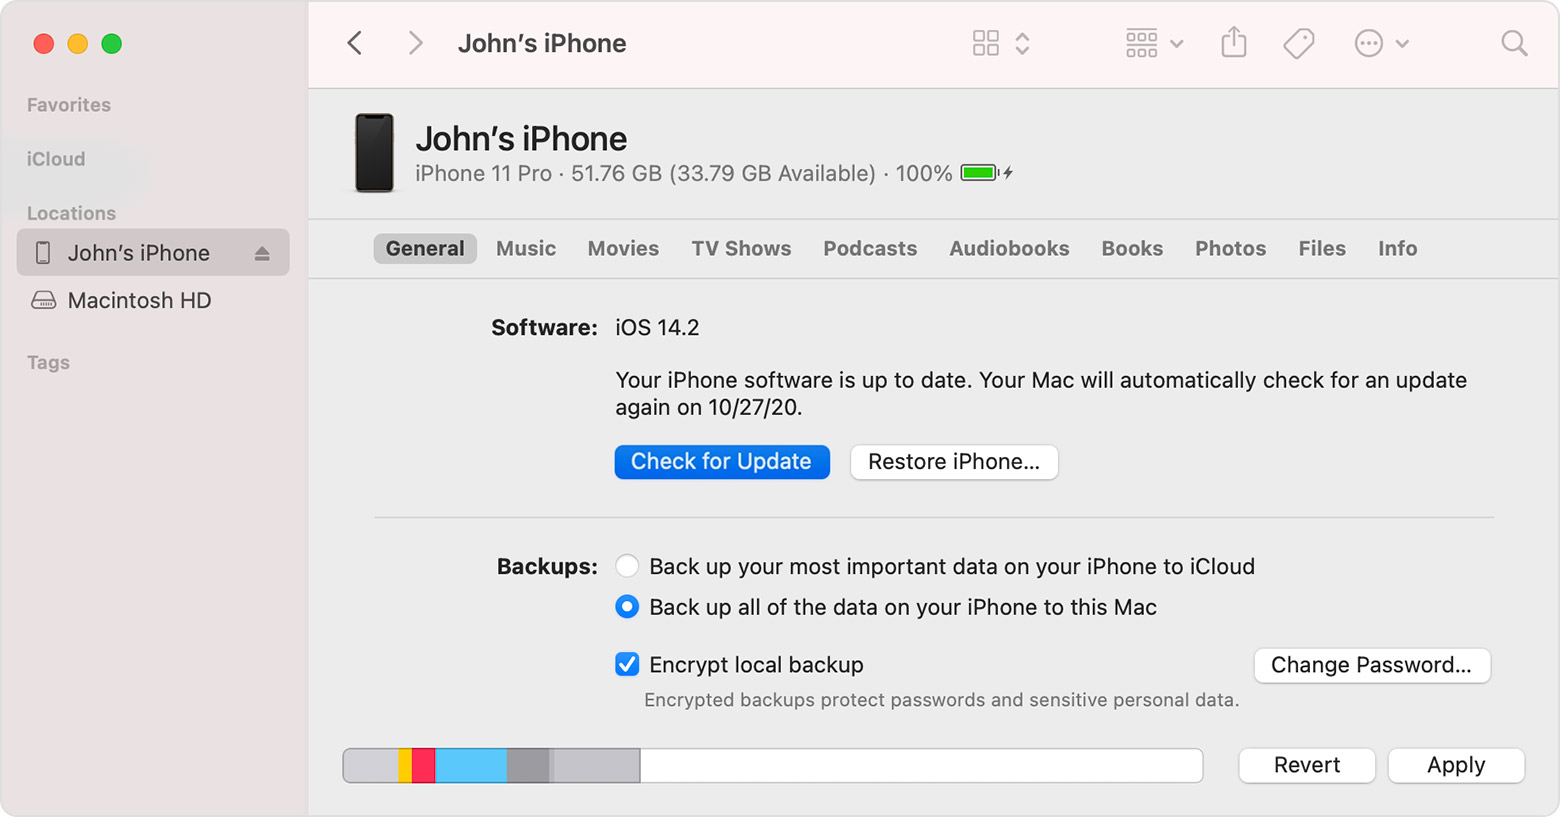
Another alternative to updating your iOS on your iPhone is through iTunes/Finder. This can help bypass the failed verification problem when you are trying to update your iOS. Follow these simple steps to update the iOS via iTunes.
- First, open iTunes/Finder on your computer and then connect your device to the PC.
- Click the device button on the iTunes window and then Summary/Locations.
- Click Check for Update to install an available update.
8. Check the Network
To avoid "Unable to Verify Update, and iOS 16/15/14 failed verification because you are no longer connected to the internet" feedback when you want to update your iOS, you must have a strong internet connection to perform the task. Then, you can restart your network, or you should try other recommended internet connections in your area.
Part 3. FAQs about iOS 17/16/15/14 Unable to Verify Update
Why am I unable to verify the iOS 17/16/15/14 update?
The "Unable to Verify Update" error typically occurs due to issues with Apple's servers being overloaded during the initial release of a new iOS version or due to connectivity problems on your device.
How can I fix the "Unable to Verify Update" issue on my iPhone/iPad?
To fix the "Unable to Verify Update" issue, make sure you have a stable Wi-Fi connection, wait if the servers are busy, check for software updates, restart your device, or use iTunes for updates if over-the-air (OTA) updates fail.
Can I verify the update using mobile data?
No, iOS updates require a Wi-Fi connection to ensure a stable and secure download process.
Conclusion
When next you encounter the “Unable to Verify Update, iOS 16/15/14 failed verification because you are no longer connected to the internet” issue, you can always refer to the solutions given herein. Among them, Umendit is always the most price-effective choice for every Apple user as it is advanced, user-friendly and safe. Just download and give it a try!
 Secure Download
 Secure Download

