Staring at a black screen of your iPhone while your iPhone is still on is a common issue among iPhone users. Over time, as the issue of "iPhone screen black but on" persists even after updating the iPhone to the newest iOS 15, people start wondering what the problem could be and how to address it right from the comfort of their homes. Thankfully, reading this article will make you a tech-guru on fixing the "iPhone screen black but on" issue.
Let's be clear with how the issue often sets in. It sometimes happens, for instance, when you charged your iPhone overnight and in the morning, your iPhone is totally black but still on and you can receive the email and call. Another example is when you're watching an online video on your phone, and it suddenly turns black. You know the phone still works because you can feel it vibrate or hear it ring when you have a call. This occurs especially on iPhone 6 or iPhone 6 plus but can happen on other iPhone models.
Well, the "iPhone screen black, but the phone is on" issue is usually caused by a system problem such as crashed Apps or iPhone's hardware faults. However, if you're currently dealing with this "iPhone screen black but phone on" issue, don't worry. In this article, we'll explain several possible solutions to get your phone up again.
Part 1 What Happens When Your iPhone Screen Goes Black But Still Works?
Part 2 How to Solve the Issue?
What Happens When Your iPhone Screen Goes Black But Still Works?
Several numbers of issues cause the iPhone screen stays black but is actually on. One is a flat battery, which will naturally prevent the phone from turning on, or it could be a more serious issue.
Another instance that may result in having a black screen is multiple Apps crashing on your iPhone. Software crashing often causes your iPhone to freeze and turn black without responding to your command. And this often happens during the iOS update, like the iOS 15 this year.
Other issues are hardware problems with your iPhone. Maybe there are some malfunctioning components on your iPhone and thus your iPhone works abnormally.
Part 2 How to Solve the Issue of iPhone Screen Black?
1. Check If You Turn Brightness Off
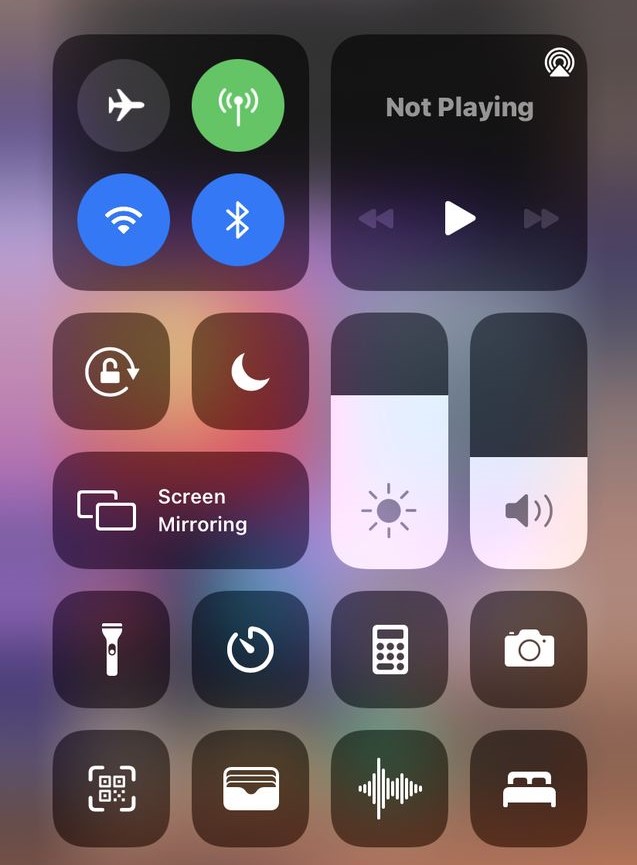
You look down at your iPhone, and it's so dark, but the phone is on. This may occur because the brightness level is low. To quickly check your iPhone's brightness level, use your finger to swipe up from the very bottom of your iPhone's screen to reveal the control center. You’ll see a slider towards the center of the menu. Drag the slider up all the way to raise the brightness level on your iPhone.
2. Charge iPhone
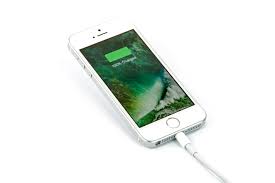
The most obvious possibility is that the iPhone runs out of battery. It is no harm to try to charge the iPhone first. If a flat battery is the cause of the issue of iPhone screen black but on, especially during or after iOS 15 update, the iPhone screen will light up and display an empty battery icon right after plugging your iPhone into a wall socket. Or sometimes, the iPhone will not immediately respond after connecting to the charger, then you should leave it charging for at least 1 hour. If you fail to fix the iPhone screen black but on issue by this way, don't panic and give the next resolution a try.
3. Force Restart iPhone
Another scenario that could cause a black screen is crashed Apps or temporary bugs in the operating system. In this case, you can force your iPhone to restart. And it is effective if the issue occurs during or after the iOS 15 update. However, the method to force restart varies between iPhone models.
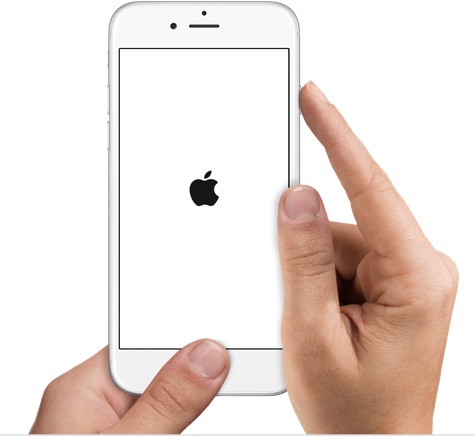
To force restart an iPhone 6s and earlier models:
- Press and hold both the Sleep/Wake and Home buttons simultaneously for at least 10 seconds until you see the Apple logo.
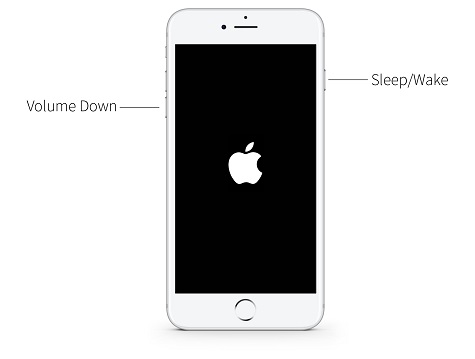
To force restart an iPhone 7/7 plus:
- Press and hold the Sleep/Wake and Volume Down buttons simultaneously for at least 10 seconds until the Apple logo appears.
To force restart iPhone 8 or later models (iPhone 12 included):
- Press and release Volume Up button, then press and release Volume Down button.
- Press and hold the Side button until the Apple logo appears on the screen.
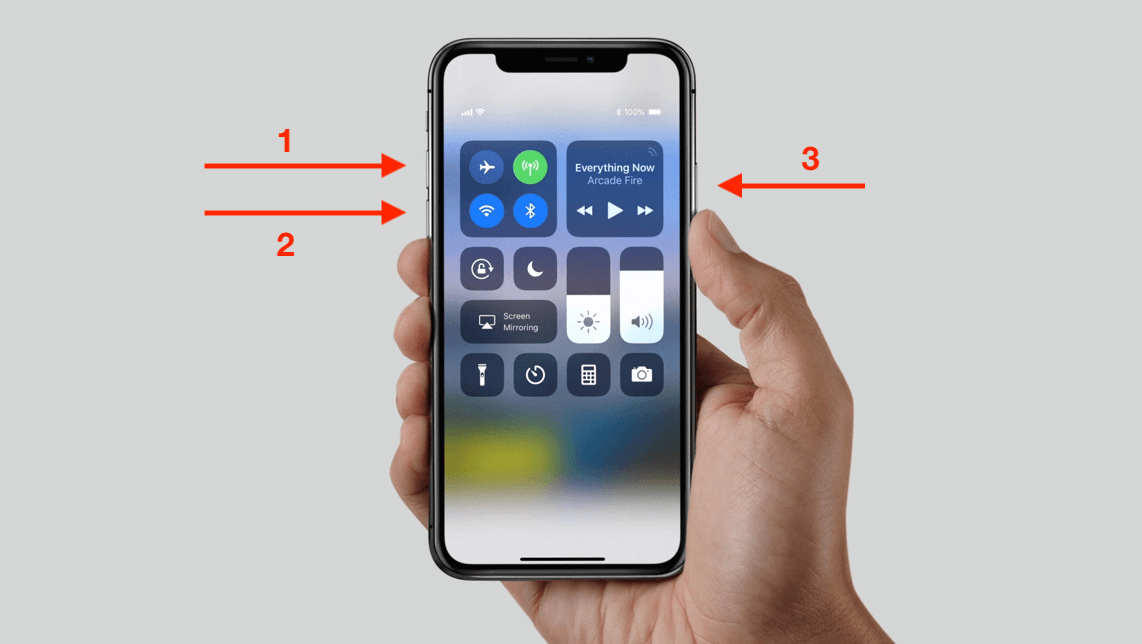
If this doesn't work for your iPhone, you can try the next method.
4. All-in-One IOS Repair Tool (Umendit)
Unfortunately, if you can't bypass the issue after trying all the methods above, the Umendit third-party tool is the best method for you. Umendit beats other third-party tools for its special features and characteristics.
- Handle most of the iOS issues without data loss.
- Solve iOS-related problems with a high success rate.
- No virus and malware, safety ensured.
- With an user-friendly interface, it has much simpler steps to operate.
- Compatible with all iOS versions including the newest iOS 15.

Secure Download
Here's how to use Umendit:
- 1 Download Umendit on your computer. Choose Standard Repair on the main interface and then connect your iPhone with the computer and click Next.
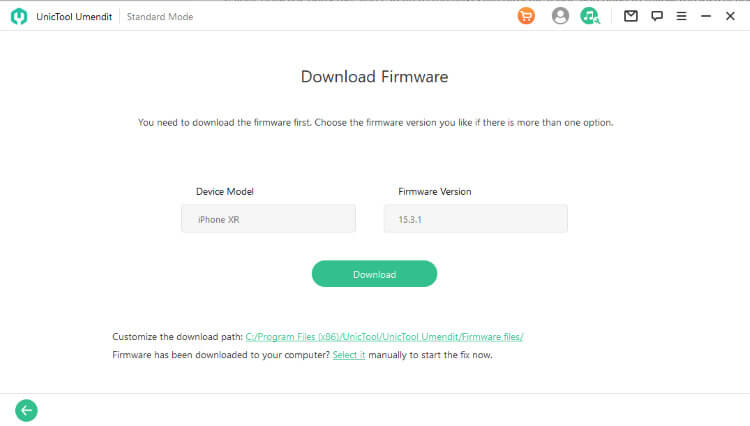
- 2 After the software detects your iPhone, you can choose a firmware version and then hit Next.
- 3 When the download finishes, click Start button and wait for the program to repair your iPhone. After everything is done, you can see a successful message on the screen and your iPhone will reboot like usual.
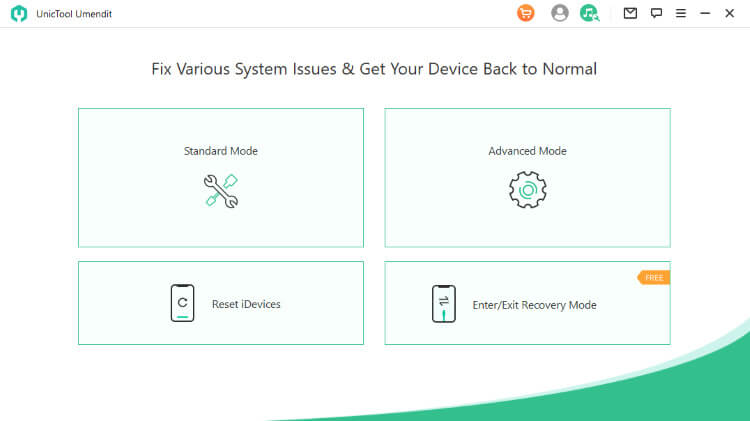
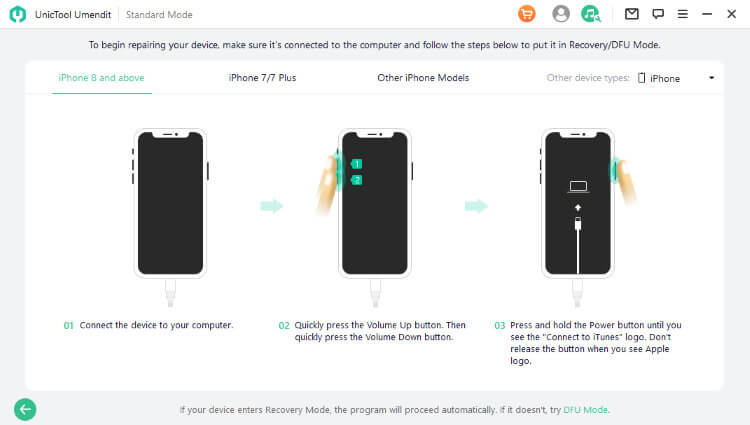
Here, if your iPhone is not in normal mode and cannot be detected by Umendit, you will see a screen with instructions for putting your iPhone into DFU/recovery mode. Follow those steps to make your iPhone detectable.

5. Update or Restore iPhone with Recovery Mode via iTunes/Finder
If you still want to try some self-applied methods, you can put your device into recovery mode and choose to restore or update it. But before you start, you should know that restoring iPhone will erase all your data, although the success rate is much higher than updating iPhone (updating iPhone won't harm your data). Think twice if you have not backed up your device before. And if your iPhone is running the latest iOS 15 now, then you can only choose to restore it. Also, remember to keep the iPhone and your computer connected during the whole process.
Follow the Steps Below to Put Your iPhone in Recovery Mode First.
- iPhone 6 or Older Devices: Hold down the Sleep/Wake button simultaneously with the Home button till you see the recovery mode screen. Don't release the buttons when you see the Apple logo.
- iPhone 7/7 Plus: Press and hold the Sleep/Wake and Volume Down buttons together until the recovery mode screen appears. Leave them once after that. Don't release it when the apple logo appears.
- iPhone 8 or Later (iPhone 12 included): Press and release the Volume Up button and then the Volume Down button. Finally, hold the Sleep/Wake button until the recovery mode screen shows. Don't release it when the apple logo appears.
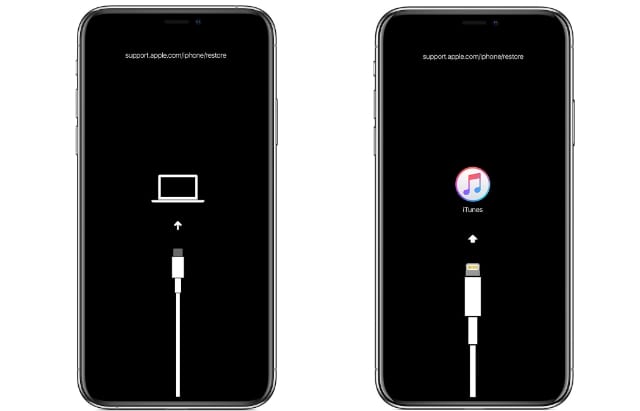
After getting your iPhone into recovery mode, now you should launch the iTunes or Finder. You'll see the Update and Restore buttons on the pop-up window. Choose any button and confirm your action. Wait for several minutes to see whether iTunes can finish the whole process normally.

6. Replace The Screen Or Other Hardware
If you've tried all the above methods, and they don't seem to have helped. In that case, screen or other hardware failures might be the problem. If you feel like that's the cause of your "iPhone screen black but on" issue, the only option is to take the phone to an Apple Store and get those malfunctioning hardware replaced or fixed by professional technicians.
Conclusion
It's a pleasure to put a smile on your face, fixing your "iPhone screen black but on" issue. We introduce 6 methods on how to solve this issue, and you can try any one of them to get your normal iPhone screen back on. However, the Umendit is definitely the best method to resolving this issue for the features of no data loss and high success rate. Just download and give it a try!
Secure Download
