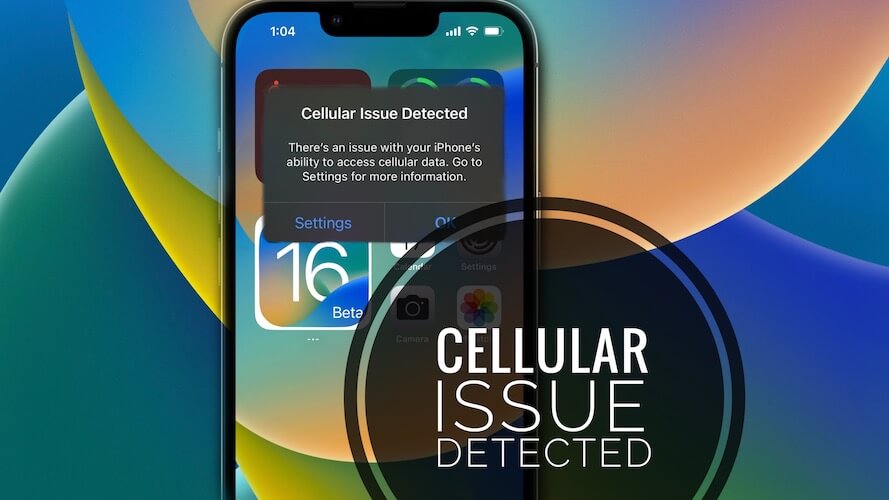
iOS version updates are supposed to bring new features to your device and fix some of the previous version's issues. However, in some cases, these update releases come with some glitches, such as iPhone cellular data not working, which can be very frustrating.
Fortunately, there are several ways you can fix iPhone cellular data not working after iOS 15/16 update without even having any technical knowledge. In this post, we look at different ways you can fix cellular data not working on iPhone as well as why the issue occurs.
Part 1: Why is My Cellular Data Not Working on My iPhone?
Part 2: Top 7 Tips to Fix Cellular Data Not Working on iPhone
- Way 1. Turn Off Airplane Mode And Turn On Cellular Data
- Way 2. Check for A Carrier Settings Update
- Way 3. Reset Network Settings
- Way 4. Take out SIM And Restart iPhone
- Way 5. Update/Downgrade the iOS Version
- Way 6. Restore your iPhone With iOS System Recovery Tool
- Way 7. Contact The Wireless Carrier or Apple Support
 Secure Download
 Secure Download
Part 1. Why is My Cellular Data Not Working on My iPhone
The first thing you should do when you notice that your cellular data is not working is to confirm if the cellular data icon in the control centre is turned on. If that is not the issue, then your cellular data not working on your iPhone could be due to poor cellular connectivity in your area, which is the case if you are in a tunnel or basement. Sometimes, the issue might not be your phone but a problem on the network provider's side.
Part 2. Top 7 Tips to Fix Cellular Data Not Working on iPhone
In most cases, the issue of iPhone cellular data not working will resolve itself automatically, especially if the problem is coming from the network provider's side. If the issue persists, or appears more frequently, here are seven tips that can help you resolve the issue.
Way 1. Turn Off Airplane Mode and Turn On Cellular Data
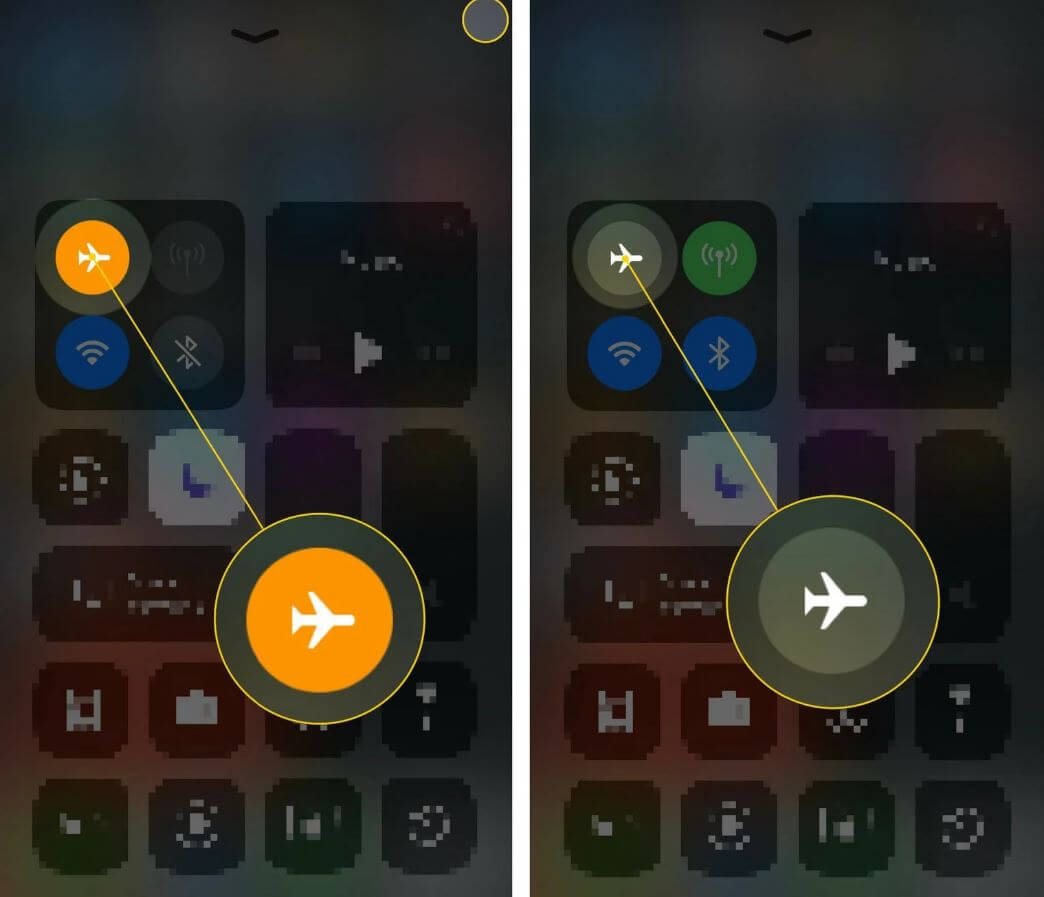
One of the basic fixes for unresponsive cellular data is quickly turning Airplane mode on and off. Activating airplane mode shuts down any network connections, and turning it off allows the phone to refresh all the available networks. Turning Cellular data on and off works the same as activating and deactivating airplane mode.
Way 2. Check for A Carrier Settings Update
Like iOS version updates, your network provider often releases updates that focus on improving the quality of their service. The cellular data flaw might sometimes occur because you have outdated carrier settings.
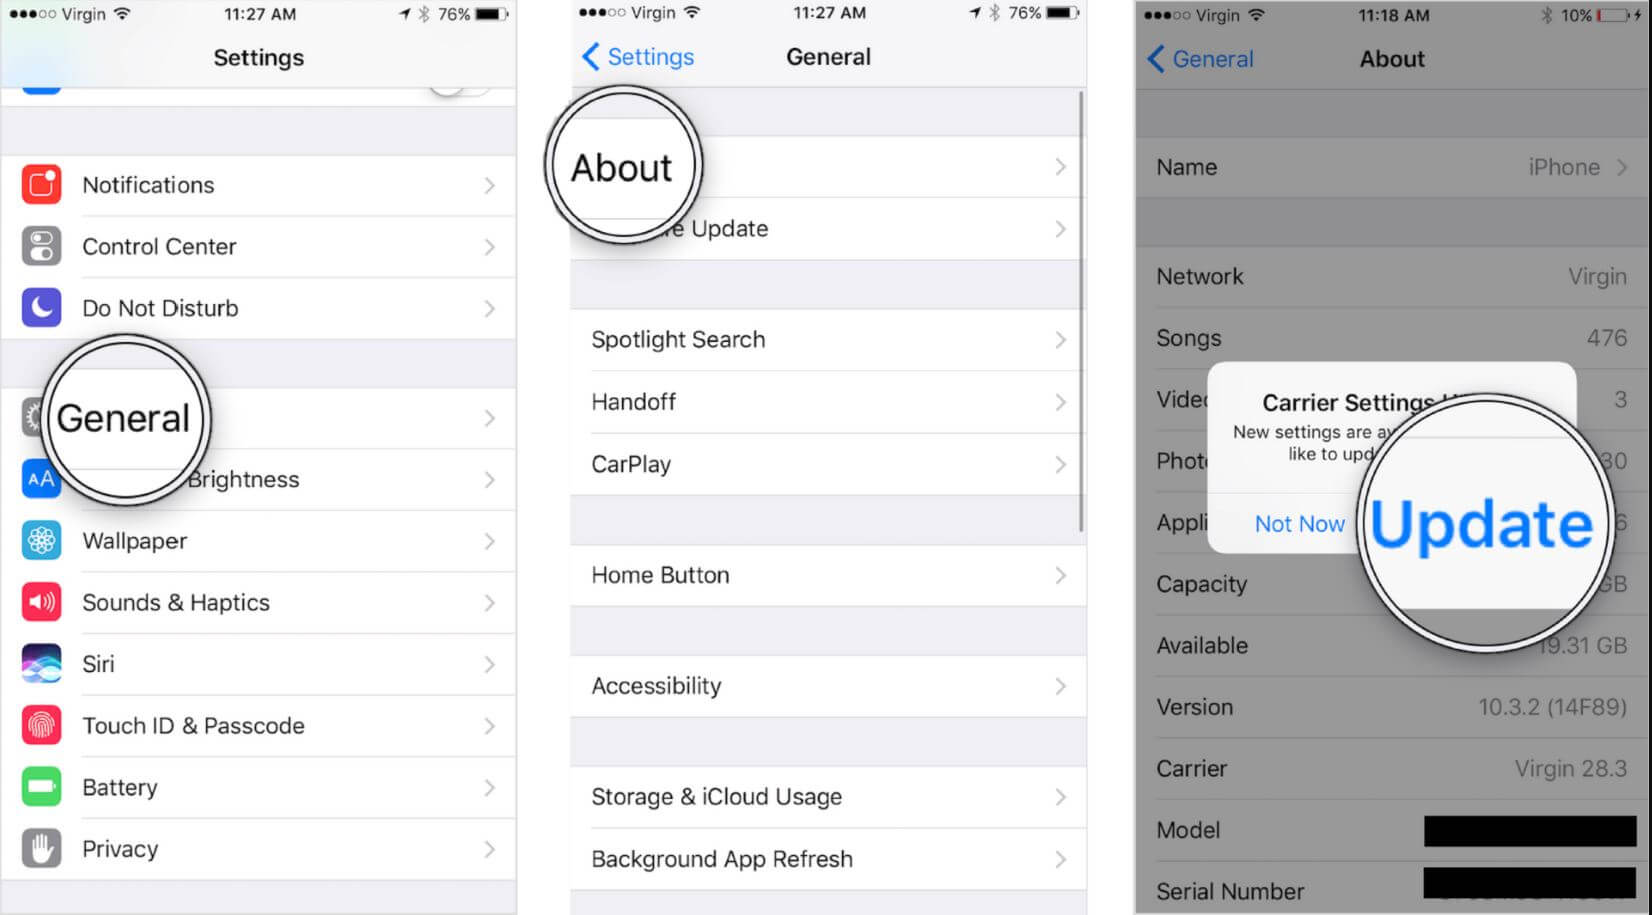
To check if there are any carrier settings updates, go to Settings > General > About and update the settings if there is a new release.
Way 3. Reset Network Settings
Resetting network settings and factory reset are two terms that should not be confused. Factory reset wipes everything from your iPhone, while resetting your network settings only affects internet and network-related data, including Wi-Fi passwords and VPN settings.
If your cellular data issues persist, you can reset your network settings by navigating to Settings > General > Reset > Reset Network Settings.

Way 4. Take Out Your SIM and Restart Your iPhone
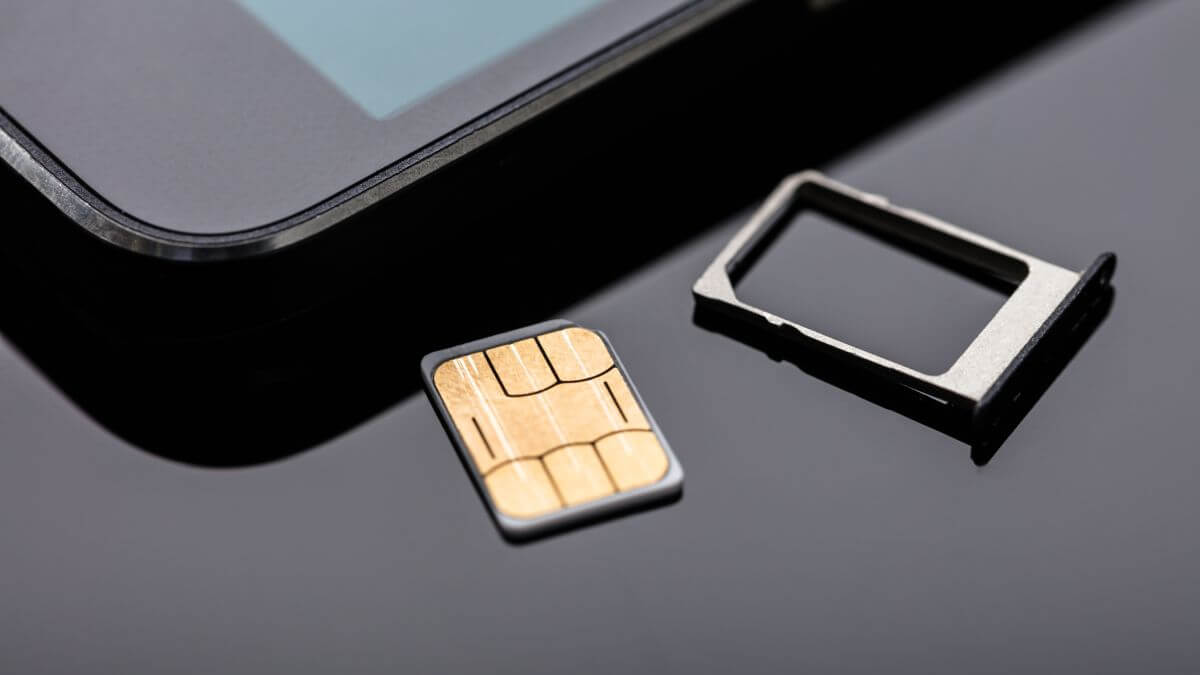
If your iPhone fell recently and the cellular data messages start to appear, chances are high that your SIM card is not aligned correctly to the sim tray. If any of the sim card's chips are not in contact with the sim tray, there will be no connection between your iPhone and your network provider. Take out your SIM card and ensure it's aligned correctly, then restart your iPhone for the card to load.
Way 5. Update/Downgrade the iOS Version
The ultimate solution to iPhone cellular data not working on iPhone after iOS 16/15 version update is downgrading your device to the previous version. New iOS versions often come with a few bugs that might affect your cellular network connectivity.
There are two main ways you can downgrade your iPhone to a previous iOS version, through iTunes and iOS system recovery tools such as UnicTool Umendit. It's important to note that downgrading your iPhone through iTunes means all data will be erased, so ensure you have a backup before proceeding.
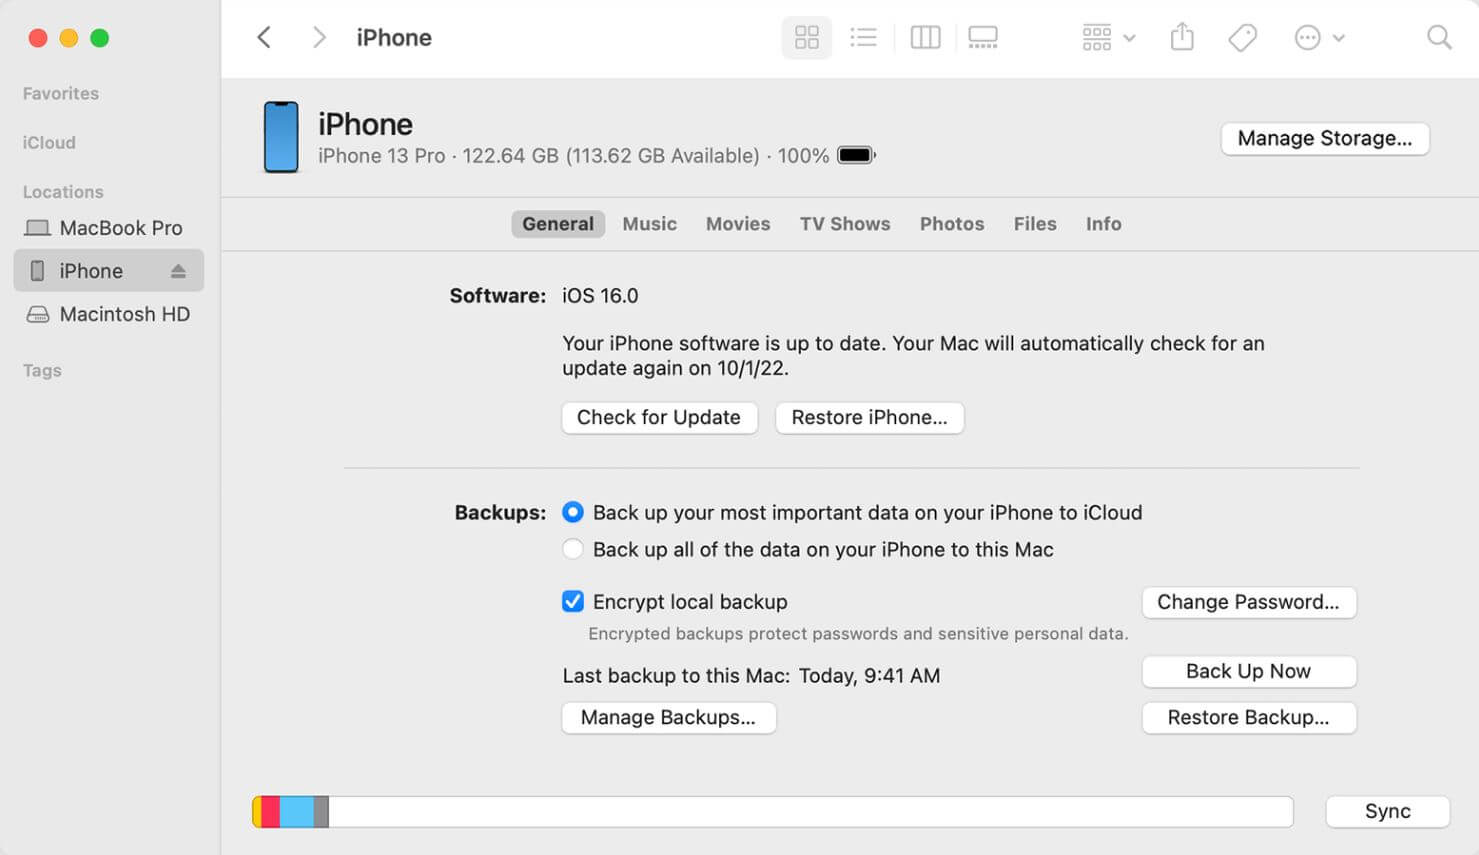
Follow the steps below to downgrade your iPhone using iTunes.
-
Download the previous iOS version from the official Apple website
-
Connect your iPhone to a computer using the original Apple USB cable and launch iTunes.
-
Navigate to the Summary tab on iTunes, go to the Backup section, and choose your preferred backup location.
-
Once your backup is ready, return to the main interface and hold the Shift key on your keyboard, followed by Restore iPhone.
-
A window will pop up, allowing you to import the downloaded firmware in step one.
-
Open the file, and the following message appears, "iTunes will erase and restore iPhone to IOS version and will verify the restore with Apple.
-
Click the Restore button to begin the iOS downgrade. After successfully downgrading your iPhone version, you’ll have to set up your device like a new one.
Way 6. Try an iOS System Recovery Tool to Fix it
If you want to restore your iPhone without the fear of data loss, then an iOS system recovery tool like UnicTool Umendit is the solution you are looking for. These all-in-one tools not only help you fix cellular data connection issues, but you can also fix more than 150 other iPhone issues without any technical knowledge.
Some of the issues you can resolve include boot loop, boot failure, system restore, frozen device, and black screen of death, among other issues. With an easy user interface design, the tool ensures that you can fix all these problems in just a few clicks. The steps below will guide you on how to use the tool to fix your cellular data connectivity issue and other iPhone problems.
- Here are some outstanding features of Umendit:
 Secure Download
 Secure Download
- To get started with Umendit UnicTool, follow these steps:
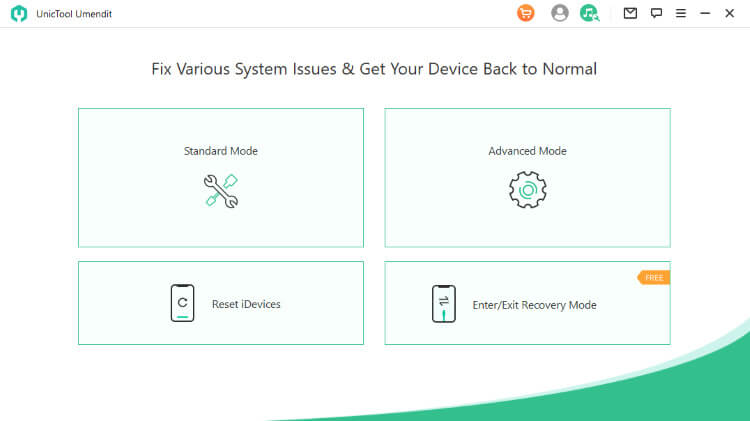
- 1 Download, Install and launch Umendit on your computer. Then, select Standard Repair on the main interface.
-
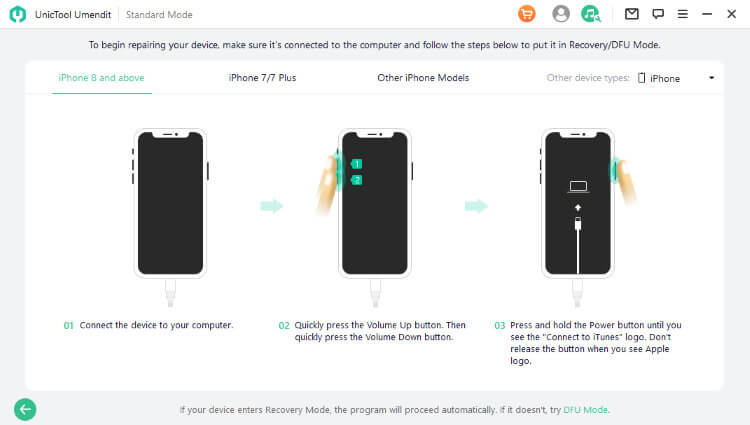
Connect your device to the computer. Once the device is detected, it takes you to the firmware downloading interface. Else, you need to follow the instructions given to put your iPhone into DFU/recovery mode.
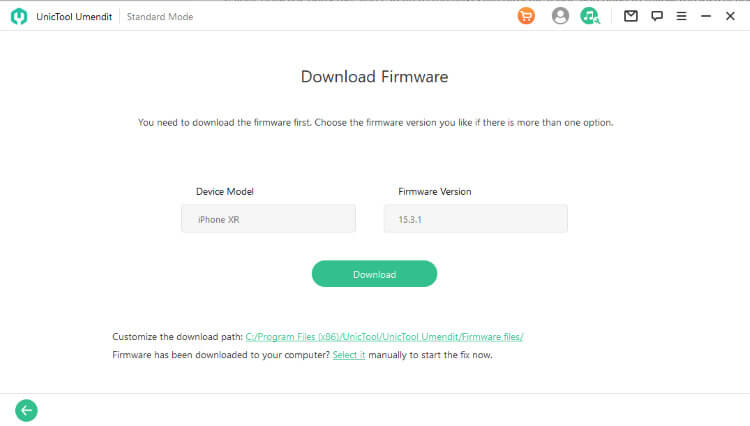
- 2 Download Firmware. At this stage, Umendit will automatically provide all the suitable firmware for your device. So choose the one you want and click Next. (In this step, you can choose the version which you intended to update to.)
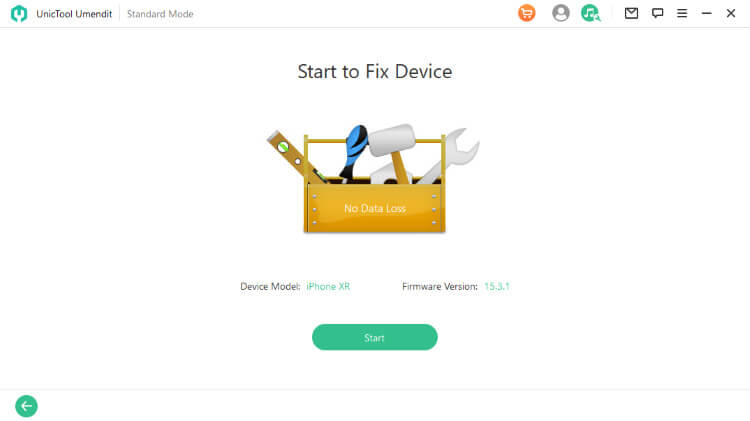
- 3 Start to fix. After downloading the firmware, click the Start button on the screen, then wait for several minutes.
Way 7. Contact the Wireless Carrier or Apple Support
If all the solutions above don't resolve the issue, the problem could be more severe. Contact your wireless carrier provider and notify them of your issue. The provider will inform you if there is a network problem on their side and will give you an estimated time for the issue to be solved.
If everything is fine on your wireless carrier’s side, you should consider taking your iPhone to Apple Support for help. If you are still under warranty, Apple technicians will fix the issue for free or replace the faulty iPhone with a new one.
Conclusion
While iPhone cellular data not working might be frustrating, you can quickly resolve the problem in a matter of seconds. However, some of these fixes might erase your data which is why a dedicated iOS system repair tool like UnicTool Umendit is highly recommended because you can solve more issues without any data loss.
 Secure Download
 Secure Download

