There are droves of iPhone users who rush to the internet to find how they can enable a disabled iPhone. You might need to access your contacts, media files, and other precious data in your iPhone, yet it is now disabled. If you are caught in this mayhem, the only way out is to undisable your iPhone and get it back to the normal state. However, this is easier said than done - you may search the internet the whole day without success. Luckily, you don’t have to worry about that anymore. This article takes you through a complete guide on how to enable a disabled iPhone.
Part 1. When Would iPhone Get Disabled?
Part 1. When Would iPhone Get Disabled?
Just like any other device, iPhone values user privacy and security. This is why you are advised to set an access passcode apart from Touch ID or Face ID. When you forget your passcode and enter the wrong passcode multiple times, your iPhone will be locked and disabled. Apple gives you five consecutive trials after which your iPhone is disabled for a period depending on password attempts, as explained below:
- 1-5 incorrect attempts - iPhone gives you a chance to re-enter.
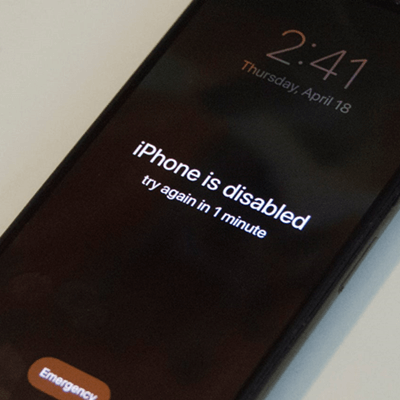
- 6 consecutive incorrect attempts- "iPhone is disabled, try again in 1 minute."
- 7 consecutive incorrect attempts- "iPhone is disabled, try again in 5 minutes."
- 8 consecutive incorrect attempts- "iPhone is disabled, try again in 15 minutes."
- 9 consecutive incorrect attempts- "iPhone is disabled, try again in 60 minutes."
- 10 consecutive incorrect attempts- "iPhone is disabled, connect to iTunes."
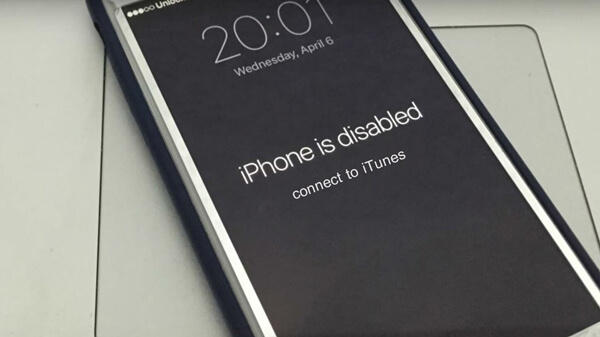
After the 10th consecutive failed attempt, your iPhone is disabled completely, and you are required to connect your device to iTunes to restore it. In this situation, you cannot access the iPhone normally even if you can now recall the right passcode.
Part 2. How to Enable a Disabled iPhone?
Now that your iPhone is disabled, you need to find a way to disable it and access your iPhone again. There are several ways you can enable a disabled iPhone, but each option has its positive aspects and negative ones. The following are some of the best ways you can try.
1. Unlock Disabled iPhone With LockEraser
UnicTool LockEraser is a dedicated iDevice unlocking tool. This program is powerful enough to enable a disabled iPhone in no time, no matter what has caused your iPhone to get disabled. The intelligence of LockEraser makes it possible to finish the unlocking work with a high success rate and no difficulty.
In addition, LockEraser can meet your needs when you want to unlock Apple ID, Screen Time passcode, or MDM lock. This all-in-one iDevice unlocker is not only professional, but also user-friendly and secure.
- Enable your disabled iPhone with simple steps.
- No screen passcode or Apple ID password is required.
- Unlock Apple ID/Screen Time passcode and bypass MDM effectively.
- User-friendly enough for everyone, requiring no technical knowledge.
- Trusted by users worldwide for no security risks.
- Support almost all iOS devices with various iOS versions.
- Provide free version before purchase.
Secure Download
Unlocking screen passcode with LockEraser is a simple process, as elaborated below.
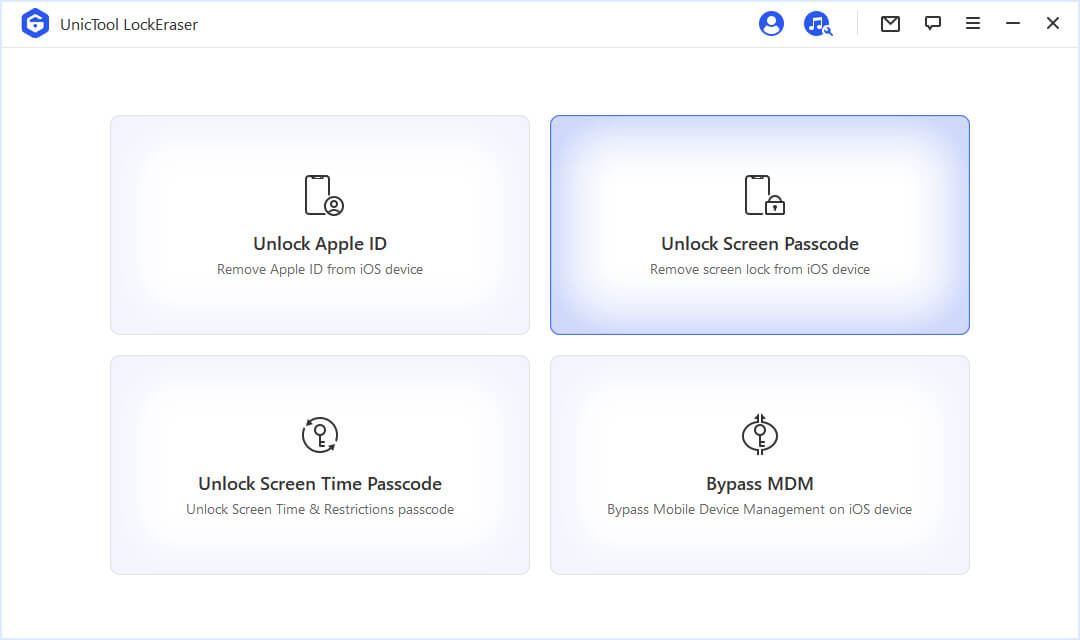
- 1 Download, install and launch LockEraser on your computer. Select "Unlock Screen Passcode" mode.
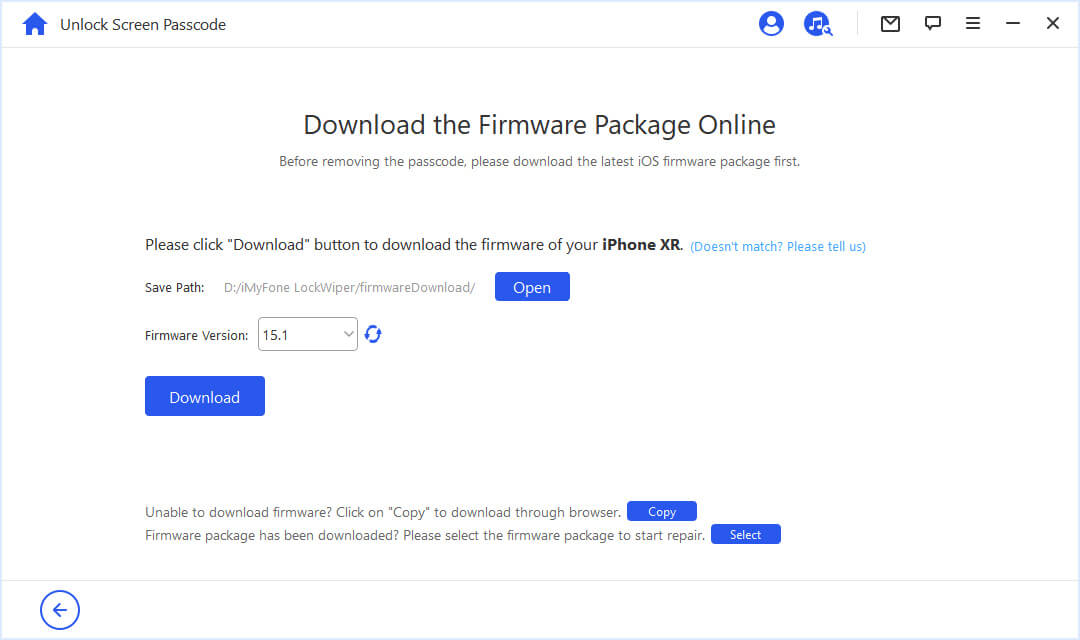
- 2 Choose the firmware version provided based on your device model and click "Download". Then wait a few minutes for LockEraser to download and verify the firmware package.
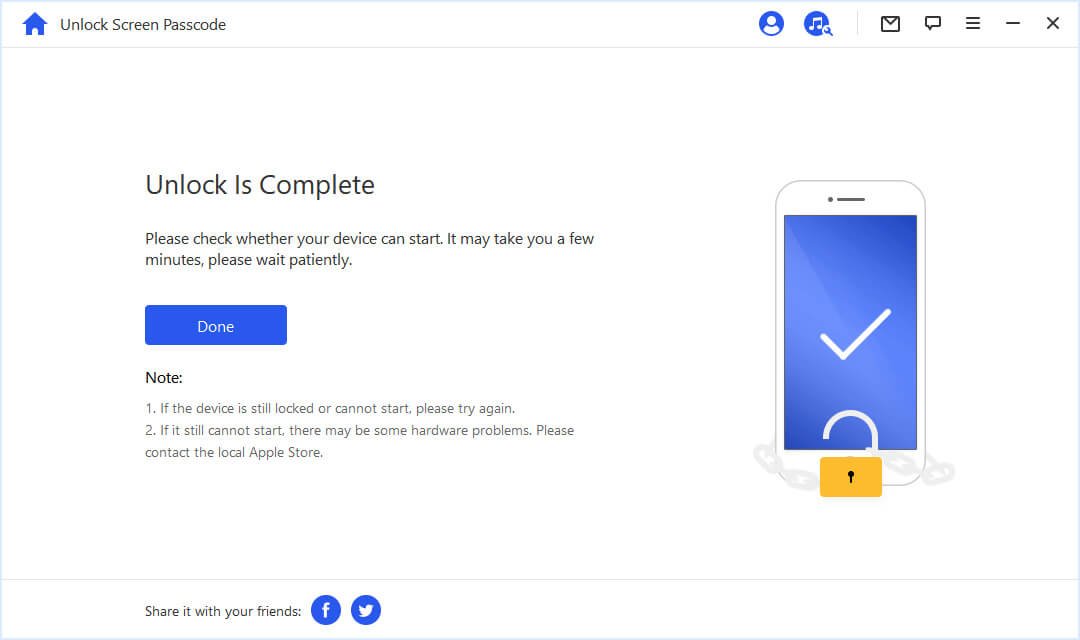
- 3 When the extraction is completed, click the "Unlock" button. When the unlocking work is done, you will see the notification on the screen.
2. Undisable iPhone With iTunes
iTunes is the official tool recommended by Apple to undisable iPhone - just as advised by the error message "iPhone is disabled, connect to iTunes." The basic logic behind it is restoring iPhone, which will erase everything from your device, including the screen passcode. After that, you can set up your iPhone as new and use it again.
- 1 Open iTunes on your computer, then connect your disabled device to the computer via a suitable cable.
- 2 Boot your disabled iPhone into recovery mode as follows.
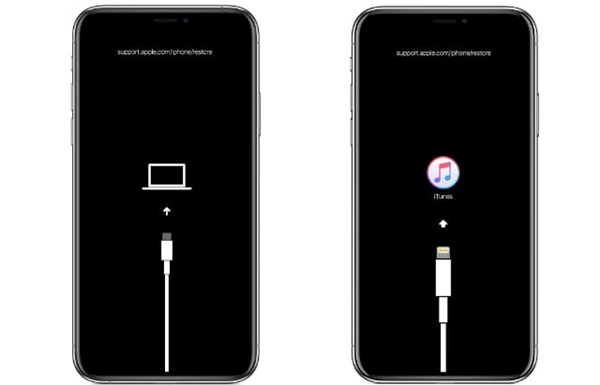
For iPhone 8 or Later
- Successively press and release the Volume Up then Volume Down buttons.
- Long-press the Side button until the recovery mode screen appears.
For iPhone 7/7 Plus
- Simultaneously long-press the Side/Top and Volume Down buttons until iPhone enters the recovery mode.
For iPhone 6S or Earlier
- Long-press both the Home and Side/Top buttons until the recovery mode appears on the screen.
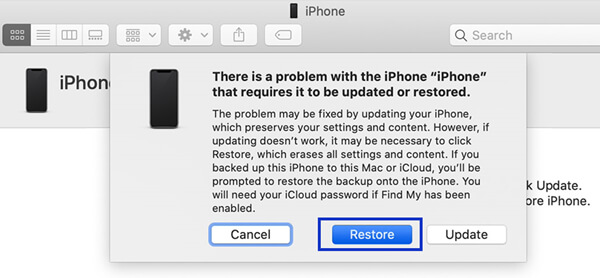
- 3 Locate your device and choose Restore when given the Restore and Update options.
- 4 Your computer will download software for your iPhone and begin the restore process. When it is completed, set up your iPhone and use it.
- You should have a working computer with the latest iTunes version installed.
- The whole process is a bit complicated and time-consuming.
- Doesn't guarantee success.
3.Erase iPhone With iCloud
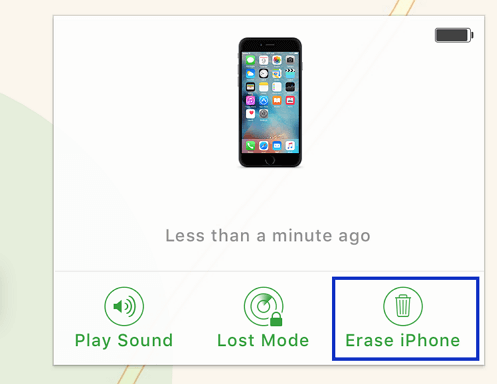
iCloud is widely known as a remote file backup destination of Apple devices. But beyond that, it can also be used for other purposes like locating a lost iPhone or erasing iDevices, as long as the Find My [Device] feature is enabled. However, to erase iPhone remotely with iCloud, you will need to know the Apple ID and password associated with the target device. The steps below illustrate how to erase iPhone with iCloud.
- Step 1. Navigate to the official site of iCloud on your browser and sign in using the Apple ID and password of the iPhone you want to erase.
- Step 2. From the several options displayed on the interface, tap to open the Find iPhone option.
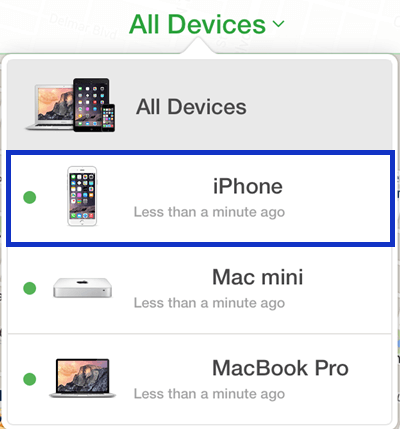
- Step 3. Now, under the All Devices section, you should see a list of devices that use the Apple ID you signed in with. Scroll down and choose the iPhone you want to erase.
- Step 4. Click the Erase iPhone option and confirm the action.
- Your disabled iPhone should have a steady internet connection.
- You should know the Apple ID and password concerning the disabled iPhone.
- The Find My iPhone feature should have been turned on.
Bonus: How to Prevent iPhone From Getting Disabled?
Indeed, it is possible to enable a disabled iPhone. However, to avoid trouble, it's the best if we can tackle the root of the problem and prevent iPhone from getting disabled. Below are some tips for you:
- Set up alternative iPhone screen access options like Face ID and Touch ID.
- Create a passcode that contains some meanings for easier memorization.
- Keep your passcode somewhere you can access just in case if you forget it.
- If you don't remember the passcode, stop too many blind attempts.
Conclusion
Enabling a disabled iPhone can be tough if you don't have the right guide but here we have offered you several plausible ways. From the methods given, it is no doubt that LockEraser is the ideal solution, being easy to use, reliable, and effective. Download this premium unlocking tool now and transform how you undisable iPhone.
Secure Download
