Regular updates are undoubtedly essential for maintaining the security of your device besides feature enhancement. So you get to see new features coupled with interface improvements with every update on your phone. However, recent iOS updates have some bugs that are causing problems for many users. For instance, one of the most common questions users are asking is how to deal with iPhone asking for passcode after update.
Passcode requirement after the update means your device is blocked temporarily, and you cannot perform any function unless you get rid of this passcode screen. Knowing what to do in this situation can help you regain access to your phone immediately to avoid missing any important business.
Part 1.iPhone Asking for Passcode After Update Issue
Part 1.iPhone Asking for Passcode After Update Issue
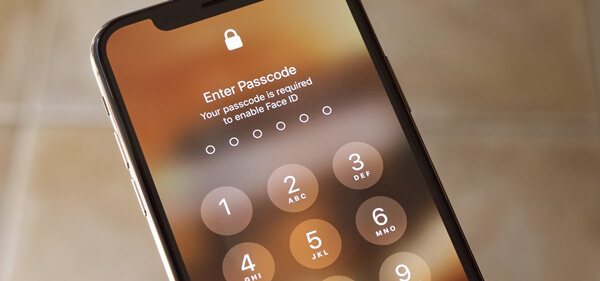
To begin with, the iPhone asking for passcode after update issue seems to be a common bug affecting a large number of devices. Many iPhone users have been reporting the iPhone asking for passcode after update issue. According to them, they did not set any 4-digit or 6-digit passcode for the device before the update. Still, their iPhone screen is stuck on the passcode error message after the update. Since it may be merely a bug, we cannot find any other exact reasons.
On the other hand, some users tend to forget the password they set for their devices. To put it another way, they may set up a passcode for their device before update but forgot the passcode after the update. In this case, they can do nothing except look for proper solutions to the iPhone asking for passcode after update error.
People also ask:App Store Keeps Asking for Password: Why & How to Fix?
Part 2.How to Fix iPhone Asking for Passcode After Update
1. Try Default Passcode
Trying the default passcode is the first thing every iPhone user must try to get rid of passcode screen in seconds. In fact, many users have succeeded by following this method.
The default passcode is a generic combination of numbers that iOS system might set for your device. Useless as it seems, this password might help users access their devices following the update, after which users can change the passcode as they like.
The following are some default passcodes you can try to get the job done:
- 123456
- 000000
- Any single number such as 888888, 111111
- 1234
- 0000
- Any single number such as 8888, 1111
Pros
- Data is not erased.
- Fastest possible solution.
- No connection to the computer is required.
- You do not have to remember complex passwords.
Cons
- Limited attempts are allowed. Too many unsuccessful attempts will get your iPhone disabled.
- Success is not guaranteed.
2. Directly Unlock iPhone with LockEraser
What if the default passcode method does not work for you? Is there is no other way to remove the passcode screen immediately? Well, you can always turn to LockEraser for help if you want to unlock iPhone without passcode.
With the best iPhone unlocker, you don't have to battle the passcode screen with password inputs anymore. It is a professional tool that can quickly help you eliminate the passcode screen within seconds. Thousands of users have already resolved the iPhone asking for passcode after update issue via LockEraser permanently.
- Unlock your iPhone without entering any password.
- Unlock screen time passcode/Apple ID and bypass MDM with simple steps.
- Provide a secure and convenient way to unlock iPhone by yourself.
- Compatible with all iOS versions and devices, including the latest iOS 16 and iPhone 14 series.
- Free trial is provided for every new user.
Secure Download
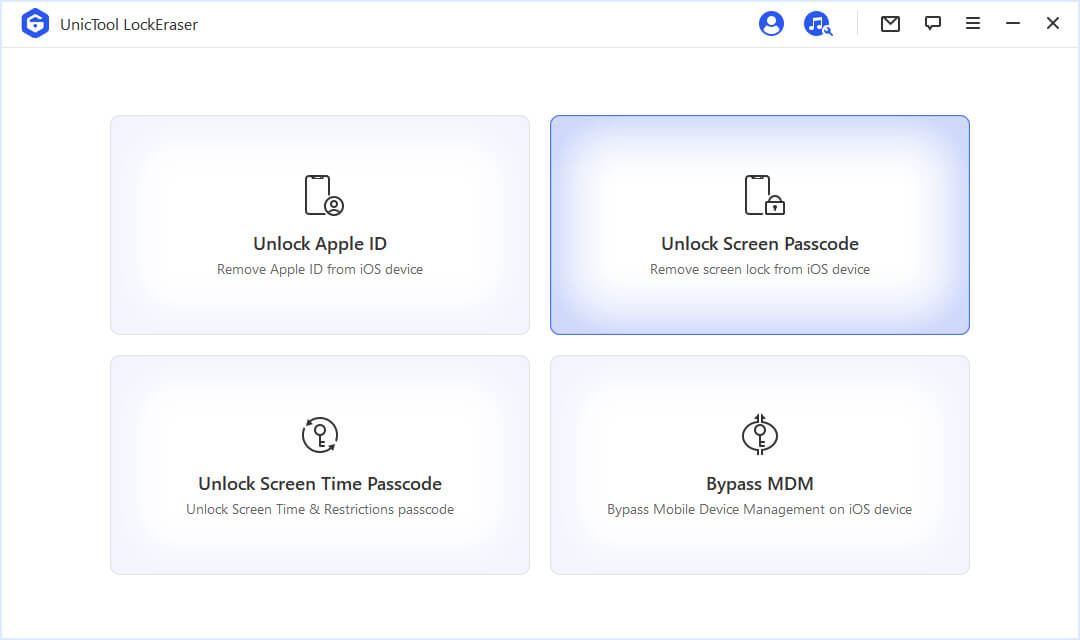
- 1Download, install and launch LockEraser on your computer. Select "Unlock Screen Passcode" mode.
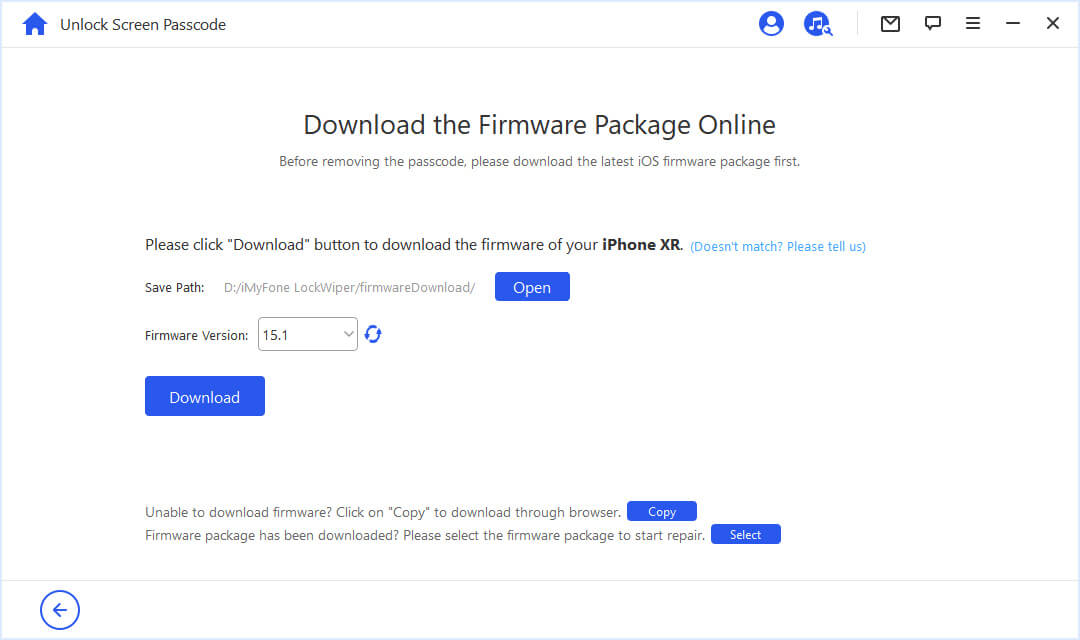
- 2Choose the firmware version provided based on your device model and click "Download". Then wait a few minutes for LockEraser to download and verify the firmware package.
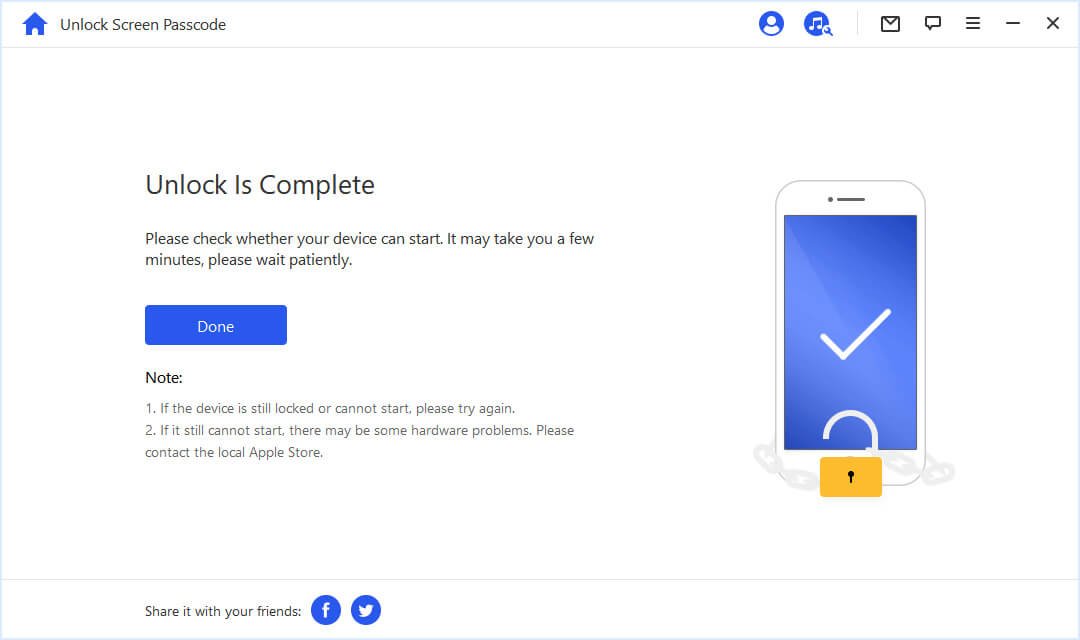
- 3When the extraction is completed, click the "Unlock" button. When the unlocking work is done, you will see the notification on the screen.
3. Restore iPhone by iTunes
If you do not want to go for a third-party tool, there exist some alternative methods that will unlock your iPhone screen after the update. You can restore your locked iPhone via iTunes, but you need to note that all your data will be erased.
- Step 1. Update iTunes on your PC to its latest version.
- Step 2. Turn off your iPhone first.
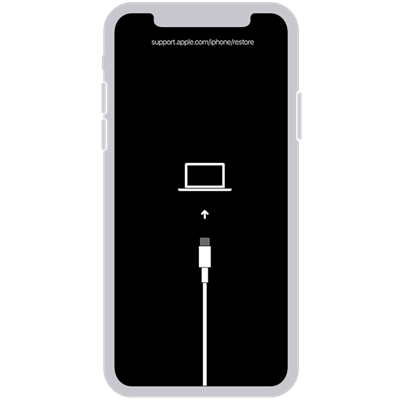
- Step 3. Put your iPhone into recovery mode.
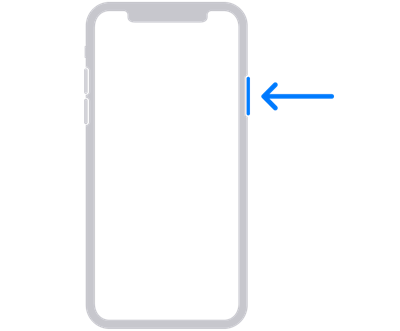
- For iPhone X or later, iPhone SE (2nd generation), iPhone 8, and iPhone 8 Plus, hold the Side button.
- For iPhone 7 and iPhone 7 Plus, hold the Volume down button.
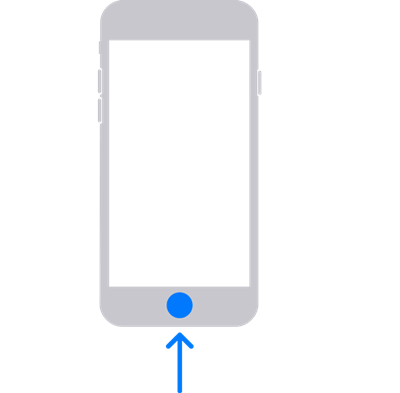
- For iPhone SE (1st generation), and iPhone 6s and earlier, hold the Home button.
- Step 4. Press and hold the correct button on your iPhone and the same time immediately connect your iPhone to the computer. Don't let go of the button until you see the recovery mode screen on your iPhone.
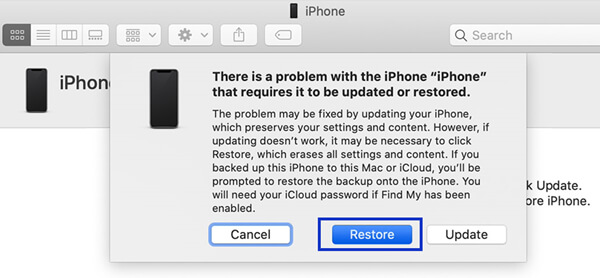
- Step 5. Locate your iPhone in iTunes and choose Restore when you see the option to Restore or Update.
- Step 6. Follow the on-screen instructions to complete the restore process. After completing the process, your iPhone will be accessible without a password.

Pros
- It is the official way recommended by Apple.
- You do not have to deal with the limitation of password inputs.
Cons
- It requires a computer at hand.
- It's quite time-consuming and takes a lot energy.
- The process is complicated for users without much technical knowledge.
4. Erase iPhone via iCloud
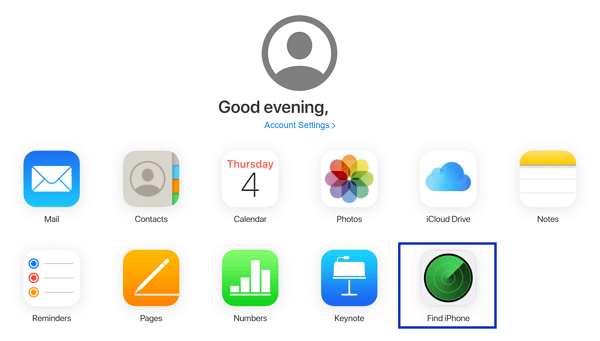
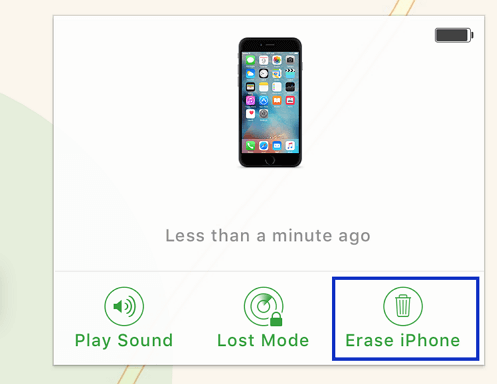
The last method involves restoring your iPhone device via iCloud. After the restoration process, you can successfully eliminate iPhone asking for passcode after update problem quickly. Here is what you need to do in this regard:
- Step 1. Visit the official website of iCloud and enter your Apple ID credentials to log in.
- Step 2. Click the Find iPhone option and find your device in the list of All Devices.
- Step 3. Choose to Erase iPhone and confirm your choice. Then your iPhone will be unlocked as everything will be removed from it.
Pros
- It's less complicated than the iTunes way.
- It's relatively faster to complete the proceess.
Cons
- It only works if you know your Apple ID credentials.
- Your iPhone needs stable internet connection.
- The Find My iPhone feature needs to be turned on already.
Bonus:What Should You Do Before Updating iPhone?
- 1Almost all methods discussed in this guide delete your current files (except the first one). Therefore, it's highly important to back up data just in case before any major changes you make on your iPhone, including update.
- 2Figure out the difference between the existing version of iOS and the new one to understand how the device is going to change. Only in this way can you make the best of the updated iOS system.
- 3Research the app you use and its compatibility with the new update. For instance, you might be using an enterprise app that may not work with the new update during the initial days. To do so, read the app reviews before updating your phone.
- 4Last but not least, write down your iPhone passcode and Apple ID credentials on any other source before updating your device. Forgetting any of them may cause trouble after update.
Conclusion
Dealing with a passcode screen after an iOS update has never been an ideal situation for any iPhone user. However, anyone can get rid of this iPhone asking for passcode after update issue by following the methods discussed above. In our opinion, using the best iPhone unlocker LockEraser for an instant fix would be the best choice if you're looking for a quick and reliable solution.
Secure Download
